Metalic look resin block
Step-by-step on how to make a resin casted item look like old bronze metal with gilding paste, presented by Crafty Corner
For any questions contact: Mark
What you will neeed
catalystresins
umber acrylic paint
red paint
paint brush
hard bristle paint brush
empty containers to mix resin in
measuring spoons
measuring cup
wooden spatula to mix with
green magic touch
gold magic touch
filler powder (chalk powder)
red oxide
disposable gloves
Notes: The formula was worked out prior to the process thus allowing inaccurate descriptions for this step by step project, we will go through the first steps briefly as you can follow more detailed step by step on this page relating to actual casting process. Ware desposable gloves, the resin that you will be using is rather sticky and not very friendly to your skin.
Step 1
Firstly measure out the kulu brite filler powder into your mixing container.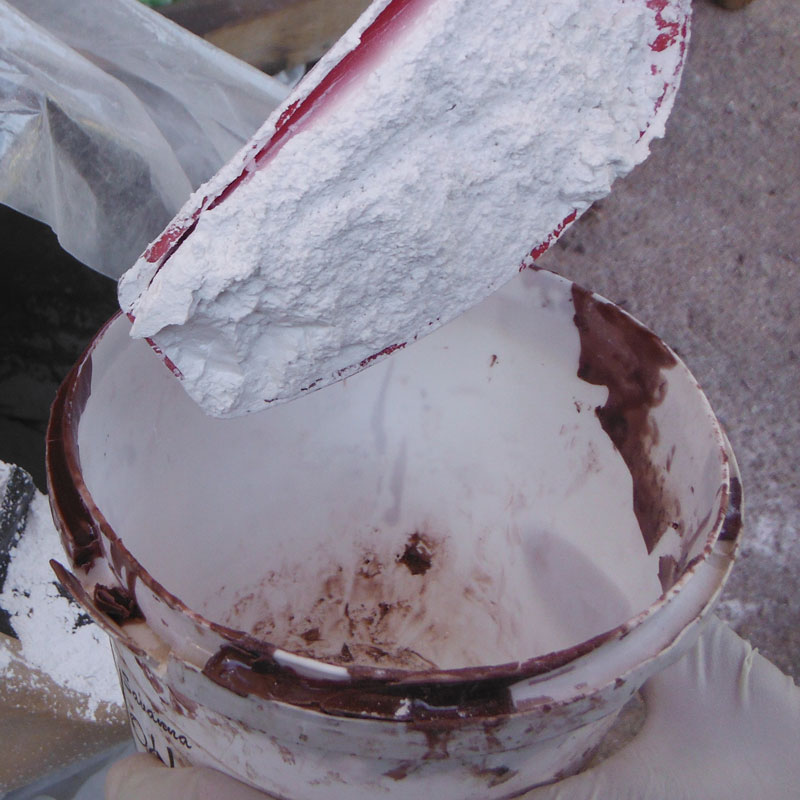
Step 2
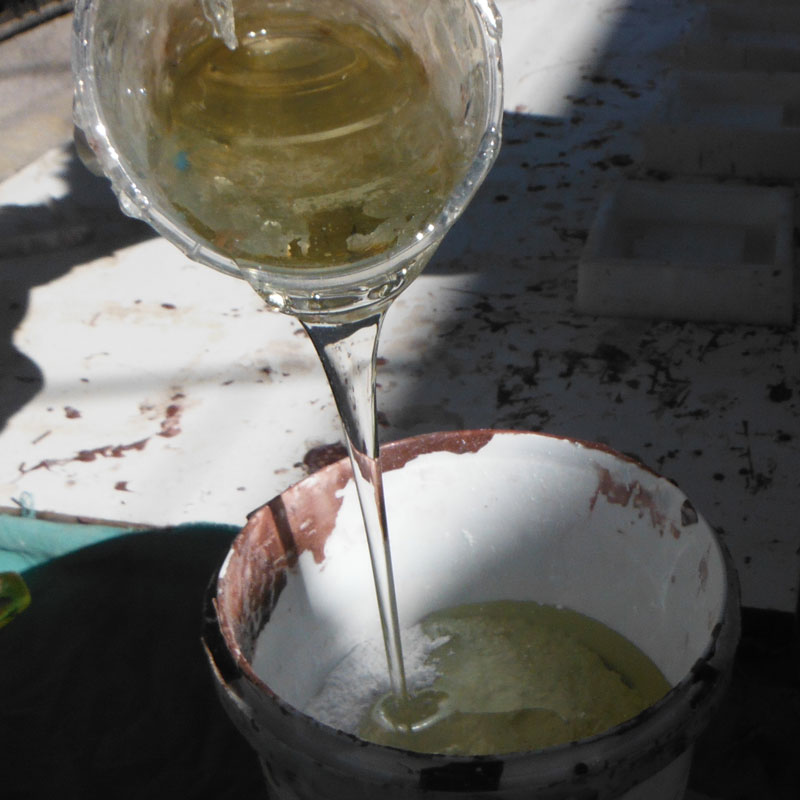
Measure out a cup of clear casting resin from your pre marked container and add it to your powder.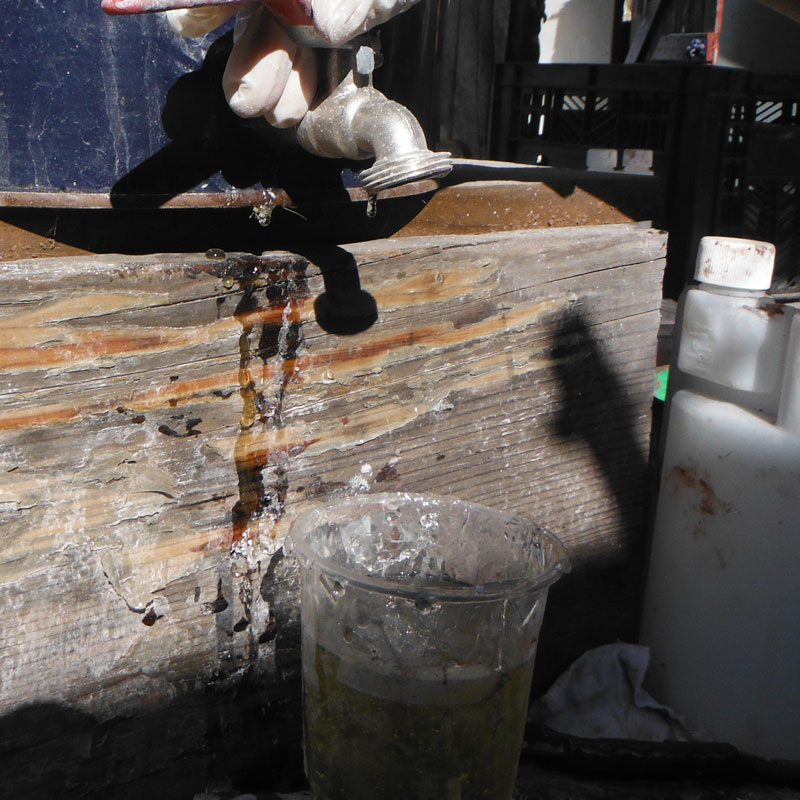
Step 3
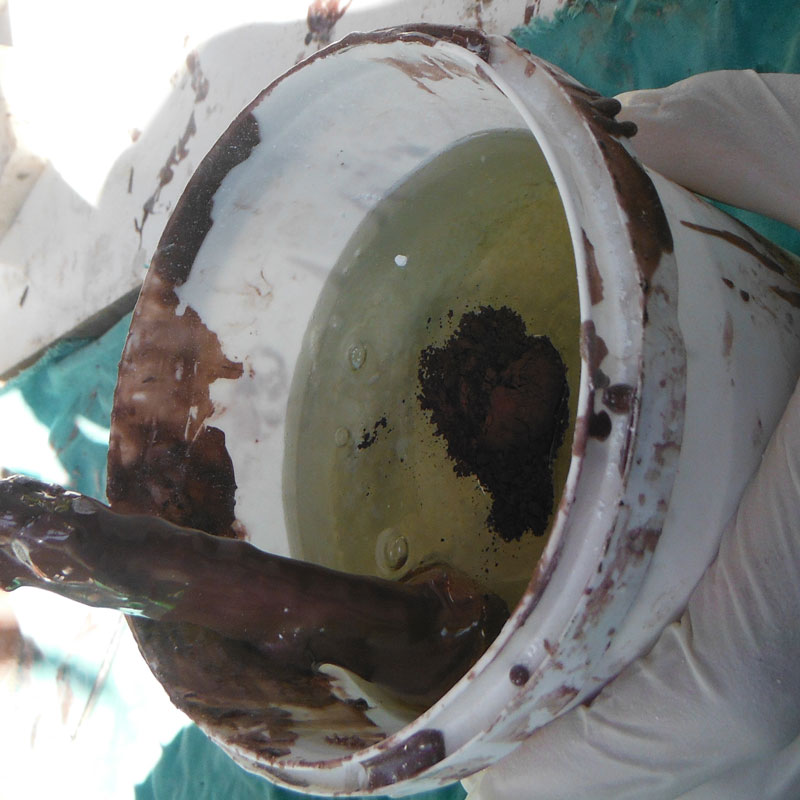
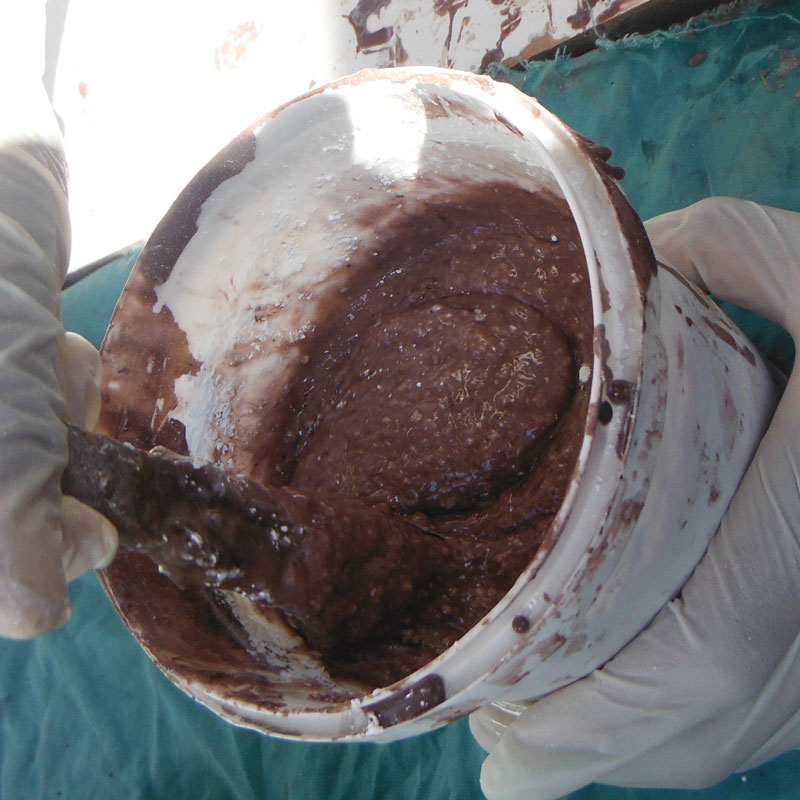
Add in a measure of red oxide this will bring in the base brown / red colour that we will use in making our resin object look like old metallic blocks. Mix thoroughly making sure that there is little to no white lumps left in the mixture, make sure that everything is mixed from the bottom and edges.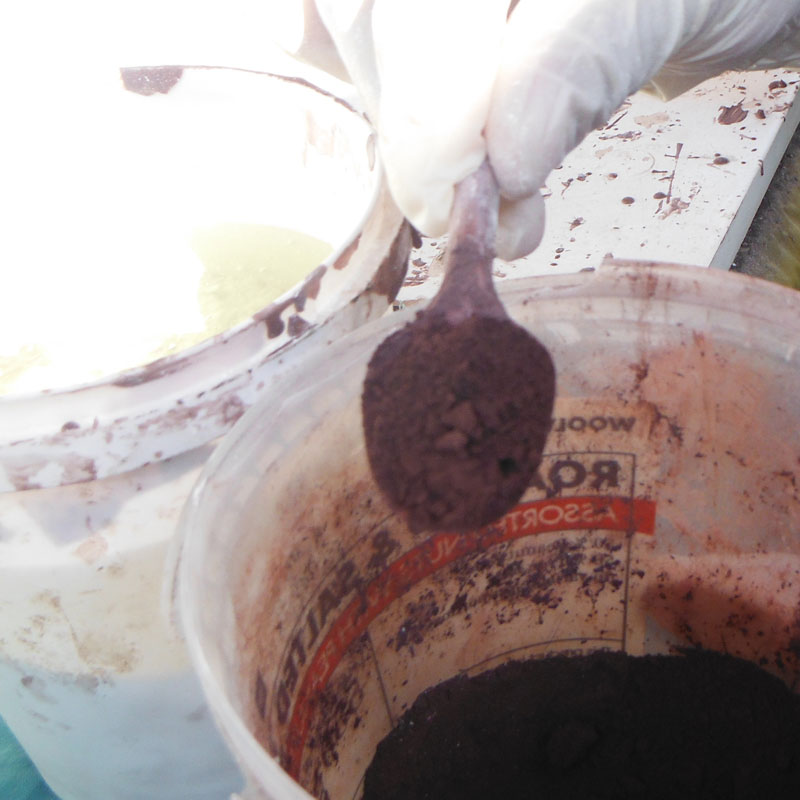
Step 4
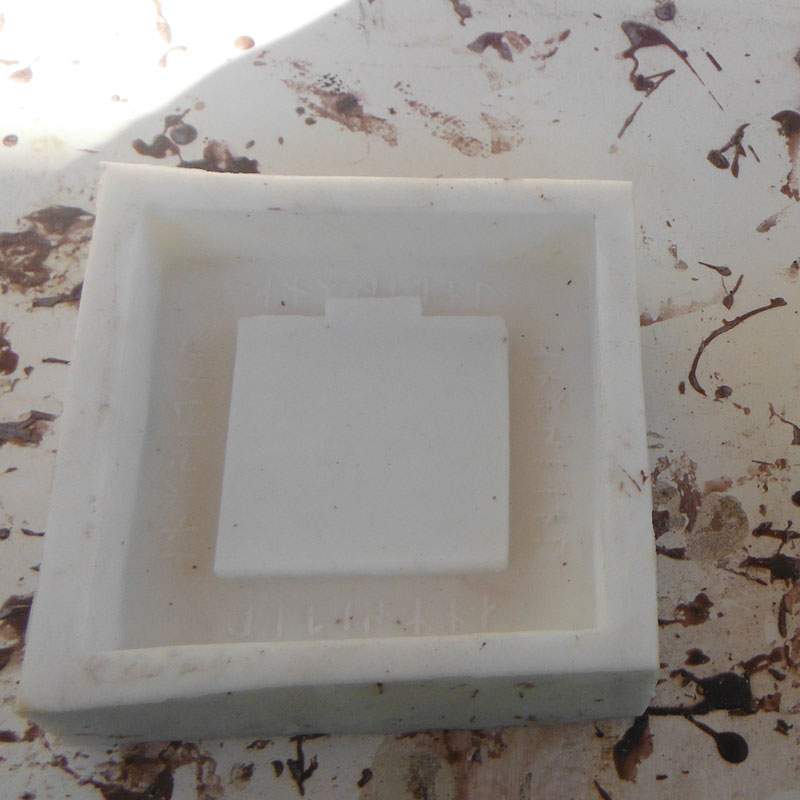
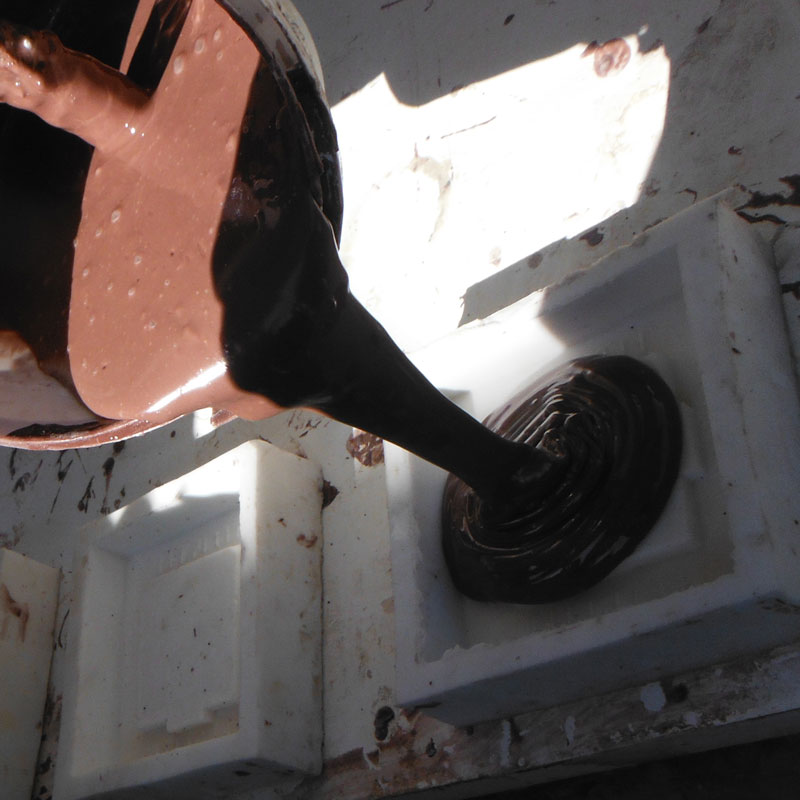
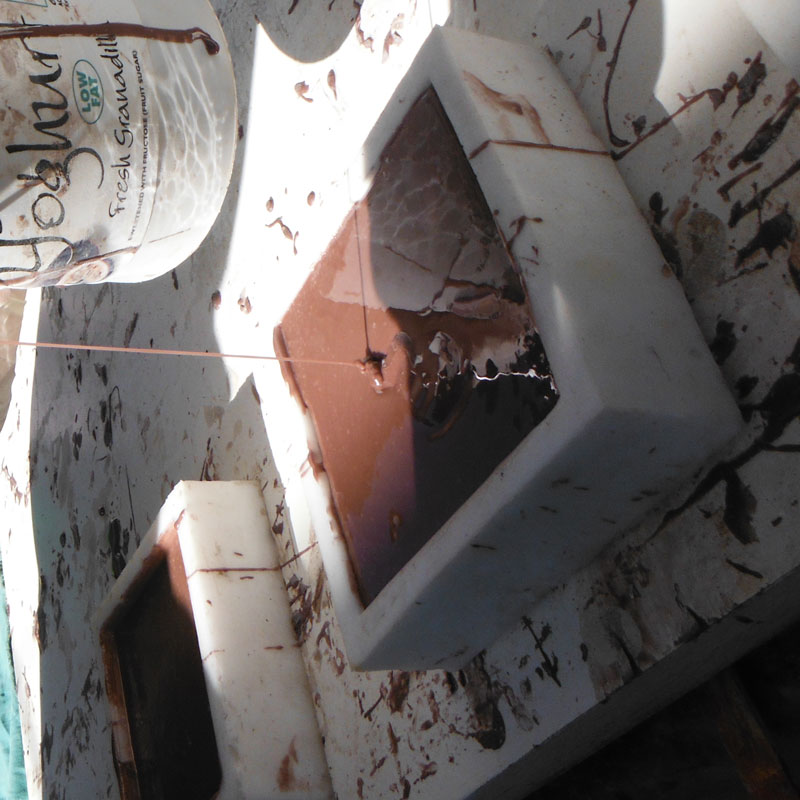
Set aside for 15min to degas and reduce the amount of bubbles in your overall mixture before you add the catalyst. Add the catalyst to the mixture at a ratio of 2% by weight of resin, NOT BY TOTAL MASS. Adding in to much catalyst will over accelerate the resin hardening process resulting in you been unable to work with the mixture before you are able to pour the moulds. Fill the mould about 1 third of the way and with your wooden spatula coat the inside of the mould with the resin mix paying particular attention to the corners and any places where air bottles could become trapped. Now fill the mould to within 1mm of the top, do not over fill as this will make a lot more sanding work at the end of the setting process.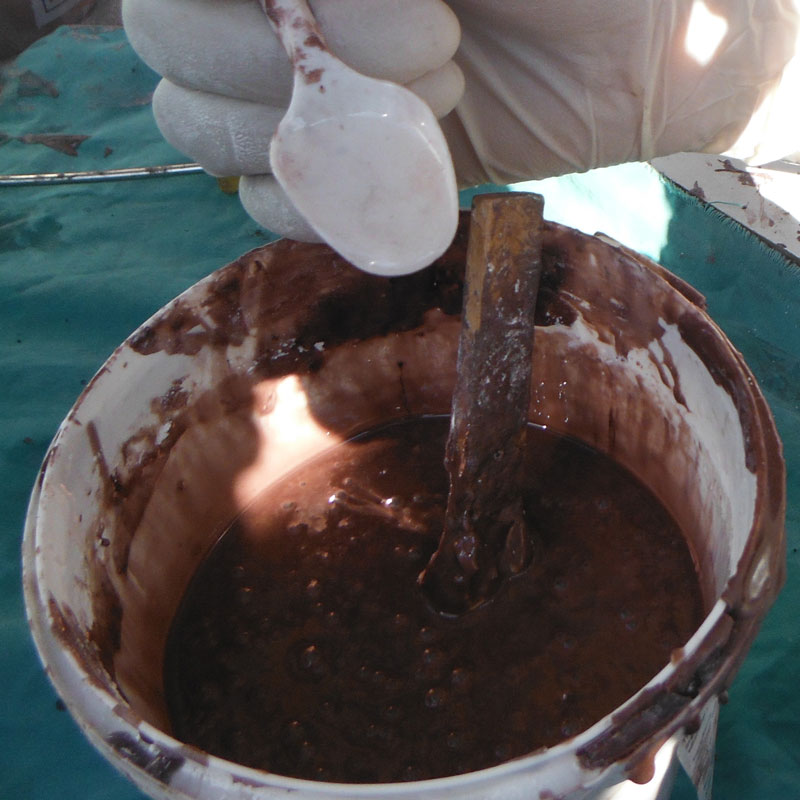
Step 5
Leave the resin in the mould till the blocks have set thoroughly, if you remove the object to soon it can break or distort if not handled or placed carefully. Note that the resin will get HOT in the last stages of setting as this is an exothermic reaction. Once set remove from mould and set aside till the resin block cool before you try to sand or it will gummy up your paper.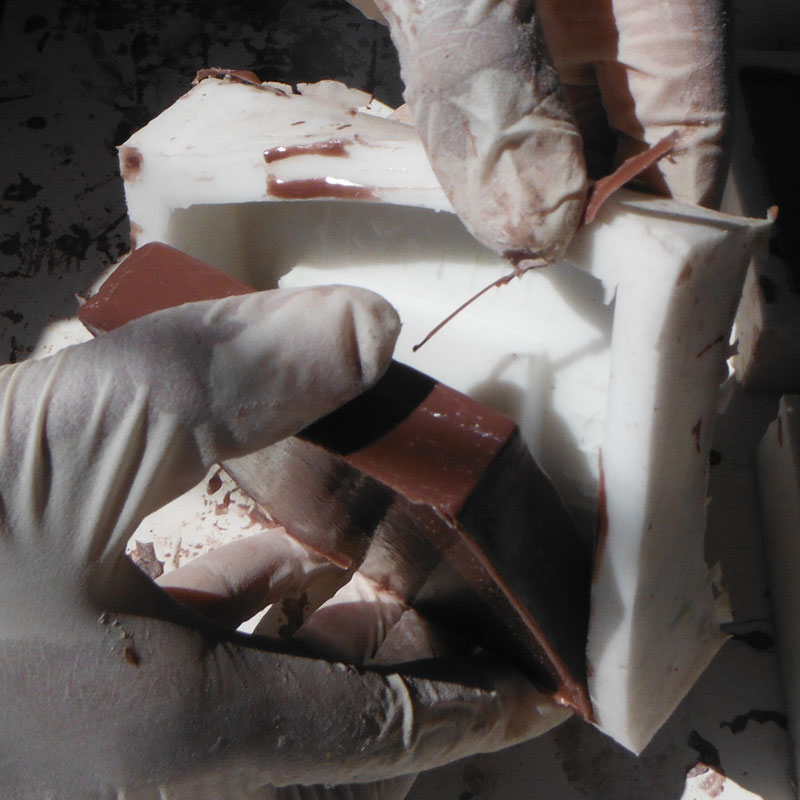
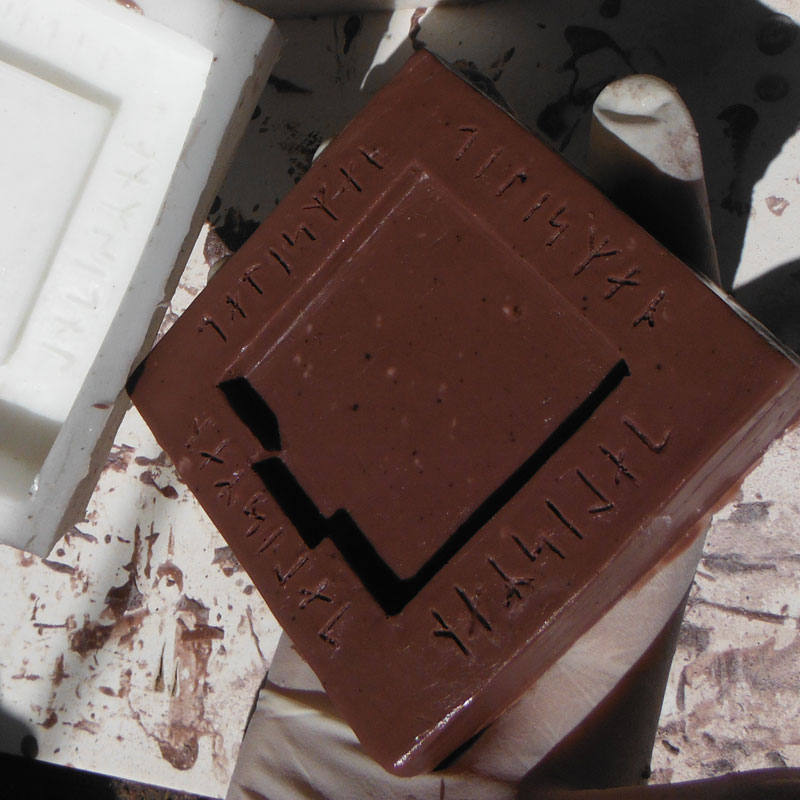
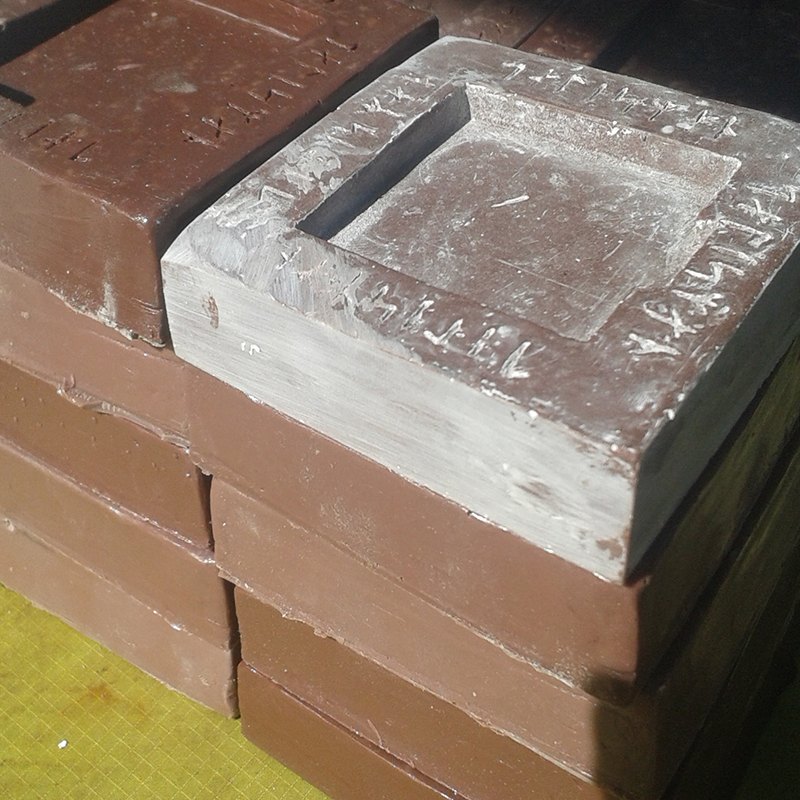
Step6
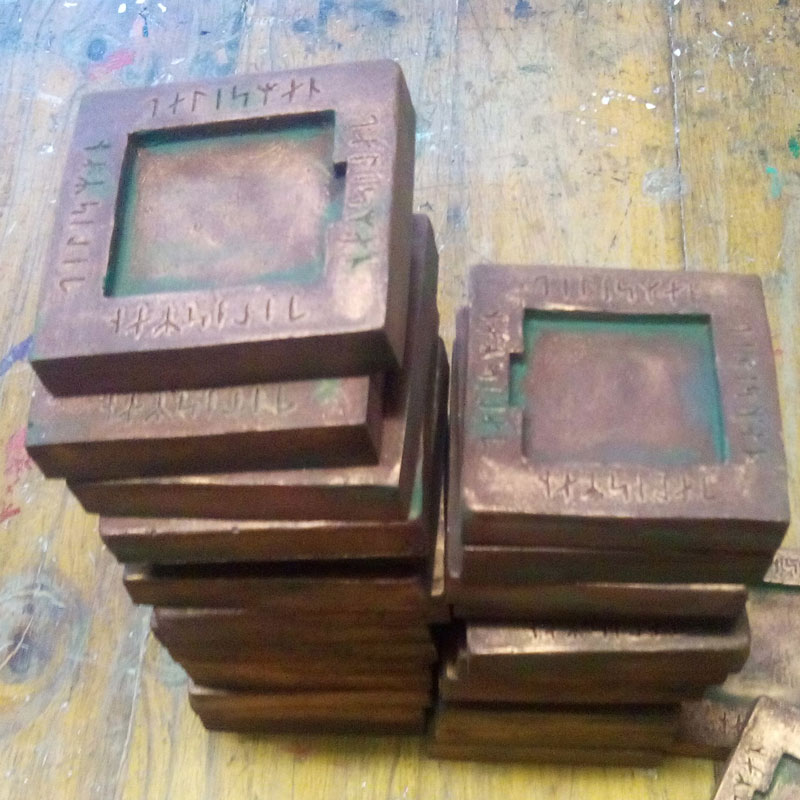
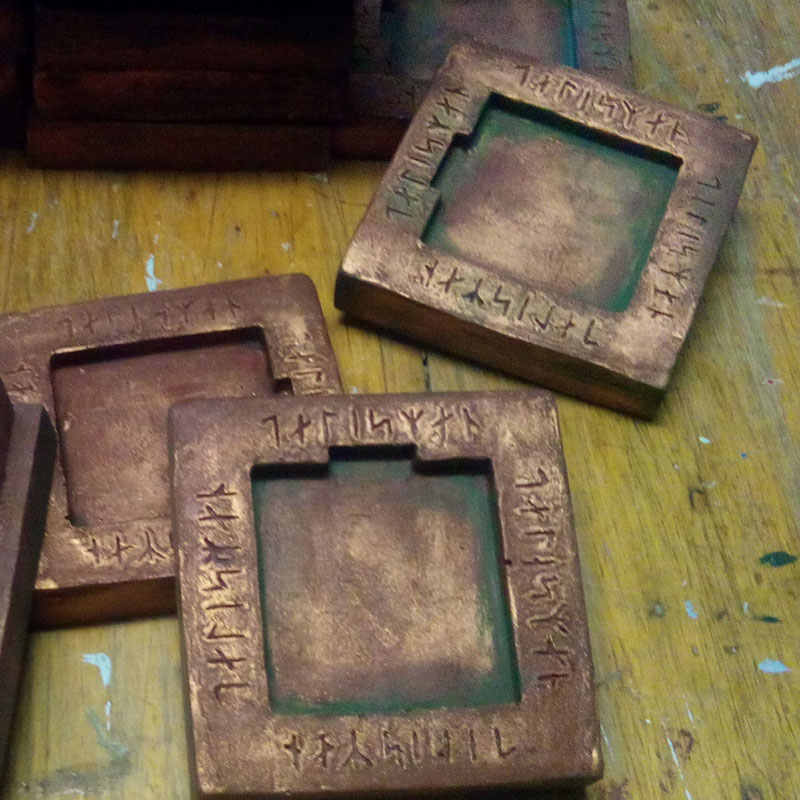
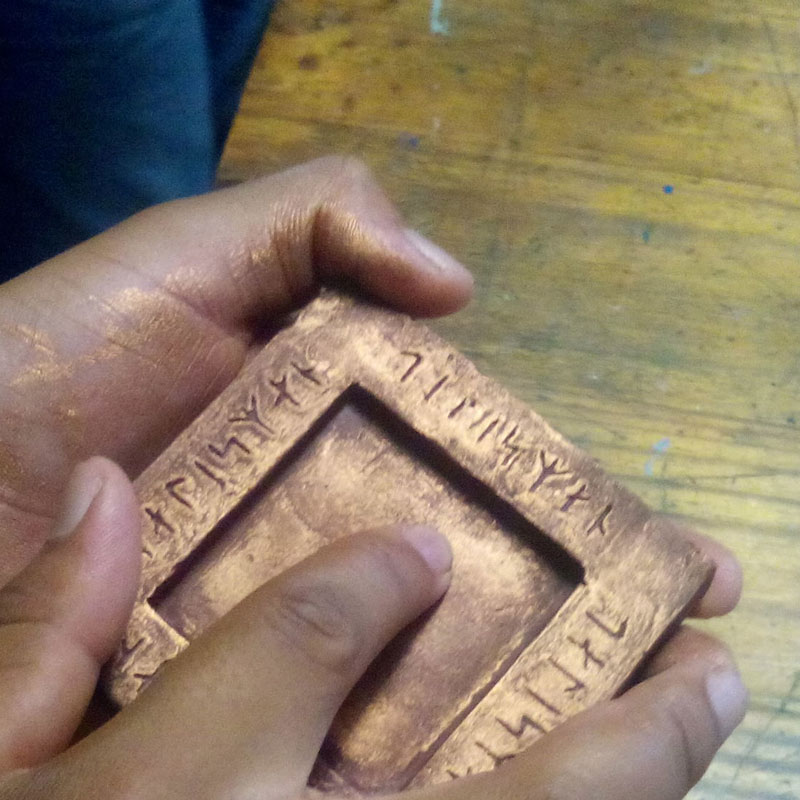
Sand the edges of the block and remove any excess bits of resin and square off the edges, we also sanded the bottom of the block to make sure it is nice and flat. The sanding process will make the blocks lighter in colour on the sanded area but this is desired as it will help in the overall authenticity of the finish by making the paint colour uneven. DO not stress about the bubble holes on the back as this help make it look like old casted metal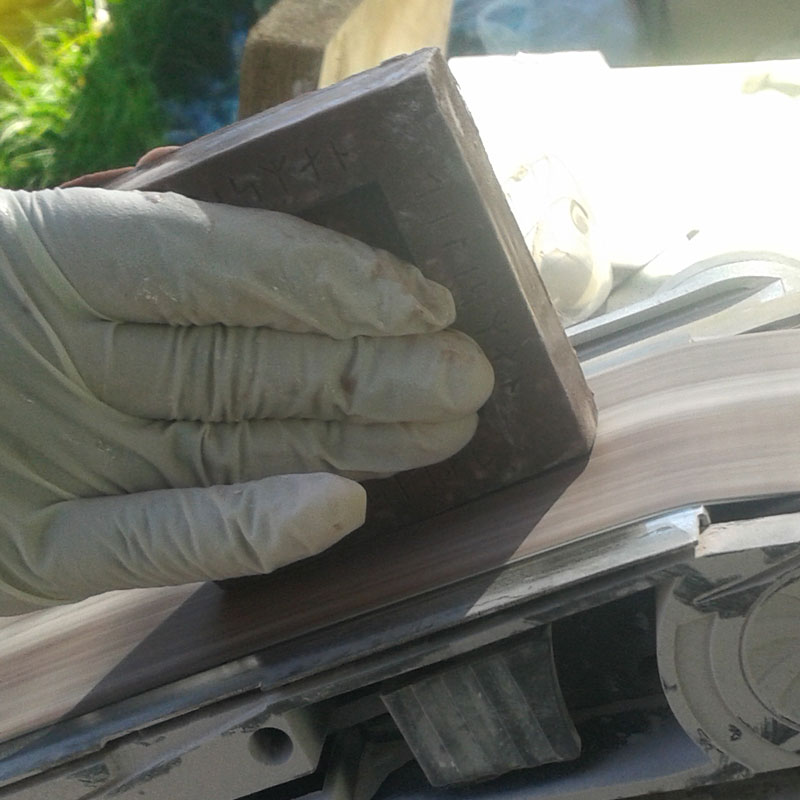
Step 7
The oxide used in the casting process helps to reduce the number of layers of paint you would need at this stage. Now paint the block with umber acrylic paint, we did add a little extra red into the umber colour, with a relatively dry brush so that some of the unevenness of colour shows though the painted layer.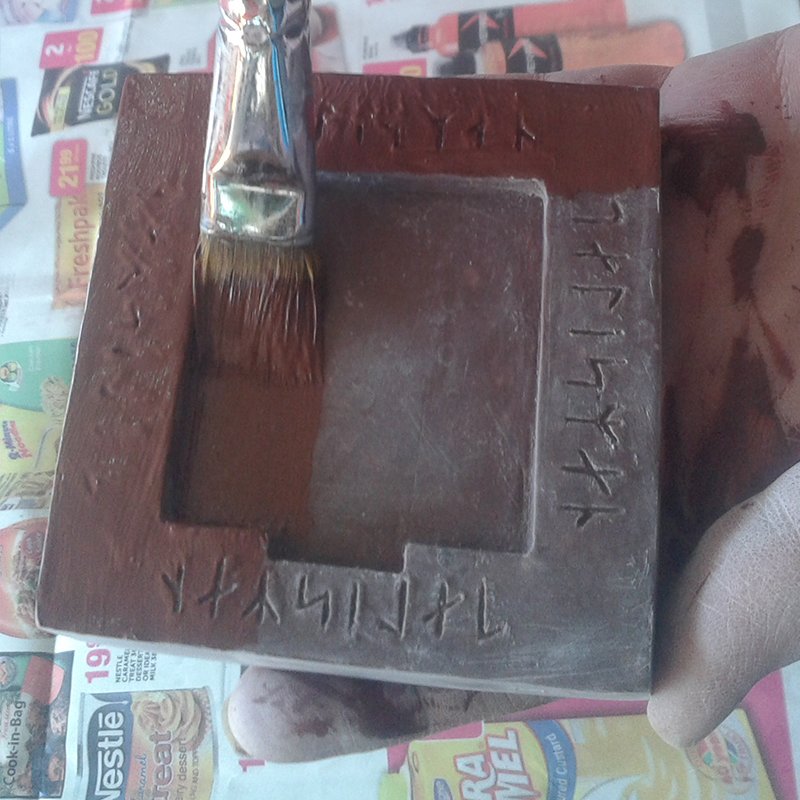
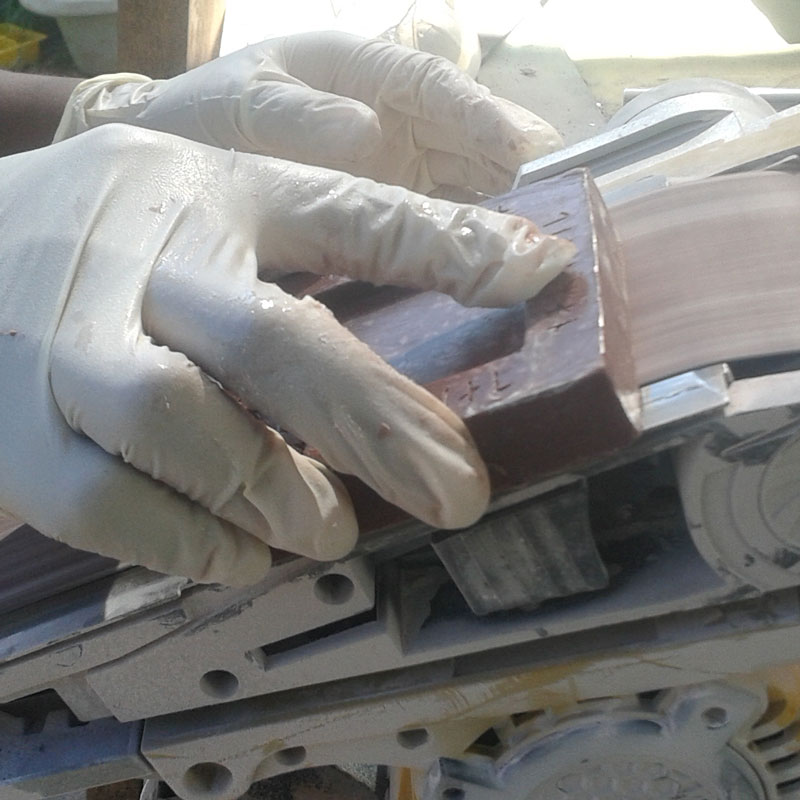
Step 8
Once dry we add bronze magic touch to the block, the best way is with your fingers. Taking a little at a time rub the gilding past (magic touch) to the high areas and especially the edges as this would be where the metal would be rubbed till it was shiny by handling. Rather add a little at a time as it is more difficult to take away than it is to add to the overall finish.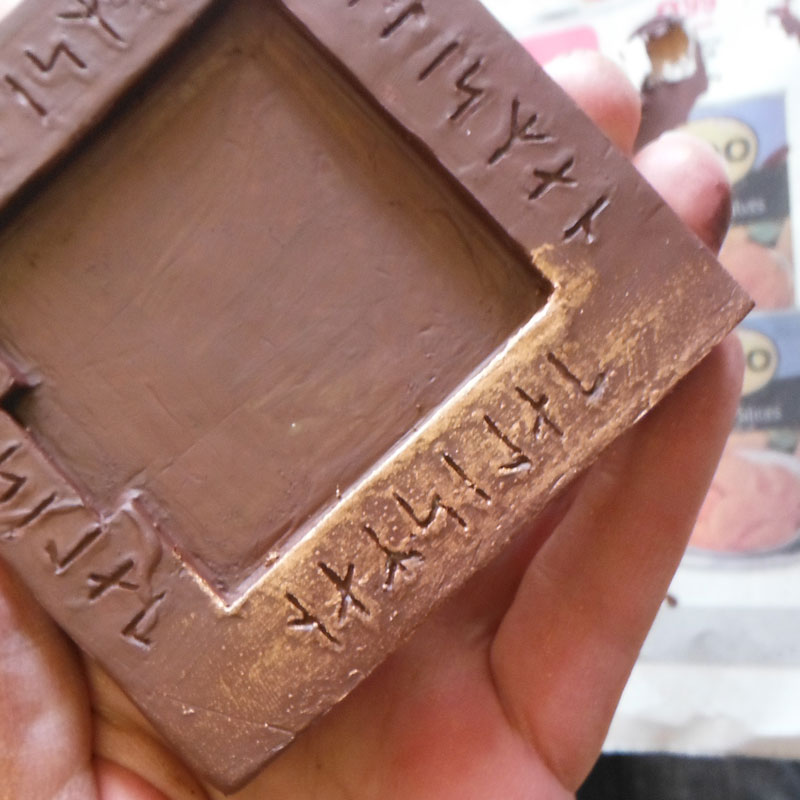
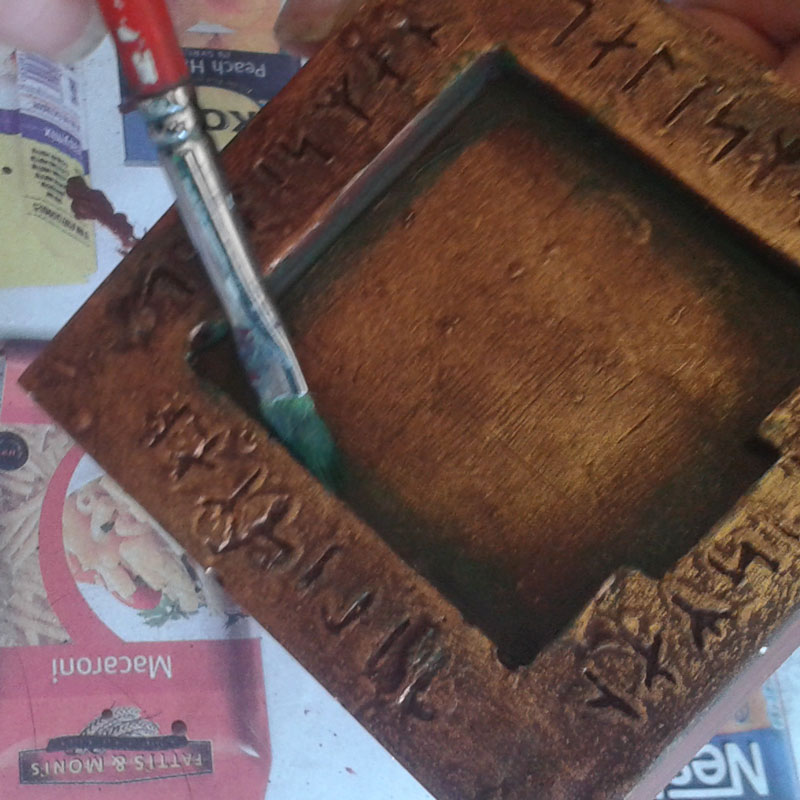
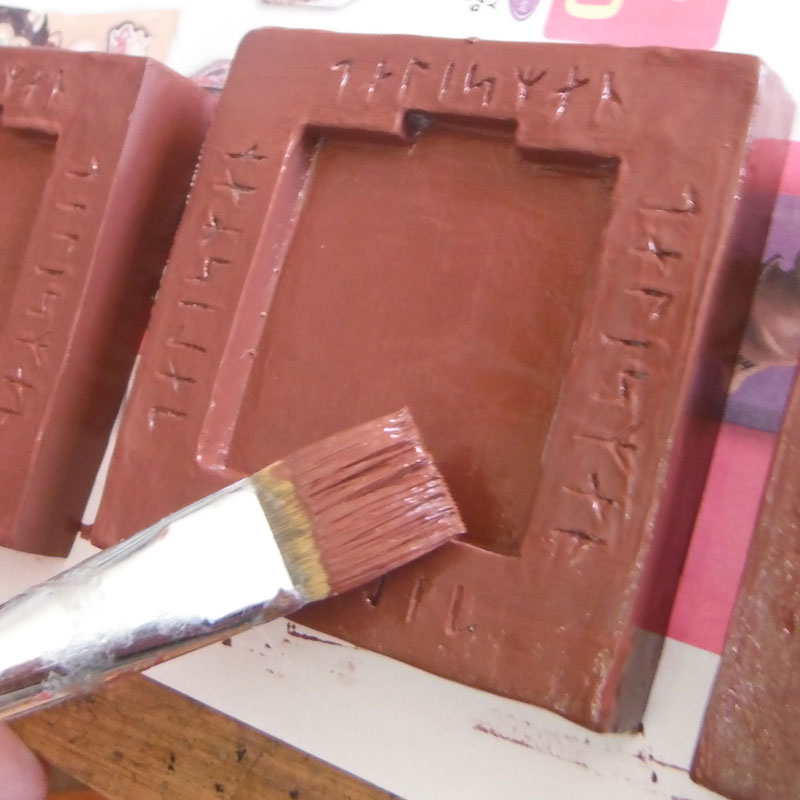
Step 9
Finally with a stiff bristle brush you will add the green magic touch to the low areas. This would be in this case the inside of the runic text and the inner edges of the recessed area. This helps to give the block an aged look as the green dries it will go very dark green black. Set aside and allow too dry.