
These goodie bags or utility bags are very simple to make as well as been great projects to make at home to be able to store things from makeup, tools to cloths, towels and anything you can imagine
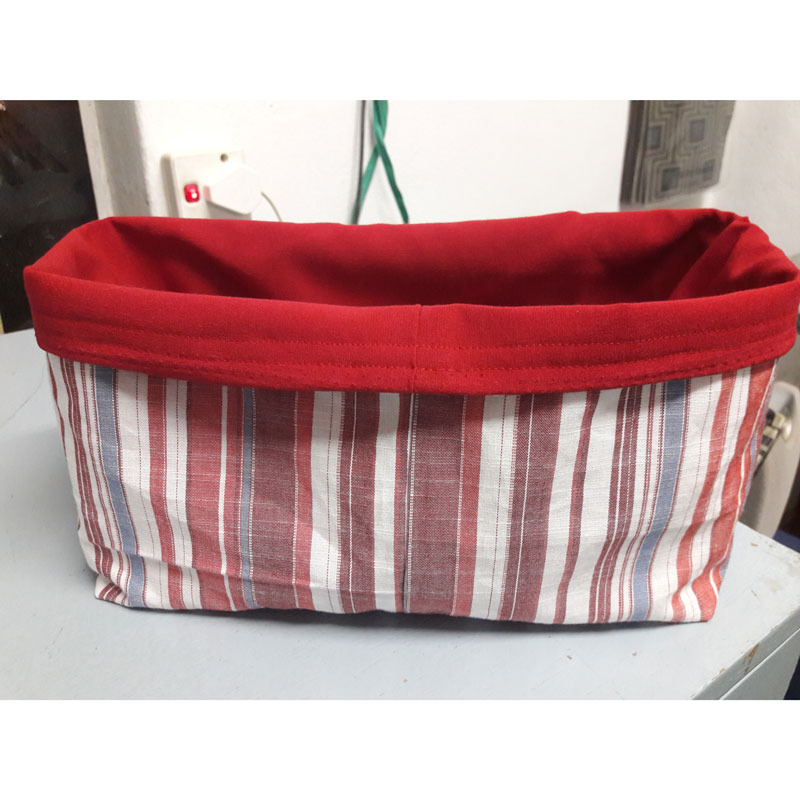
Easy step by step project to create a goddie or utility bag
One of the thing most homes can do with are simple storage boxes made from, the other advantage of this simple project is that you can make the utility or goodie bags from scrap fabric you have left over from other projects. This easy step by step project will take you through all the way to making your own bag so that you can store things like face tiles, make up and sewing bits and bobs to make just a few things it can be used for.
Step 1
Choose 2 pieces of either the same or contrasting colours fabric that are greater than 75cm x 30cm for this upcycled goodie bag project.

Step2
Square and trim down your selected fabrics so that they are 72cm x 25cm, this you do on your cutting mat or marking off the fabric with chalk and scissors.

Step 3
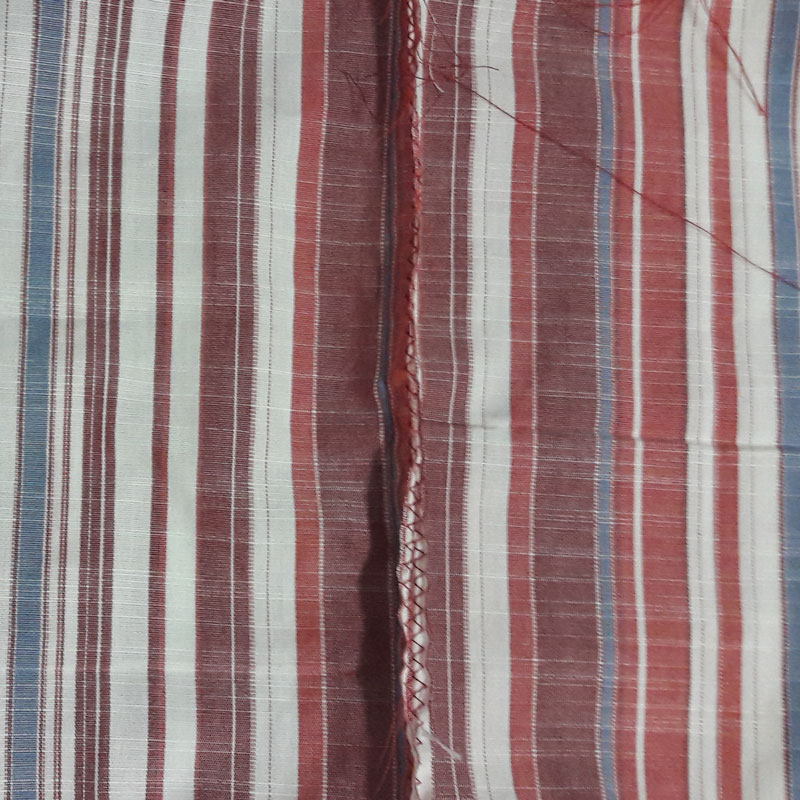
Zig Zag each piece of fabric at about 5mm from the edge, this is to prevent the fabric from fraying especially if you do not have a surger / overlocker.


Step 4
Starting with the piece of fabric you have chosen for the outside of your goodie bag, fold in half, rights sides of fabric together, pin into place. Select straight stitch on your sewing machine and sew about 1.5 cm away from the edge of the fabric to create your first seam. You also need to backstitch at the beginning when creating this seam. (backstitch – forward a few stitches reverse a few stitches and go forward again)

Step 5
Take the outer piece of fabric that you have just sewed and place flat on the cutting table, insure that the seam is in the middle of the fabric (17.5cm) and press flat. Now iron the seam so it is flapped back and both sides are lying flat.


Step 6
Take the fabric you have chosen to make the inner part of your utility bag and place it onto a section of iron on interfacing. Cut the lining to the size of your fabric and then iron on with hot seam iron onto the back side of the fabric. Make sure that the shiny side is against the fabric when you iron it on.


Step 7
Fold the inner fabric with the lining in half (rights sides of fabric together) and sew the seam with a fine straight stich. Remember to (backstitch) reverse the sewing machine at the start and end of the stitching

Repeat step 5
Place flat on the cutting table, insure that the seam is in the middle of the fabric +- (17.5cm) and press flat, not ironed. Now iron the seam so it is flapped back and both sides are lying flat.

Step 8
Pin the bottom of the inner or lining of your bag and straight sew along the edge again 1.5cm from edge and reverse at start and end. Do the same with the outer fabric (so you have done this with both colours of fabric)


Step 9
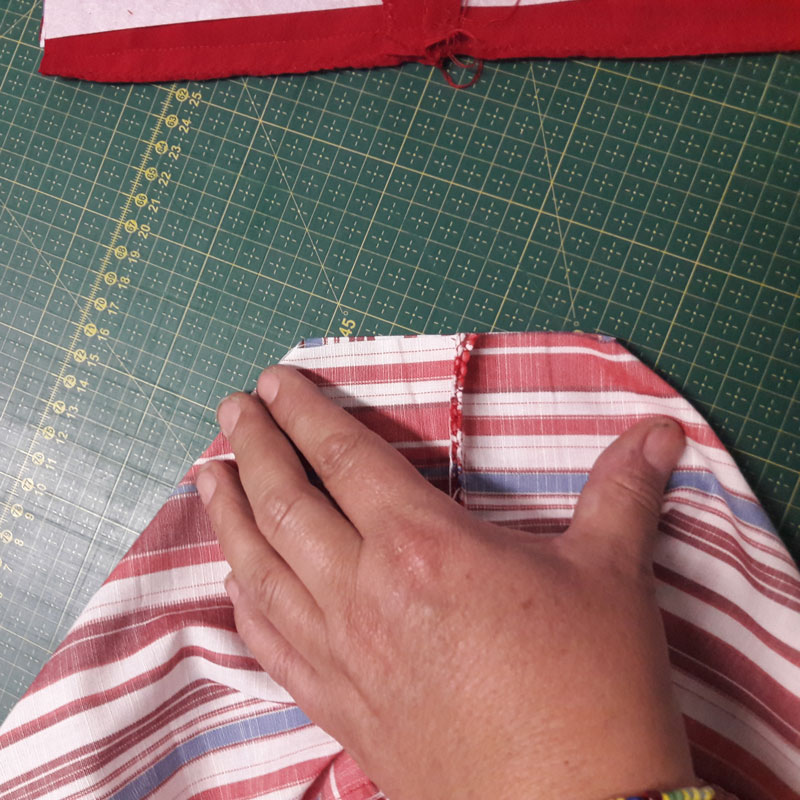
On both inner and out now mark off a 5cm square which you will cut out. Note that when you measure from the bottom to measure 5cm from the line you sewed not the edge of the fabric.


Step 10
With care cut out the corners of both the inner and outer pieces of fabric you have selected for your goodie bag project


Step 11
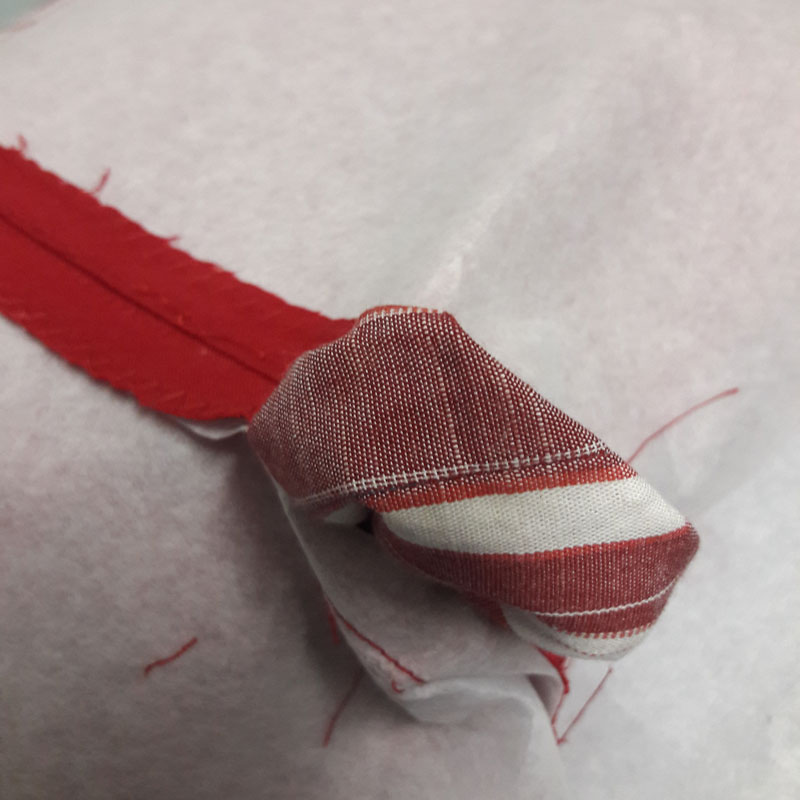
Lying the corner you have just cut flat on the table pull on both corner so that you end up with the seam on top , middle of the corner and pin carefully into place then sew at least 1cm from the edge that you have pined. Remember to backstitch stitch at the start and end of the sewing line. Do this to all the corners you have cut out.

Step 12
Turn the outer piece of your goodie bag project the right way round, making sure that your corners are turned are square, drop the outer into the inner / lining of your goodie bag. When you do this align the seams so that they are touching each other and both facing inwards.


Step 13
Next we have to pin and sew along the top of the bag but to ensure that the fabric will not in the end gather up in one point you have to pin along the top of the goodie bag in a star pattern. By this we mean you first pin goes in where the two seam meet. The second point you find by pulling on the top of the bag holding the seams in one hand and your fingers stretching out the bag so that you find the other point directly opposite to the first pin. Then measuring the distance between the 2 pins you find point three and four you find by doing what you have done above. Keep doing this till you have at least 8 pins in the top. Sew all around the top. You can take your base off your sewing machine at this point if your machine allows you to sew sleeves and place your project around the arm when sewing.


Step 14
Place the project on the table,unpin and press out all the edges so you can see your goodie bag but inside out. Starting on the bottom edge of the seam that is facing outward unpick a section 5-10 cm long. Stick your fingers through the hole you have created and grab hold of the outer fabric.


Step 15
Carefully pull the outer though the hole and invert the entire bag so that it is now completely the right way around. You need to do this slowly as you do not want to increase the size of the hole you have created in the seam. It does make it easier when you push one corner though at a time.

Step 16
To make the top edge crisp and give it that professional finnish carefully align the edges and iron them flat. To maintain this crisp edge you have created you can now top stich all the way round the bag, about 1cm from teh top.


Step 17
Finally top stich the hole close as close to the edge as you can, making sure you reverse at the start and end of your stitching


Done
for more information or if you have any questions please drop us a mail and we will get back to you