Apple Stamp Valentine's Day Cards
Step-by-step instructions showing you how to make Apple Stamp Valentine's Day Cards, presented by: Crafty Corner
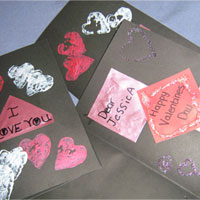
For any questions contact us via emailThis is a fantastic craft for the older kids. Not only will they have they fun making and designing the valentines Day card, but there is a whole lot of fruit fun to be had as they make their very own custom stamp!
What you will need:
- 1 piece of black cardboard paper
- 1 piece of light pink paper
- 1 piece of dark pink paper
- Scissors
- Jewel glue
- An apple
- A knife
- Pink paint
- White paint
- Paintbrush
- Glitter
- Permanent marker
- Pencil
- Ruler
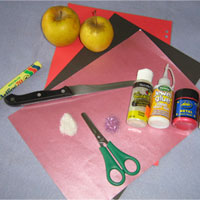
Make sure you have a clean and tidy workspace - cover your workspace with plastic or paper if you're worried about making a mess!
Step 1
Fold your black paper in half. This will be your card.
Step 2
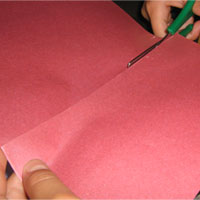
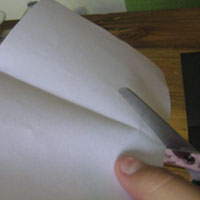
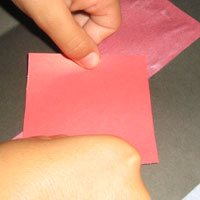
Cut your light pink paper into two 7cm x 7cm squares, and your dark pink paper into one 7cm x 7cm square.
Step 3
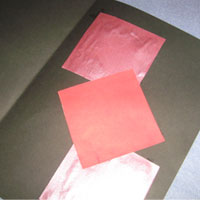
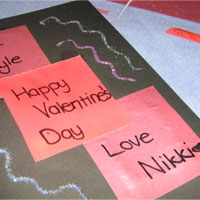
Paste your light pink squares in either corner of the card, away from the edges, as shown in the picture.
Step 4
Paste your dark pink square in the centre of the page, as shown in the picture.
Step 5
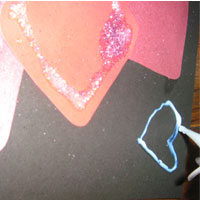
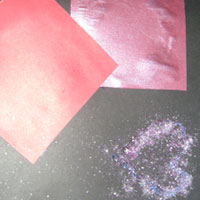
Use glue to make simple patterns in the black spaces between your pink squares. Apply glitter to the glue before it sets.
.
Step 6
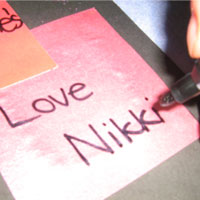
Write your message in the pink squares.
Step 7
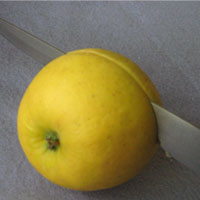
While waiting for your glue and glitter to dry completely, cut your apple in half.
Step 8
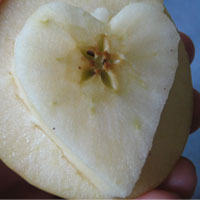
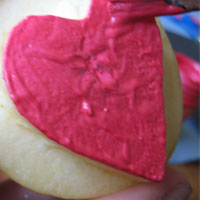
Get an adult to help you carve a heart shape about a centimetre into the each half of the apple, and cut away the edges to create a stamp.

Step 9
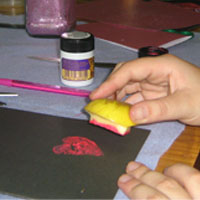
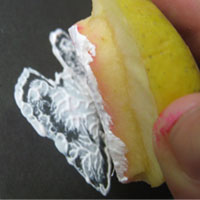
Paint the raised heart shapes pink and white, and use the stamp to create patterns on the cover of your card. Make sure that there is enough paint on the stamp each time before you place it on the paper.
Step 10
After you are finished creating your patterns, while waiting for your paint to dry, take a leftover piece of pink paper, and write “I LOVE YOU” on it.
Step 11
Once your paint is completely dry, glue your “I LOVE YOU” paper to the front of our card.
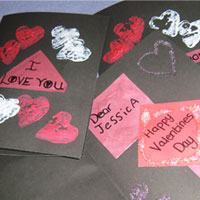
NOTE: This card can be used for other occasions, just carve different shapes into your apple. Other colours of cardboard can also be used.
TIP: When putting glitter onto your glue, pinch a little bit of glitter at a time and place it over your pattern. Allow to stick for a few seconds, and then gently tap your card over the glitter container, to ensure tidiness.


