

Fabric Painting for Kids

Fabric Painting
This is a simple fabric painting project that you can do with most kids aged 4+.
Step by step instructions on how to do fabric painting, as presented by: Crafty Corner
For any questions contact us via email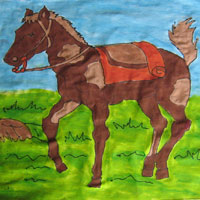
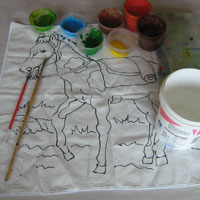
What you will need:
- Cloth with design
- Fabric paint, assorted colours
- Paintbrush
- Container with water
- Sheet of cellophane or plastic
- Newspaper
Purchase as a craft kit, including materials.
Read through all the instructions first before starting this craft. Make sure you have all required items on hand.
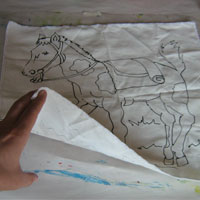
Step 1
Place the sheet of plastic underneath the piece of fabric you want to paint on. This is to protect the table you will be working on, as the paint will seep through the fabric.
Step 2
Pick the colour you want to start painting with and begin. Try and use long brush strokes, spreading the paint evenly. It's usually better to start with the lighter colours first, that way if you go outside the lines, you can cover it with a darker colour later on.
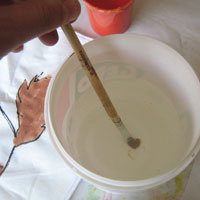
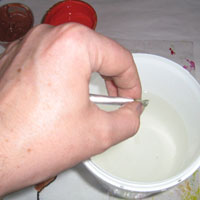
Step 3
Each time you change colour, you need to clean your brush. Dip and press the paintbrush in the container with water. Once the paint has been washed out, use your fingers to squeeze out the excess water.
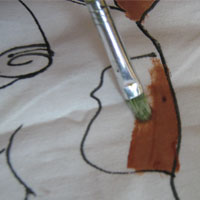
Step 4
Now that my brush is clean, I can move onto the next colour - dark brown. Notice how I first carefully painted around the edges to keep everything neat and tidy.

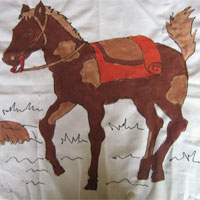
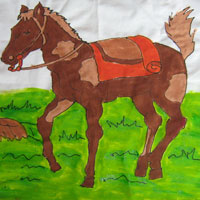
Step 5
Keep painting away, cleaning the brush each time you want to change colour. In this picture my horse is completed and all that I need to do now is the background.
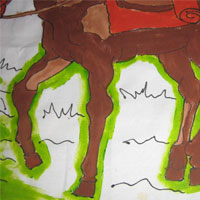
Step 6
I'm going to give my horse some grass to run on, notice how I first lined the outside of the horse so I don't accidentally paint it green. After the layer of light green, I took some dark green and painted a few splotches here and there to give the grass some depth and definition.
Step 7
The only thing left to paint is the sky.
Step 8
Before you use your fabric painting you need to heat set it so the colours don't run. Leave your painting to dry for a day or two, then switch your oven onto its' highest setting, 240+ ºC. Once the oven is hot, fold the cloth so the painted surface faces the inside and place inside the oven. Switch off oven, once the oven is cool your painting is set and is safe to wash.