

Picture book
Step by step instructions showing you how to make a Picture Book, presented by Crafty Corner
For any questions contact us via email
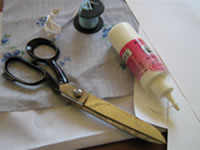
What you need to make a Picture book:
- Piece of coloured material (25cm X 15cm)
- Piece of ribbon (30+ cm)
- Fabric glue
- Scissors
- Cardboard
- Photos/pictures
- Piece of white material (10cm X 80cm)
Read through all the instructions first before starting this kids craft. Make sure you have all required items on hand.
Step 1
Cut two pieces of square card to 10cm X 10cm, then take the colored material and cut the required length.

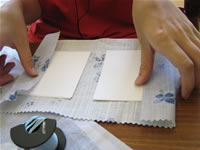
Step 2
Glue the pieces of cardboard down to the material with the fabric glue, then fold the side edges over and glue them down too.
Step 3
Cut the corners of excess fabric off at the top and bottom.

Step 4
Glue those edges down with the fabric glue.
Step 5
Take the piece of ribbon (30cm +) to lay across the inside of the book, with plenty left over on either side. Make sure the ribbon is glued on the bottom side. Then glue this down too.

Step 6
Leave to dry for a few minutes. While you wait for it dry, cut 3 pieces of cardboard, 10cm X 10cm. This is for the pages.

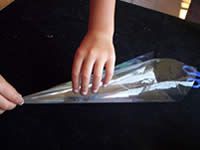
Step 7
Take the white piece of material and glue the one side to the inside front cover of the file.

Step 8
Take a piece of cardboard, place it between the white fabric to make a page. Glue the top and bottom of the fabric inside the fold for the page to keep the cardboard inside the page.

Step 9
Repeat step 8 until the other pages are made. Glue in the middle of the book to keep pages in place.

Step 10
Now glue the last piece of fabric down to the other cover.

Step 11
The pages are now complete. Now all you have to do is cut the pictures/photos to fit into the pages, and glue them in!

Step 12
You now have your very own picture file to give to your mom for Mother's Day!
