

Handmade Paper
Step by step instructions showing how to make your own handmade paper, presented by Crafty Corner
For any questions contact us via email
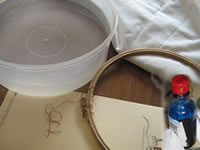
What you will need to make your own paper:
- Used paper
- Water
- Embroidery rings
- Muslin, or a porous fabric
- Food colouring
- Big bowl
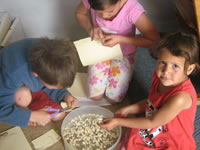
Read through all the instructions first before starting this craft. Make sure you have everything you will need at hand and your working area is clean and tidy. Cover your surface with plastic or brown paper. Making your own handmade paper is a great way for the kids to have loads of fun. It is really quite exciting and fun for kids to get their hands dirty and make handmade paper.
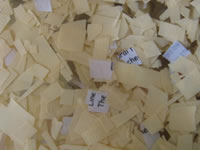
Step 1
Cut up bits of old newspaper (2 sheets of A3 size, or 4 sheets of A4 paper) that you want to recycle into small bits of 1cm in size.
Step 2
Put the cut up bits of recycled paper into a bowl with 2 cups of warm water. Leave overnight so the paper will soften and be well-soaked, making a thick mulch.
Step 3
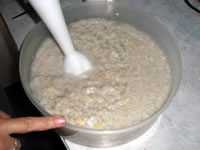
Blend the paper mixed with water in a liquidizer or with a blender until there are no big bits of paper left. It should look like a thick paste.
Step 4
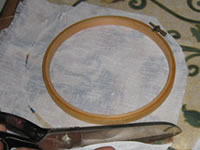
Cut a round circle out of your fabric a little bit bigger than the size of the inner embroidery ring. Place this over the solid ring and then put the outer ring over the fabric that is now covering the inner ring. Do not press the other ring all the way down to the same level as the inner ring, we need to leave a lip for the paper to form into. About a 2mm wall will do fine.
Step 5
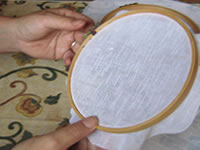
Pull the fabric tight over the ring and tighten the outer ring with the screw fastener on the ring. Make sure your cloth is secure and stiff over the ring.
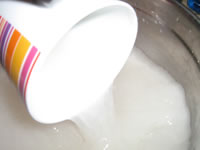
Step 6
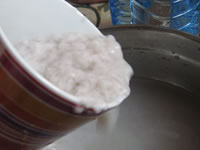
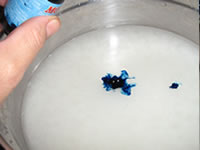
Add 3 cups of water to 1 cup of your paper mixture, in a bowl that is bigger then your ring when lying flat down on the bottom. Give the diluted paper paste a good stir.
Step 7
Add a generous amount of food colouring to the mixture. Remember that there is a lot of water that will drain off, so the colour needs to a bit stronger than your end result.
Step 8
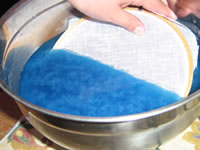
Insert your ring at a slant into the bowl so that the ring does not trap all the paper at the bottom. Hold the ring level at the bottom of the bowl and pull it out of the bowl quite slowly. The paper mulch will get trapped on the ring with the lip around.
Step 9
Take it out the bowl and place in a warm room, but not in direct sunlight, to dry.

Step 10
When completely dry, loosen the top ring and pull it towards the back so that the inner ring holds the handmade paper.
Step 11
Remove the handmade paper from the cloth.
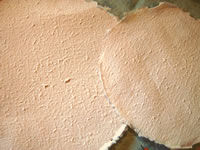
Step 12
Cut the edges to the size you need and there you have it, your very own recycled paper!
