

Paper Snowflake
This is a fun, easy papercraft for children from the age 5+. If you are doing it for younger kids they may need help with the tracing and guidance when cutting.
Step by step instructions showing how to make your own Paper Snowflake, presented by Crafty Corner
For any questions contact us via emailWhat you will need:
- Paper or cardboard
- Pencil
- Scissors
Read through all the instructions first before starting this papercraft. Make sure you have everyting you will need at hand and your working area is clean and tidy. Cover your surface with plastic or brown paper.
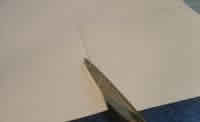
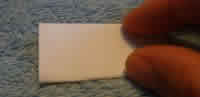
Step 1
Cut a 10cm X 10cm square using your scissors.
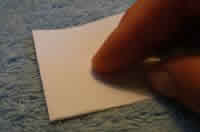
Step 2
Fold your square in half to make it look like a rectangle.
Step 3
Fold your rectangle in half, to make it look like a square again.
Step 4
Fold your square in half, to make it look like a rectangle again.
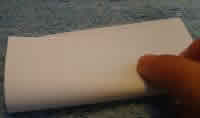
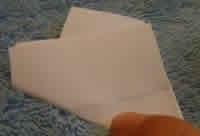
Step 5
Unfold your paper again, so that you are left with a big rectangle as in the picture below.

Step 6
Fold one corner up so that it looks like the picture below.
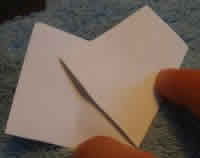
Step 7
Fold the other corner in the same way. Your paper should look like this now.
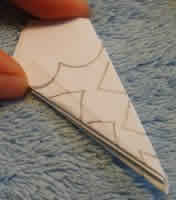
Step 8
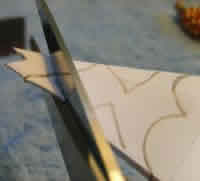
Draw a wavy cut and notches onto your folded paper, as shown in the picture below.
Step 9
Cut out the wavy cut and notches that you have drawn.
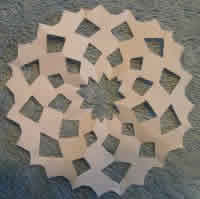
Step 10
Unfold your snowflake. This is what it should look like.