

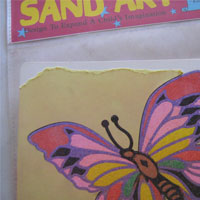
Sand Art
This is a fun an easy craft for children of all ages. Sand Art is available in a multitude of designs, so young children can be given fairly basic designs while the older kids can be given more complicated pictures to colour. Sand Art is especially good for children that feel intimidated by drawing and art.
The Sand Art is pre-drawn, all they have to do is peel off the part of the design that they want to colour and then sprinkle the sand on top. Follow our easy step by step instructions to see how to decorate your own Sand Art picture card.
Step-by-step on how to do Sand Art, presented by: Crafty Corner
For any questions contact us via email
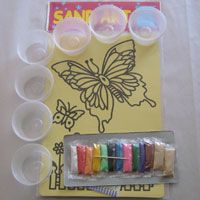
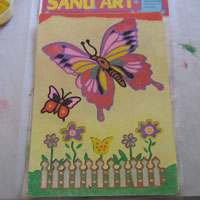
What you will need:
- Sand art picture (contact Winnie at Crafty Corner for sand art if you need)
- Includes 12 different packets of coloured sand
- 12 small containers (you can make do with less)
- Toothpick
- Imagination!
Read through all the instructions first before starting this craft. Make sure you have everything you will need at hand and that your working area is clean and tidy. Cover your surface with plastic or brown paper if you want to.
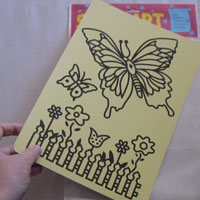
Step 1
Open the plastic folder and lay the picture on top of the plastic sleeve on your table.
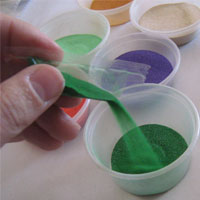
Step 2
Open the packets containing the coloured sand and put each colour into a seperate small container. This helps keep things clean and makes things easier.
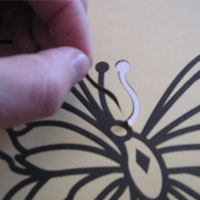
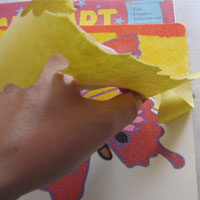
Step 3
When doing Sand Art, it's always best to start with the darker colours first. Decide what you want to colour black, and then, using a toothpick to help you lift the paper, remove the paper from the area you want to colour. I want to do the outline and feelers of my butterfly in black.
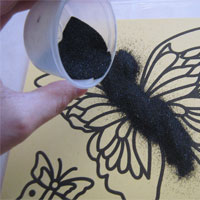
Step 4
Pour the black sand over the area where you removed the paper from your picture, don't be scared to use too much, the sand will only stick where the sticker is exposed. You can use a soft brush or your finger to help spread the sand to the right areas.
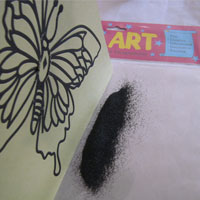
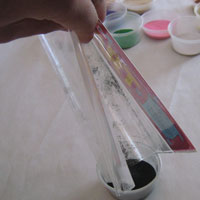
Step 5
Lift the picture and tap it on the plastic sleeve so that all the excess sand runs off. Then lift the ends of your plastic sleeve and pour the sand back into the container.
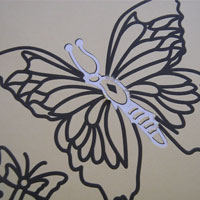
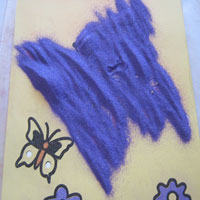
Step 6
I want my butterfly to have a purple outline, and because purple is quite a dark colour, I'm going to do it next.
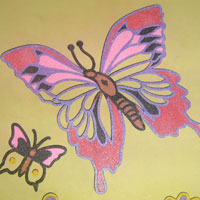
Step 7
Keep going, repeating the process of peeling your paper off parts of your picture, doing one colour at a time, and shaking the sand back into the containers. Here my butterfly is half finished and is starting to look great!
Step 8
Keep going until your picture is done
Step 9
The very young kids can now peel off the entire background and colour the background all in one colour. For the older kids, they can tear the background off in stages and experiment with shading. First I tore off the very top of my picture and coloured it red for the sun, and then I peeled off the bottom and coloured it dark green for the grass.
Step 10
Next I used some light colours for my backgroud, yellow for the top and a layer of light green at the bottom.
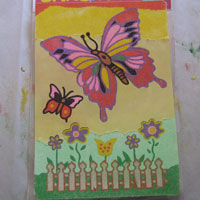
Step 11
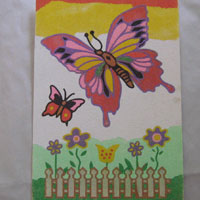
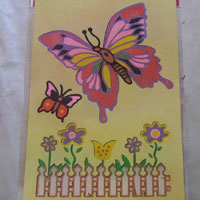
Lastly, I peeled off the last bit of sticker and surrounded the butterfly with white.
Step 12
Your Sand Art butterfly is now complete and ready to stick up in your bedroom or on the fridge!