Milk Bottle Easter Basket
Easy step by step instructions showing how to make your own Easter basket by recycling milk bottles, presented by Crafty Corner
For any questions contact us via email
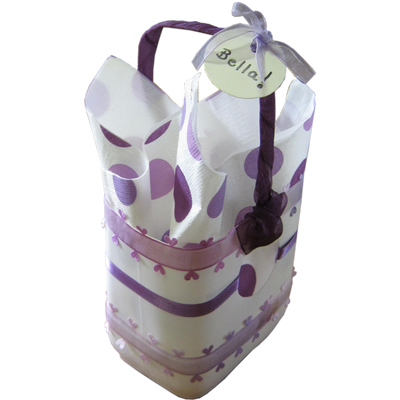
There is so much we can do with all the rubbish we throw away. With this project we turned an old plastic milk bottle which would have otherwise ended up in the trash and eventually on a landfill site into an upcycled Easter basket to store all your Easter chocolates.
Recycling uses a lot of energy, as the item first needs to be broken down, reprocessed and remade into something new. Upcycling is much better for the environment as no new processes are involved, so before you throw away an item, first stop to think how you can reuse or upcycle it.
Follow our easy step by step instructions and see how easy it is to make your own upcycled milk bottle Easter basket to create a special handmade gift this Easter!
What you will need:
- A 2l milk bottle
- Ribbon, various colours
- Double sided tape
- Craft knife
- Scissors
- Ruler
- Stapler
- Working surface
Step 1
Take your milk bottle, remove the label and wash the bottle so that it is clean inside and out.

Step 2
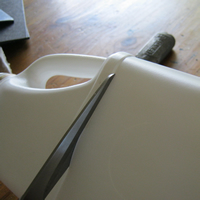
We are going to cut off the top of the bottle. Use your craft knife to make an incision, and then insert your scissors and cut around the circumference of the bottle. You want to cut just below the moulding line.

Step 3
Once your bottle is cut into two, take the top and cut just above the moulding line, along the circumference to create a long length of plastic (this will become our handle).
Step 4
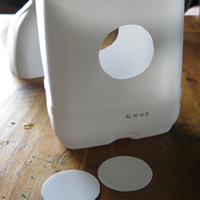
You will notice that most milk bottles have a plastic moulding imprint in the shape of a circle on the sides of the bottle. Use this as a guide to cut out two circles from either side of the bottle, using your craft knife. Hang onto these plastic circles, we will need them later!
Step 5
Take the long length of plastic from the top of the bottle in Step 3, and cut across the width to create a long strip.
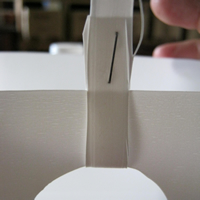
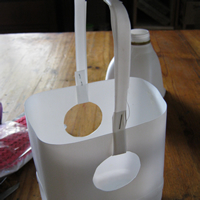
Attach either end of this strip to the bottle using your stapler. Fold the strip over, through the circle and then staple the end to the other side as illustrated.
Step 6
Apply a small strip of double sided tape to the top of the recycled milk bottle basket, stretching it over the handle.

Step 7
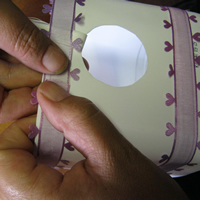
Stick a length of wide ribbon down onto the double sided tape and run this around the edge of the plastic milk bottle, securing it again with double sided tape when you meet the end.
Repeat this at the base of the milk bottle basket.

Step 8
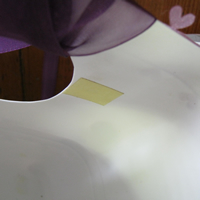
In order to attach a length of ribbon to the middle of the plastic milk bottle, place a small section of double sided tape to the inside of the bottle, close to the circle hole.
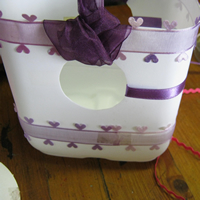
Stick the end of your ribbon onto this and feed the ribbon through the hole and double back around the bottle. Enter through the circle and pull back, attaching with another strip of double sided tape to the inside of the bottle. Repeat for the other side too.
Step 9
To decorate the upcycled handle, take a wide length of ribbon and close to one end, feed it into the bottle, through the hole and back over the lip, around the handle into the bottle and out through the hole again. Do so carefully, hiding the short end into the folds.
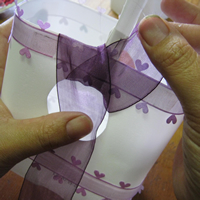
Step 10
With the longer length, wrap it around the plastic handle, all the way up and across to entirely cover the handle of the Easter basket.
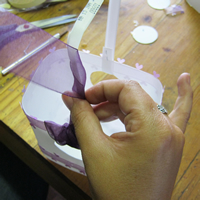
Step 11
When you reach the other side, wrap it from the inside, out through the hole, up and over the lip on either side of the handle, and carefully finish off by tucking the end of the ribbon into the folds.
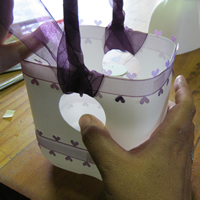
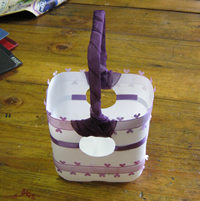
Step 12
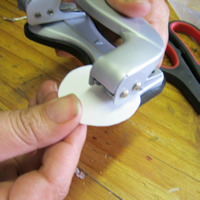
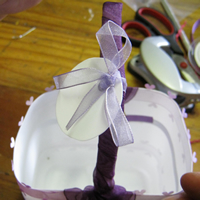
Now we need the plastic circles we cut out in Step 4. Punch a hole in each of them and then use a small piece of ribbon to attach them to the basket, tying with a nice bow to the handle of the upcycled milk bottle Easter basket. These will be your recycled name tags.
Step 13
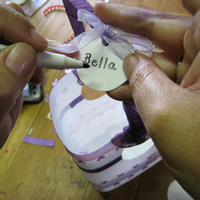
You can write the name of the child/person that the Easter basket is a gift for on one circle, and a short message on the other.
Step 14
Finish your recycled milk bottle Easter basket project off with some tissue paper of the same colour as your ribbon before placing the Easter Egg Goodies within the basket!
Step 15
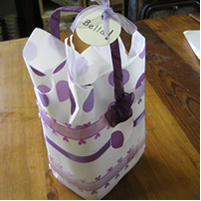
Your recycled milk bottle Easter basket is now complete and ready for use! Give it to someone special for a beautiful handmade gift!


