
Advanced step by step instructions showing how to make a pot stand using an inverted design, presented by Crafty Corner
For any questions contact us via email
This is a great, advanced step by step to create a beautiful mosaic for your home, the post stand can be used indoors or in your outdoor entertainment areas
Follow our step by step instructions to see how to make your own pot stand with an upside down design process
What you need to make and install your mosaic pot stand:
- Mosaic design, drawn to scale on paper
- Mosaic tiles
- Wood glue
- Tile grout
- Oxide to colour grout
- stepping stone
- Sponge
- brown paper
- Old dry towel
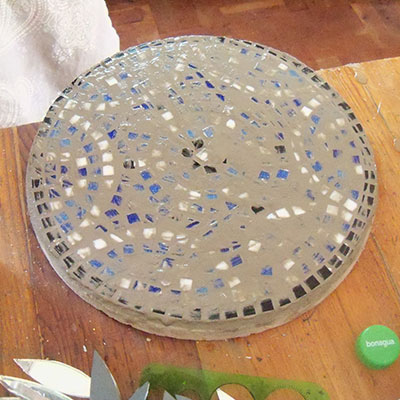
In this project you will notice we are using the traditional river glass mosaics that you find in swimming pools. The difficulty of using them is that the back of the tile is bevelled so you can not lie them face up, especially if you going to cut them into small shaped bits as you see we have done on our pot stand but with this step by step we will show you how to overcome this problem.
Step 1: Settign up your design
Create your design by either printing it onto multiple sheets of paper and joining them or if you prefer just join the sheets of paper to the size you wish to make the mosaic and then draw the design directly onto the paper, remember that any design you create will be inverted when you turn it over later. Make sure that your design is about 1 cm smaller than the completed area. This is to allow for movement and adjustments of the design during the installation process as well as a cement border to make the finished stand more robust and prevent the edge pieces chipping off.
Step 2: glue and placetiles
Start cutting your tiles and placing them on the glue lines face down. by doing it this way you will have a stable design and the face of the mosaic when done will be level. As noted the river glass tiles have a bevelled back.
Step 3: mixing tile cement
When you have completed the design let the glue dry for 2 – 3 hours, preferably over night. When you are ready you need to mix up some tile cement. This you do by adding the powder to your container and then adding water. Add the water slowly as you only want the cement consistency to reach that of tooth paste. It takes a lot more cement powder to “dry” up the water if you put too much in.
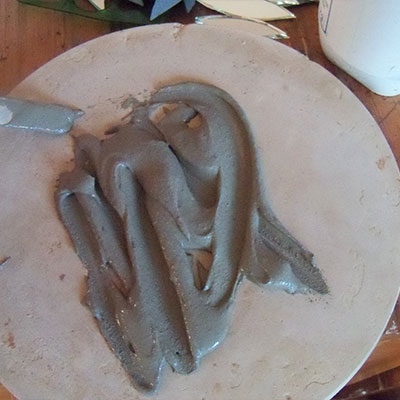
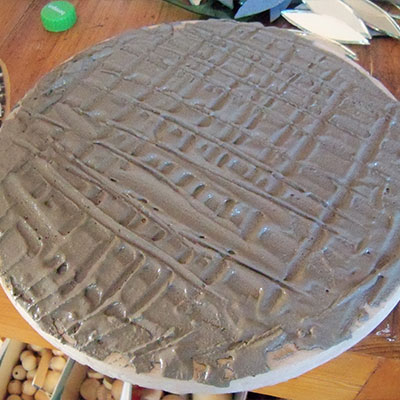
Step 4: prepairing stone with cement for mosaic
Place a large blob of cement onto the stepping stone and spread it evenly over the surface. it is important to try maintain a even thickness as this helps with making the final design level. the reason for the lines is so that when you press your design into the cement there is place for the cement to go as the paper will block the cement coming to the surface.
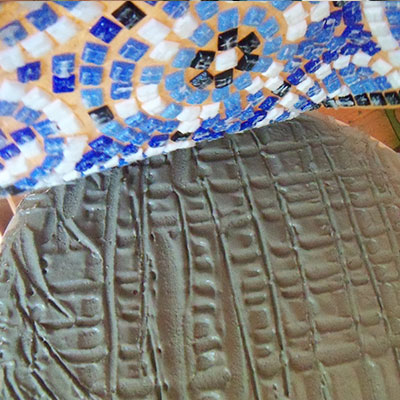
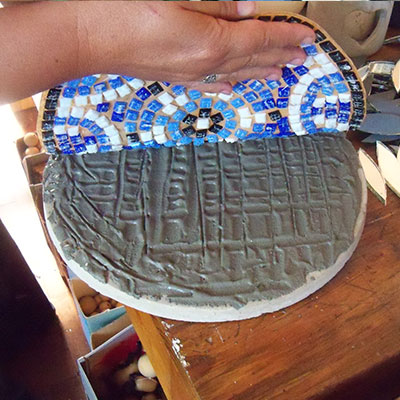
Step 5: Installing mosic
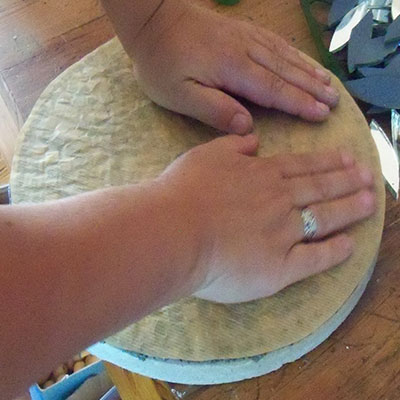
no take your design and align it on the edge of the cemented area. Keeping hold of the one side slowly lower it onto the wet tile cement. Using a rolling action allow the design to settle into the wet cement, this helps with keeping control and keeping it centre all the time as well as allowing air bubbles to not be trapped under the design.
Step 6: Finish off installation
Once the design is firmly in place press it down into the cement. you can use a rolling pin but we prefer our hands as you can feel any uneven areas. Once you are happy set aside and allow to dry over night.
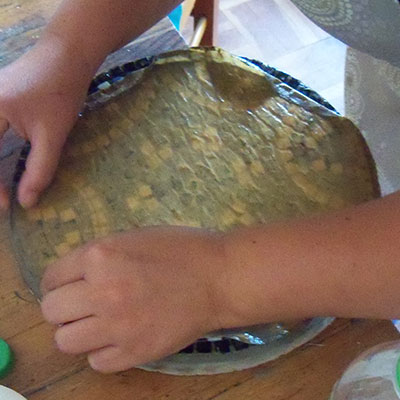
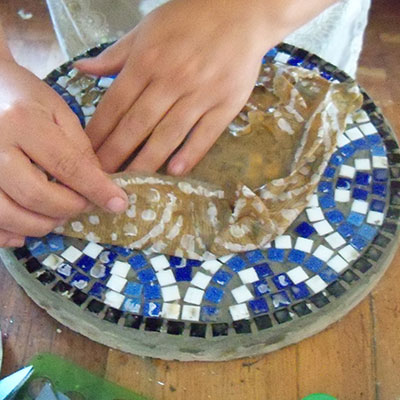
Step 7: Removing paper preperation
Take a wet sponge and now soak the brown paper. Allow the water to soak and soften the wood glue that you used in the start of the project, this will take about 15 min. If you are patient you will be able to pull the paper off in one piece.
Step 8: Grouting mosaic
Once you have removed that paper you can mix the grout. This you do in the same way first the powder then the water. If you are going to colour the grout you should add the oxide first as the two combined while dry will be close to the same colour in the end when the grouting is finished and dry.
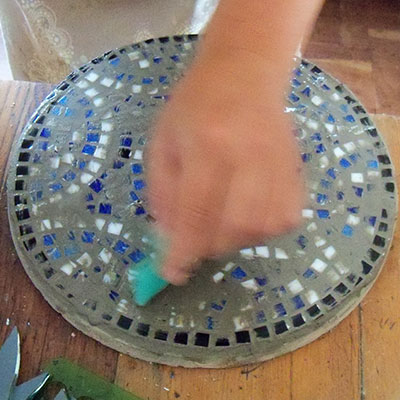
Step 9: Cure
Let the grout dry for at least 2 – 3 hours before you wipe it off with a soft sponge. Leave the mosaic over night to dry and repeat again with water and rough sponge removing any excess and residue glue.
Step 10: Polish mosaic
Finally take a soft cloth and polish off all the dust and you will now have a completed post stand