

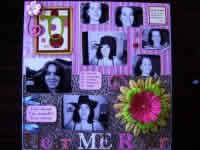
Womans Day Card
Step by step on how to make a Womans day card, as presented by:

For any question contact: Canica

What you need to make a Womans day card:
- 2 X Patterned 12″ X 12″ Papers
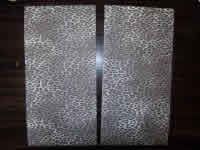
- 1 X Leopard Print 12″ X 12″ Paper
- 1 X Plain Cardstock 12″ X 12″
- Flowers (Optional)
- Chipboard Swirls
- Lettering (for I AM WOMAN, HEAR ME ROAR)
- Ribbon (Optional)
- Stapler
- Adhesives
- Scissors
- K and Company Chipboard Spinner
.jpg)
Read through all the instructions first before starting this craft.
Step 1
Cut you leopard print paper in half.
Step 2
Know stick the one half on the top of the 1st page and the second half on the bottom of the 2nd page.
Step 3
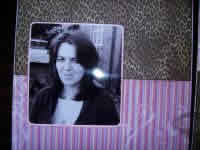
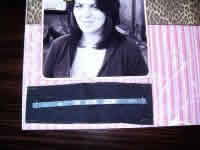
Now you are going to mat the A5 photo. Stick your photo onto the plain card stock leaving an equal border on the two sides. You can then use a pencil and a ruler to draw your guidelines for the other two sides.

Step 4
Cut it out. Matting is an easy way to decorate your pages and it makes your photo pop of the page.

Step 5
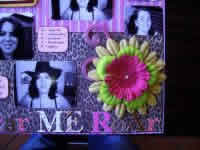
Now stick down your photo towards the top left hand corner.
Step 6
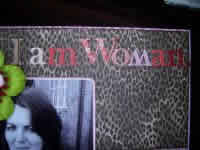
Now stick down a large layered flower on the top left hand side of the A5 photo. As you can see in my photo I used a wooden swirl behind my flower – this is optional.

How to decorate your swirls you can chalk them, paint them, emboss them or leave them plain – its up to you!
Step 7
You are now going to stick down ″ I AM WOMAN ″ on the top right hand side of the page. This is the page title.
Step 8
Now stick down ″ HEAR ME ROAR″ on the bottom of the second page.

Step 9
Now cut a piece of fabric and ribbon that fits under your A5 photo – then staple it to the page.
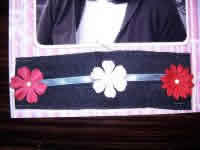
Step 10
Glue 3 flowers down to the fabric strip, or embellish, as you like.
Step 11
I then printed a comment that I got form my husband onto plain card stock and stuck it down on the bottom right corner of the 1st page.

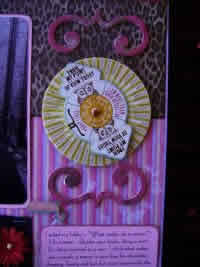
Step 12
I then stuck down the arrow & chipboard spinner.

Step 13
I then used a chipboard swirl bracket on the top & bottom of the chipboard spinner.
Step 14
That is page 1 done!

Step 15
The second page is fun – you already stuck down the second part of the page title – so now play around with your photos and embellishments until you find something you really like.
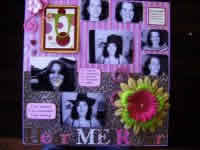
Step 16
I used a large layered flower & a large swirl behind the flower.
Step 17
I used stickers, heart shaped buttons & I printed quotes onto plain card stock & stuck them down between my photo′s

Step 18
I also then stapled 2 pieces of ribbon on the one side.
Other Ideas
Instead of doing a page on your-self you can do a page on a woman who is special to you like you Mom, Sister etc Make a mini album of phenomenal women in your life & why. Or do a page on what makes you a unique woman.