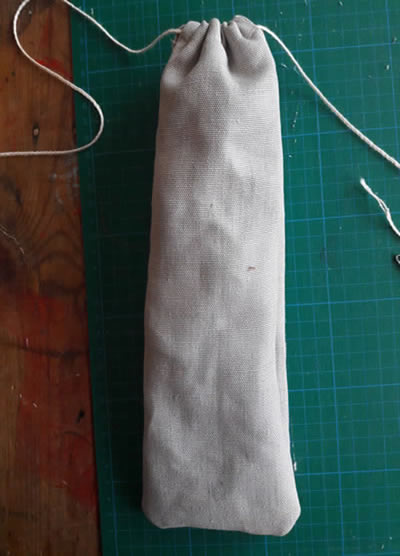
Simple draw string vegetable carry bag

Everyone now and then we all get stuck in a situation where we are in need of a simple draw string bag for storage or to carry few items in.
There is nothing as quick and easy as a draw string bag to make. You can upcycle them out of almost any scraps of fabric that you may have lying around at home.
In our example we have a small piece of printed hemp fabric and would like a small bag to carry veggies in.
These hemp bags are great for vegetable carry bags instead of one use. You can also store your veggies in the bags till you use them which makes them super practical.
What you will need to complete this step by step draw string bag project.
- A scrap of fabric
- String, ribbon or twine
- Scissors / cutter
- pins
- sewing machine
Step 1
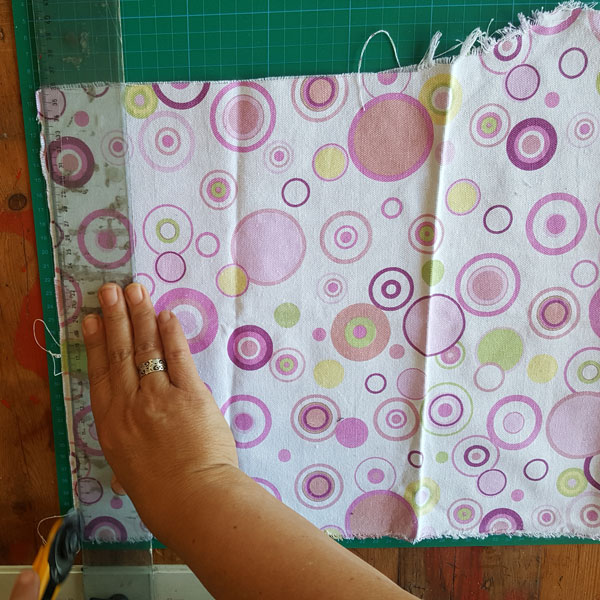
Take a large piece of fabric and fold it in half. Press the folded edge to give you a nice foldline.Step 2
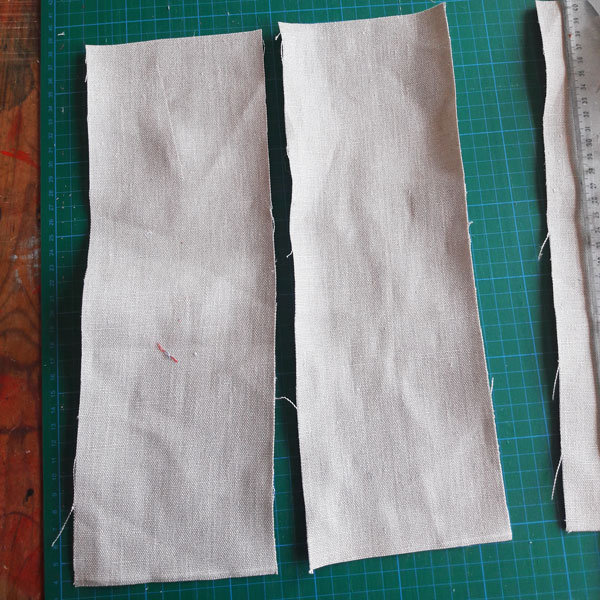
Cut along the fold line giving you two pieces of fabric roughly the same size. If you have smaller bits of fabric you can trim the edges to give you two bit of fabric the same size. You can make your bag any size so I have not included cut sizes in this step by step.
Step 3
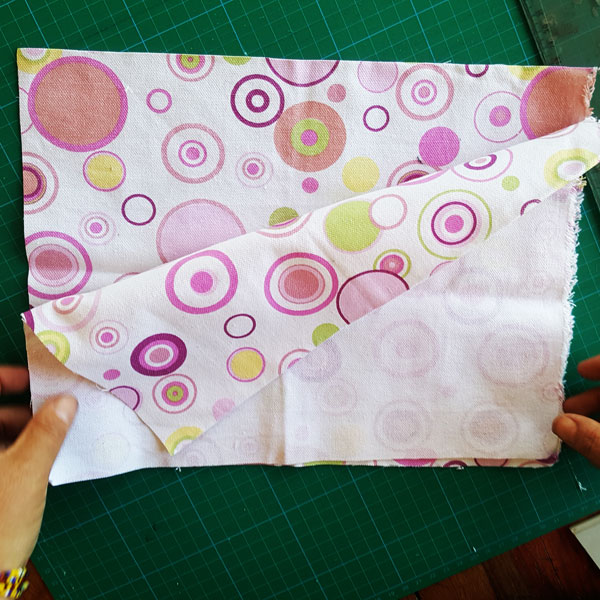
Place the two pieces of fabric on top of each other matching up the edges on all sides. If your fabric is printed and not plain turn it so that the two printed / patterned surfaces are facing inwards.
Step 4
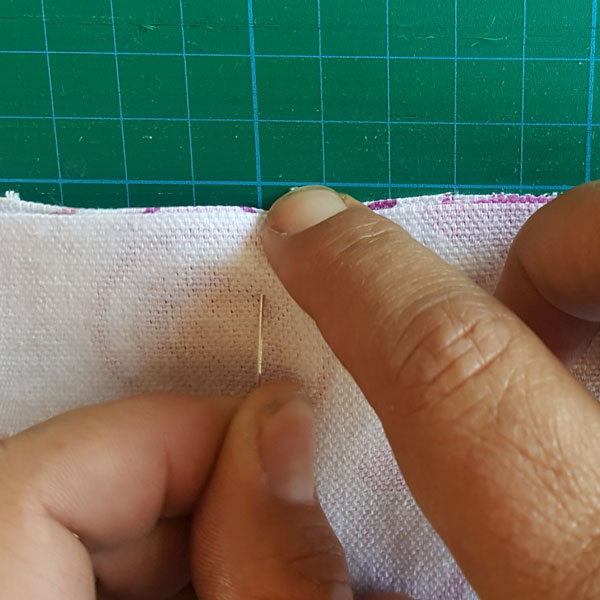
Starting from the, to be top of the draw string bag, measure down 5cm from the top and place a pin though both layers of fabric at 90 deg to what will become the stitch line and then do the same on the other side of your draw string bag.

Step 5
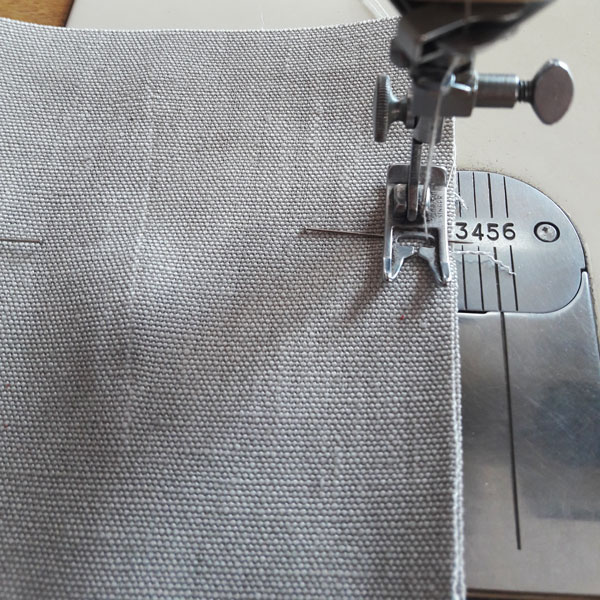
Now it is time to start sewing. Starting from exactly on one pin, 5mm from the edge of the bag, sew about 2cm then reverse back on the stitch line, this is to ensure that your draw string bag will not ever come apart as well as to strengthen the top of your draw string bag, then return to normal stitching. Keep sewing till you get to within 5mm of the bottom of the draw string bag.

Step 6
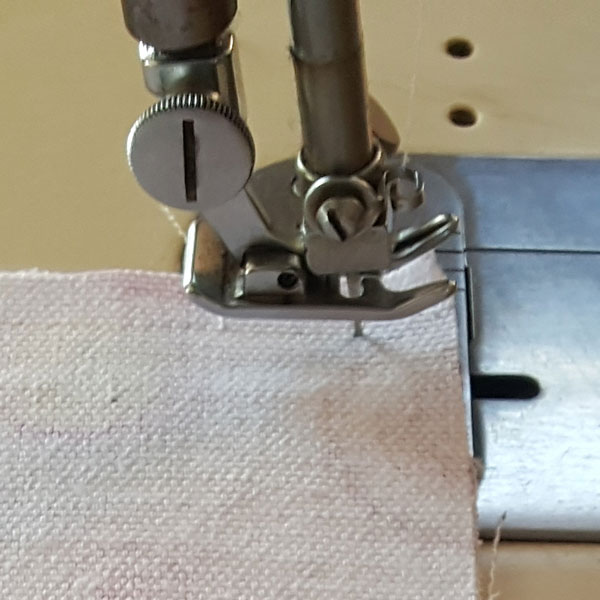
Now that you have reached your first corner on your sewing project advance the machine by hand till the needle is all the way into the fabric or at the bottom of the stitch stroke. Then lift your foot and swivel the fabric 90 degrees. Do it this way ensures continuity of the stitch as well as keeping the two bits of fabric of your sewing project aligned. Now sew along the bottom till you reach 5mm from the next corner.

Step 7
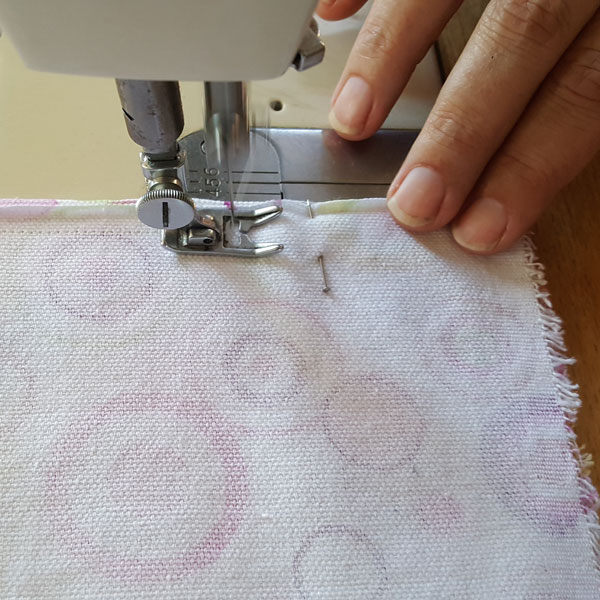
Sew along the bottom of the bag turn the corner in the same way as before, sew till you just reach the next pin. Rather stop just before the pin and advance the last 2 or 3 stitches by hand if you want to be accurate. Now reverse away from the pin by 2cm as we did at the start of step 7 and then back up again to finish off.
Step 8
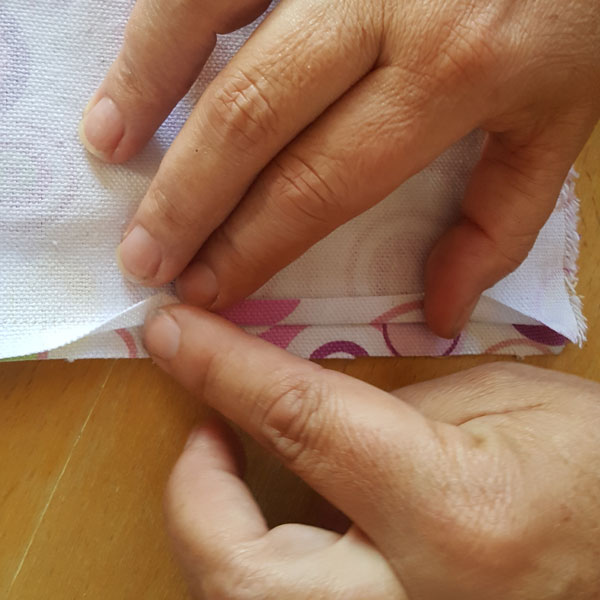
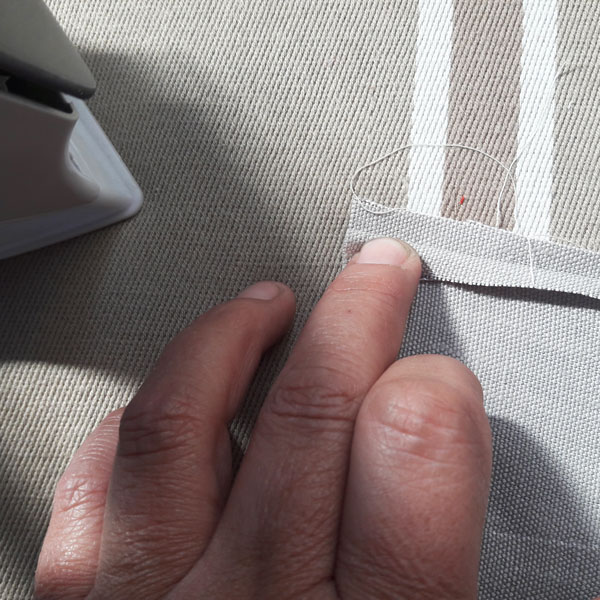
Now you can remove the pins, the next part is not totally essential but it will make for a much neater and easier later steps. Fold back the edges and iron them flat, do this along the sides and the bottom, turn the draw string bag over and do the same on the other side
Step 9
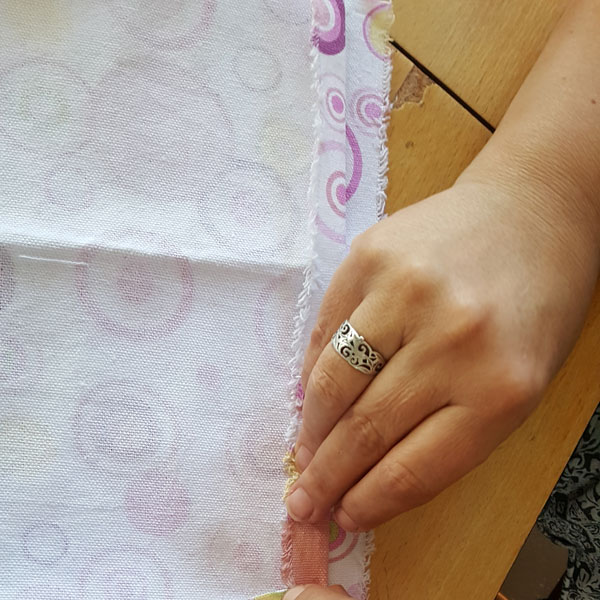
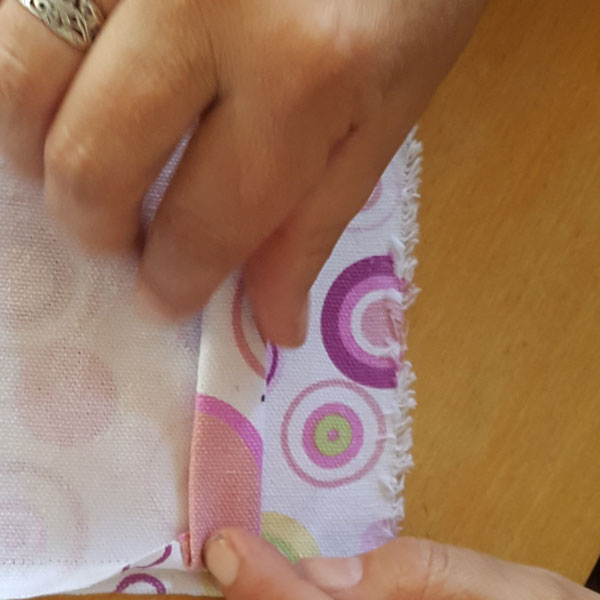
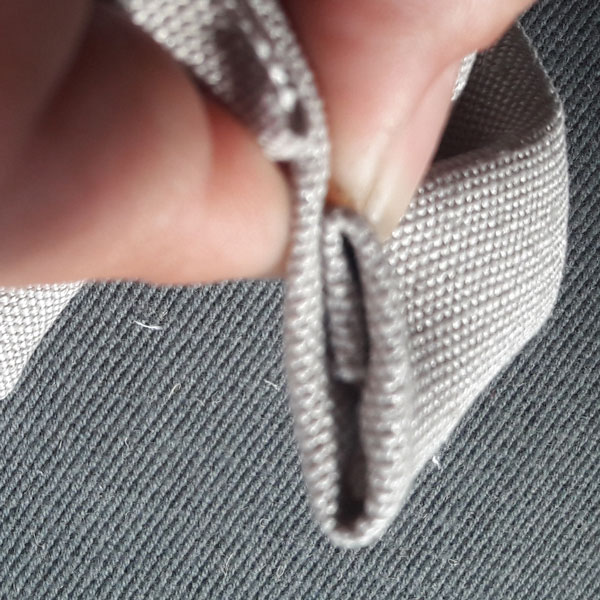
You are going to turn the top of the draw string bag down first by one centermeter then another. Take care that the edges that you have folded and ironed back are square and turnd in with the top. Pin the fold into place
Step 10
As you complete the turn down you will notice that your fold are just above the point where the pins were and where you have sew and secured the sides. Turn the sewing project over than turn the other side of the draw string bag down so that to the two tops match each other. Pin them in place to make sewing easier.

Step 11
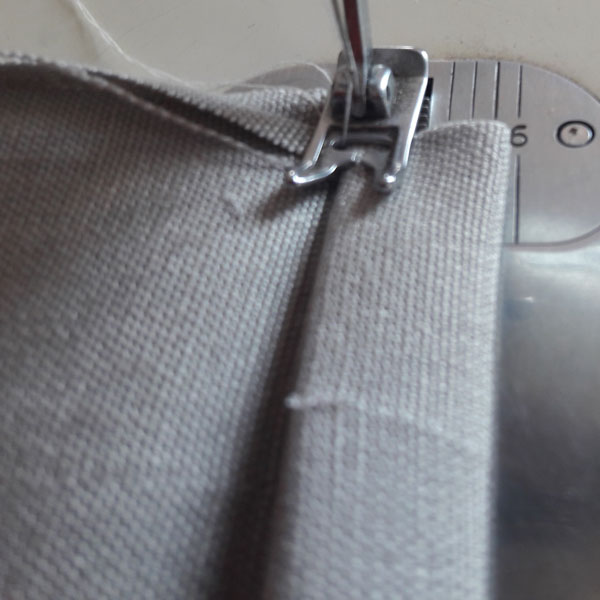
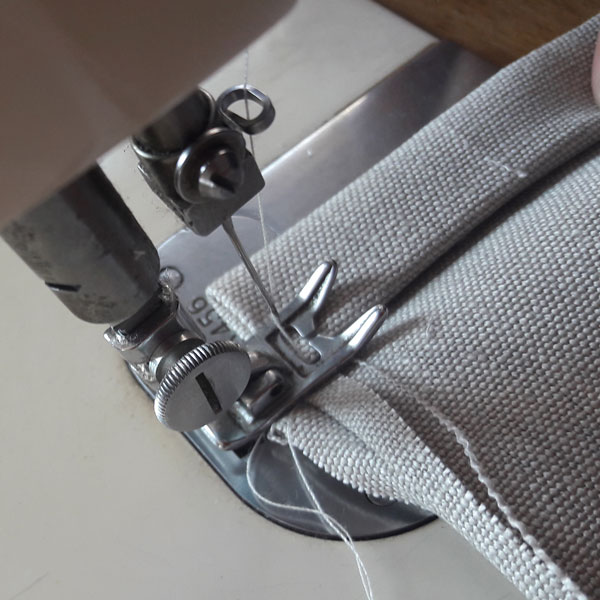
Now you will take your sewing project back to your sewing machine. Fold the bottom edge back and out the way and place the one top edge of the draw string bag under the foot of your sewing machine. Align the needle about 3mm away from the bottom of the folded edges. Sew this in place remembering to do backstitch (reverse) at the beginning and end of your work to secure your stiches
Step 12
Flip the veggie draw string bag over sew the other side in the same way.
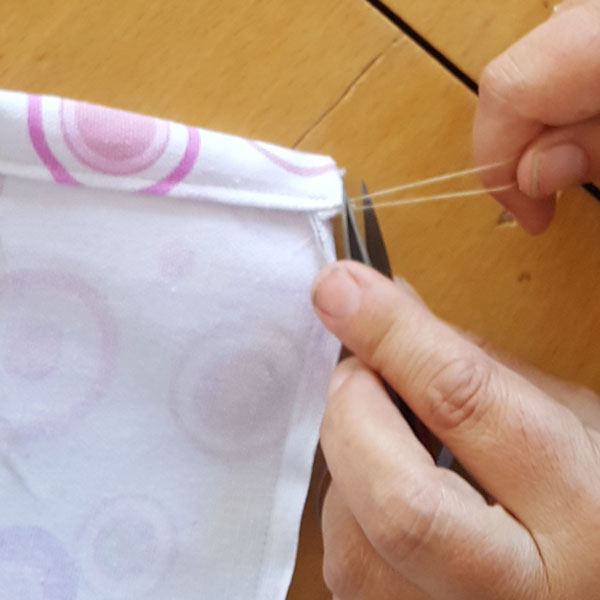
You can now trim off all the excess threads from what will be the inside of your veggie draw string bag.
Step 13
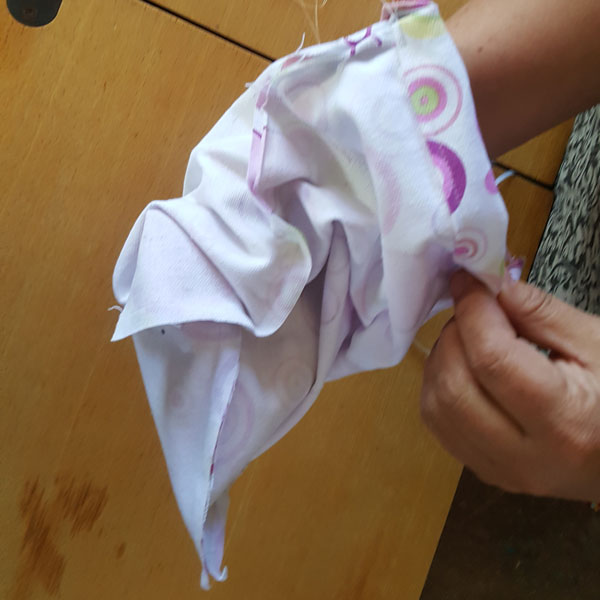
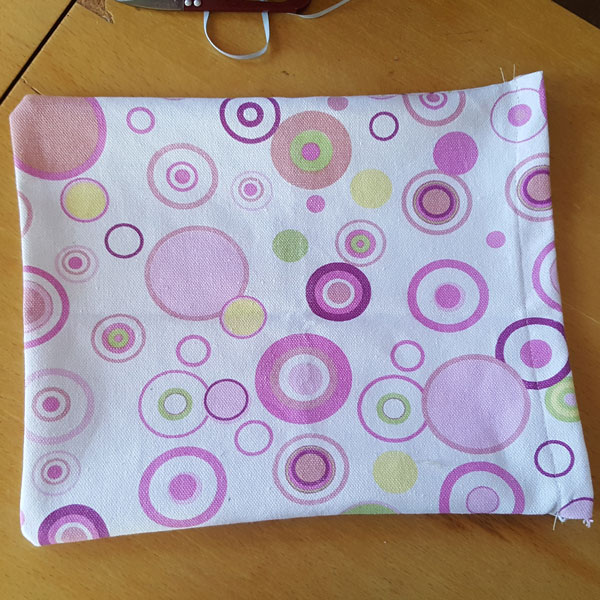
turn the veggie draw string bag the right way around. Pay attention to the corners of your sewing project and ensure that you push them out completely so that the bottom of the draw string bag is as square as you can make it.
Step 14
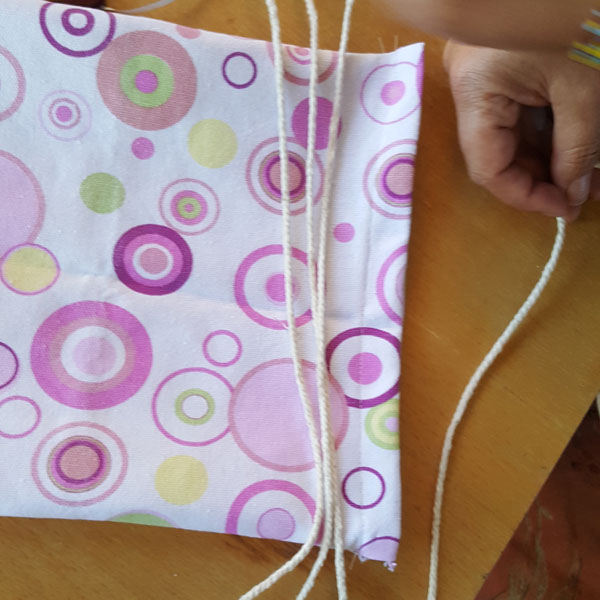
Take a long length of string, twine or ribbon, as you are using natural hemp with our draw string bag sewing project we have chosen to use natural twine for the draw string. You want to make sure you cut the twine long enough so lay it over your sewing project so that it travels back and fourth four times.
Step 15
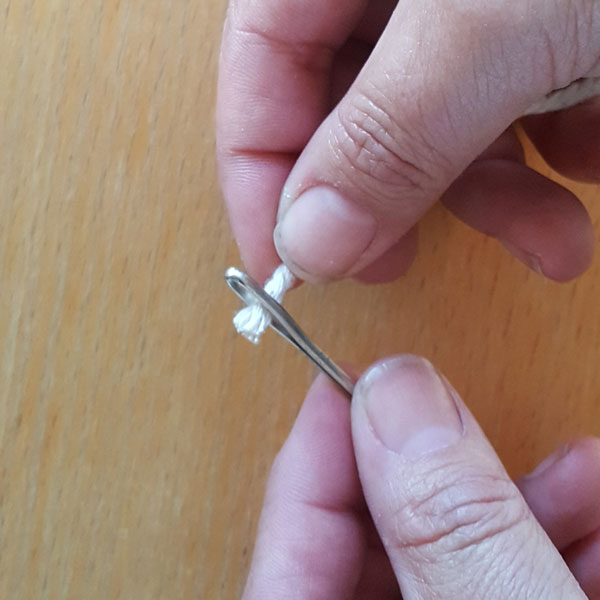
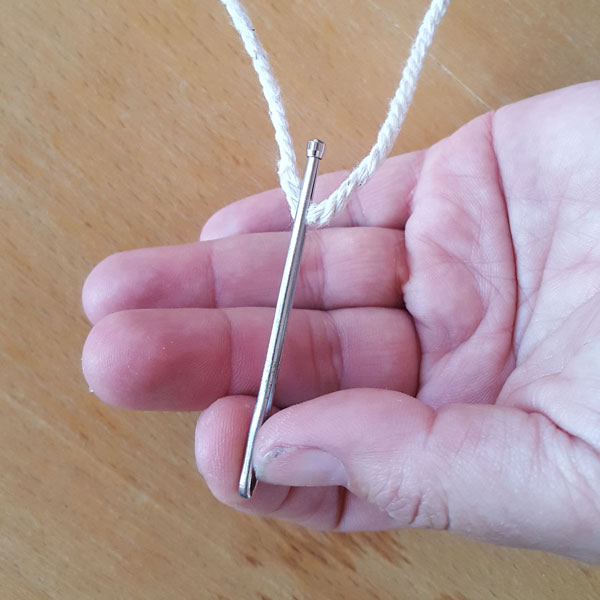
Now take the twine you have cut and thread it though the eye of the threadding bobkin. These bodkins are very useful when you have to push soft string or ribbon though a channel in the sewing project like ours. Once though the eyelet pull the string to the back of the bobkin to secure it.
Step 16
Thread the twin all the way through the front fold on the veggie drawstring bag.
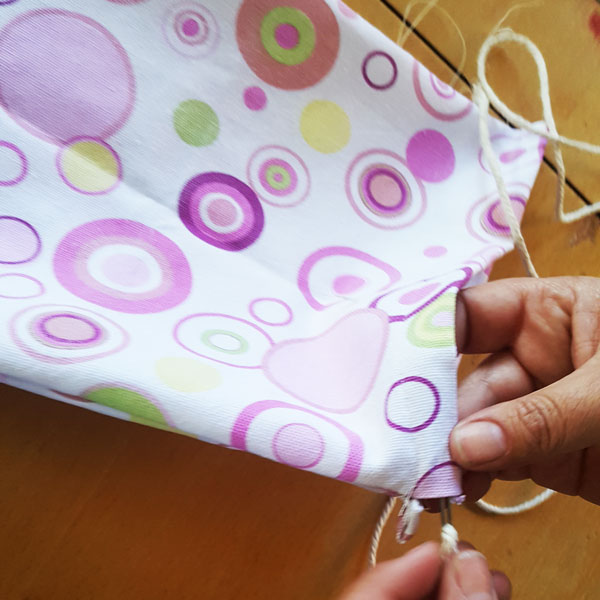
Pull the string all the way leaving about 5cm behind. Now start the process again by feeding it back though the other side of the veggie draw sting bag project. Keep feedign it though till again the needle come out the other side, be carful not to push the edges out. One it is through pull the twine all the way though so there is just a small loop left on that side of the draw sting bag. Notice you now have both end of the stings on the same side of the bag.
Thread the bag jpgStep 17
Finally you want to feed the twine back though the first side of the veggie draw string bag.
Back through front jpgStep 18
Take the bodkin off the twine, tie big knots on each end of the twine so that it will not unravel. You can get more creative here and out a few colourful beads on the end of your string if you like.
Step 19
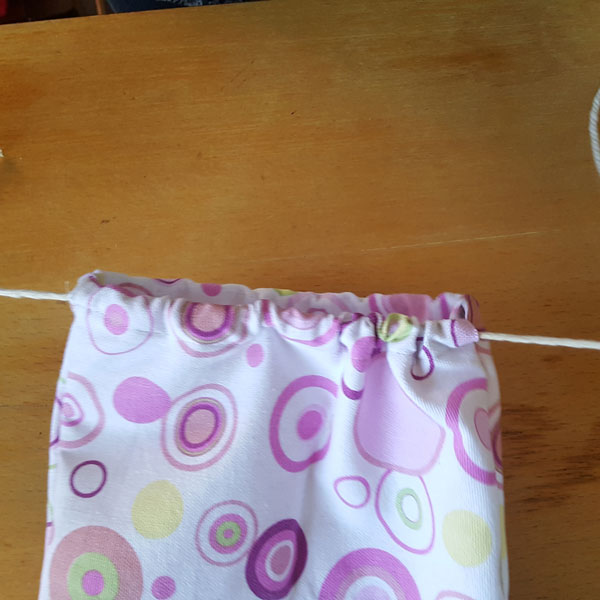
Now you can pull on both ends of the twine and close the top of your draw string bag
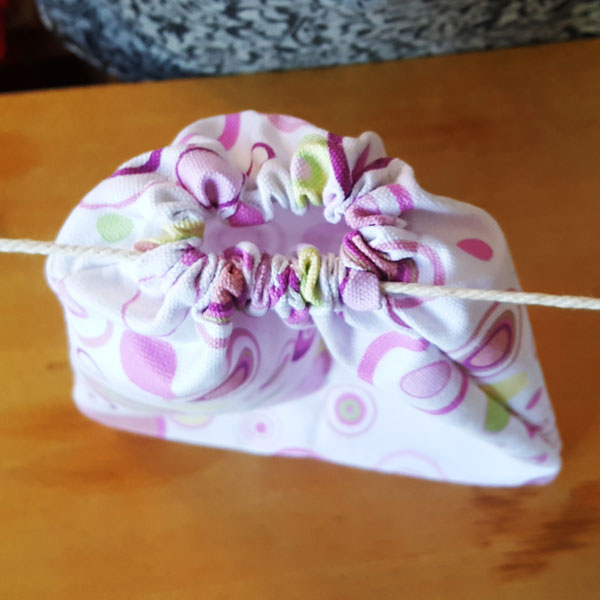
Hope you have lots of please out of your veggie drawstring bag. Happy shopping.

