

Rudolph the red-nosed Reindeer Finger Puppet
Step-by-step on how to make a Rudolph finger puppet, presented by Crafty Corner
For any questions contact us via email

What you will need:
- Rudolph pattern
- Light brown felt
- Brown felt
- White felt
- Red felt
- Scissors
- Construction glue
- Ice-cream stick
- Pins
- Decorations/sequins for eyes
Step 1
Cut out the body pattern for the Rudolph the Red-nosed Reindeer from the pattern template. Templates are available through Winnie
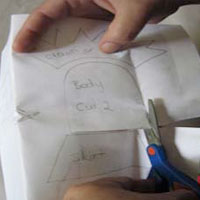
Step 2
Using pins, attach the body template to the light brown felt.
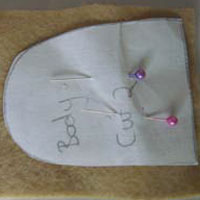
Step 3
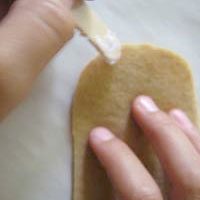
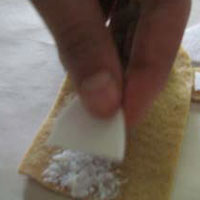
Using a scissors, cut out the pattern of the body. Pin the body template onto another piece of light brown felt and cut it out so that you have two body pieces.

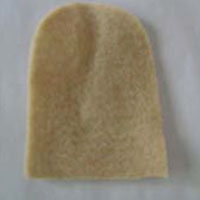
Step 4
Glue the 2 body sections together by placing glue on the ice cream stick and applying glue on the edges of the felt body. Gently place the two sections together. Remember to leave the bottom area open as this is where your finger will be inserted. For an easier idea how to do this, refer to the Father Christmas felt finger puppet.
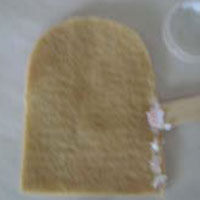
Step 5
Using the scissors cut out the face template. Then, pin it to the brown felt and cut out the reindeer's face.
Step 6
Glue the face onto the body.
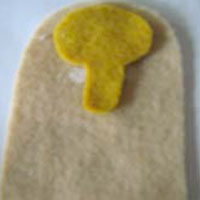
Step 7
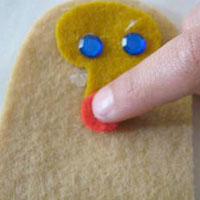
Add dabs of glue on the face section for eyes. Firmly press the eyes and hold for a few seconds to secure.
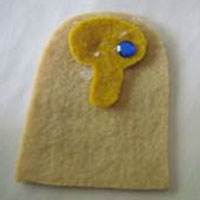
Step 8
Cut out the nose template and pin to red felt. Using a scissors, cut out the nose from the red felt and glue at the bottom of the face to give Rudolph the Reindeer a red nose.
Step 9
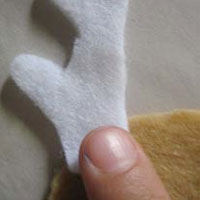
Cut out the template for Rudolphs antlers x 2. Attach to white felt using pins and cut out the antlers with a scissors.
Step 10
Turn the Rudolph the Red-nosed Reindeer finger puppet around so that the back faces you. Apply two dabs of glue on the top of the body piece. The dabs of glue should be evenly spaced to ensure the antlers are equal distances apart.
Step 11
Glue both the antlers gently to the body piece.
Step 12
Cut out the tummy templete, pin it onto the white felt and cut out the tummy. Apply glue and gently stick the tummy onto the bottom part of Rudolph the Red-nosed Reindeer's body.
Step 13
Your Rudolph the Red-nosed Reindeer finger puppet is now complete!