

Bottole top Christmas decorations
Easy step by step instructions showing you how to make your own Christmas decorations from recycled flattened bottle tops and glitter.
Step by step instructions showing how to make your own bottle top Christmas decorations, presented by Crafty Corner
For any questions contact us via email

What you will need:
- Bottle tops
- Modge podge glue
- Glitter colour of your own choice
- Paint brush
- Hammer drill or spike
- Cotton or waxed cord
- Scissors wooden block

Read through all the instructions first before starting this craft. Make sure you have everyting you will need at hand and your working area is clean and tidy. Cover your surface with plastic or brown paper.
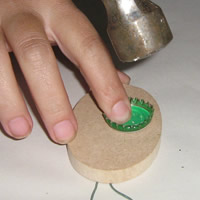
Step 1
Work this step on a block of wood to protect your table flatten your bottle top. With you hammer, be very careful not to hammer your finger. Turn the top over and hammer it from an angle. To push the side out. Once the sides are mostly flat you can turn it over and hammer the bottle top from the top side.
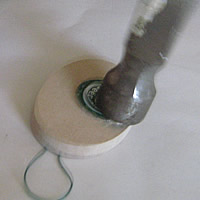
Step 2
We also going to our block of wood in this step to prevent drilling into your work surface. Drill a small hole into your flattened bottle top near the edge of the top.
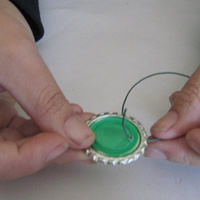
Step 3
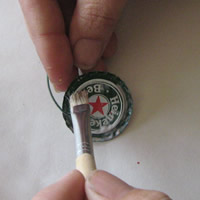
Tie a bit of thread cord onto this. This will be where you hang up your decorations from.
Step 4
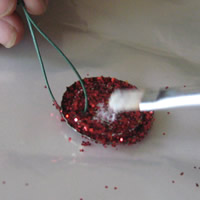
Paint your bottle with modge podge.
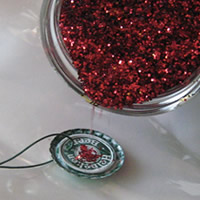
Step 5
Place a bit of plastic down on our work space and sprinkle glitter over your bottle top.
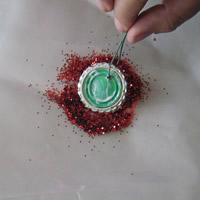
Step 6
Place your bottle top to one side and leave to dry. When dry gently tap or shake the bottle top to remove excess loose glitter.
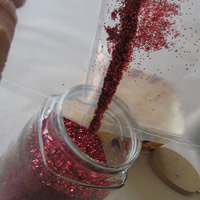
Step 7
When you have finnished with one colour glitter you can lift your plastic up and sprinkle the excess glitter back into the jar.
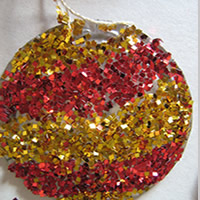
Step 8
You can now repeat the above step to the other side of the bottle top with a different colour or even make patterns with you glitter to make you decoration more exiting. You do this by first painting the design, with your modge podge, where you want glitter to stick and then sprinkle glitter on. Wait for it to dry and then finish off the decoration by painting the balance of the areas and covering with glitter.
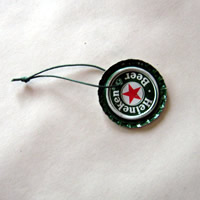
Step 9
Once they are dry you can hang them on your tree.
Note:
To make the decoration last longer and make it stronger you can water down the modge podge, 3 parts water 1 part podge, and put it in a hand spray gun and give each top a squirt of the mixture. This will ensure that the glitter is completely bonded and prevent little loose flakes of excess glitter falling off.