Wire heart door hanger
Step by step instructions showing how to make your own Valentines wire heart door hanger, presented by Crafty Corner
For any questions contact us via emailThis wire heart requires some hand sewing but it is a lot easier to make then it might seem. Working with wire can be fun and you can make quite a few really stunning goodies with wire. We use standard galvanized wire that you can find at most hardware stores. Follow our easy step by step instructions to see how to make your own Valentines wire heart door hanger.

What You Will Need:
- 2mm galvanized wire about 20cm in length
- Thin wire about three meters
- A few matching colour beads
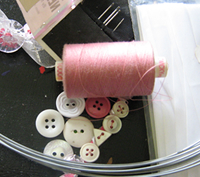
- Old buttons
- Bias binding
- Needle
- Cotton
Step 1
Cut a bit of your 2mm gauge wire about 20cm in length
Step 2
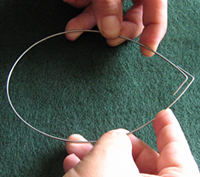
Turn the wire till the two bits meet at the bottom and then bend one end up at about the two cm mark. Dont bend it back all the way only a bit. Do the same to the other end so that the bottom of the two bits form the point of your heart at the bottom. They need to be bent at about a 45 degree angle.
Step 3
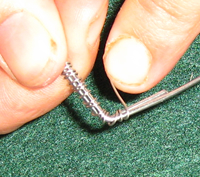
With your thin wire cut about a 30cm bit to tie the two bottom bits with. Find the middle point and start winding the thin wire around the two bits of thick wire so that you tie the two bit together. Start in the middle and join the one side by winding the thin wire tightly around the two bits. Once the one side is tied in you can tie the other side in with the other half of the thin wire.
Step 4
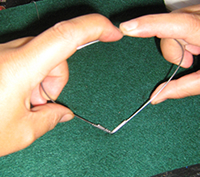
We are now going to bend the top section of your heart to form the two bumps at the top. Do this by finding the middle of your bump on top of the loop. Gently start bending it down trying to force the middle section in. The wire will bend quite easily. Once you get the fold in you can shape the two bumps to look even. Make a nice shape heart with nice big bumps.
Step 5
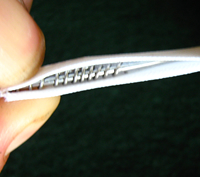
You need to chose a colour bias binding that suits the colour buttons you have chosen and then sew the bias binding around the heart.
Step 6
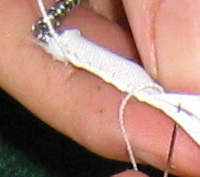
Make sure you close up all the wire into the bias binding. you going to be sewing the entier thing on by hand using a small slip stitch. If you cant sew or dont want to you can use fabric glue to glue the bias binding on. You can also just wrap the heart in ribbon or bias binding and tie the end off.
Step 7
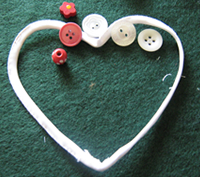
Place your wire heart onto the table and plan out your design.
Step 8
Once you know what button is going to go where you can then sew them in place.
Step 9
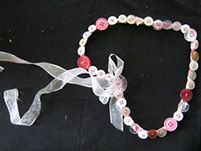
Tie a 40cm ribbon to the top of your heart to hang it up with.
Step 10
Hang your heart on a door handle to brighten up the passage or entrance to a room.

Have fun, and Happy Valentine's Day!


