

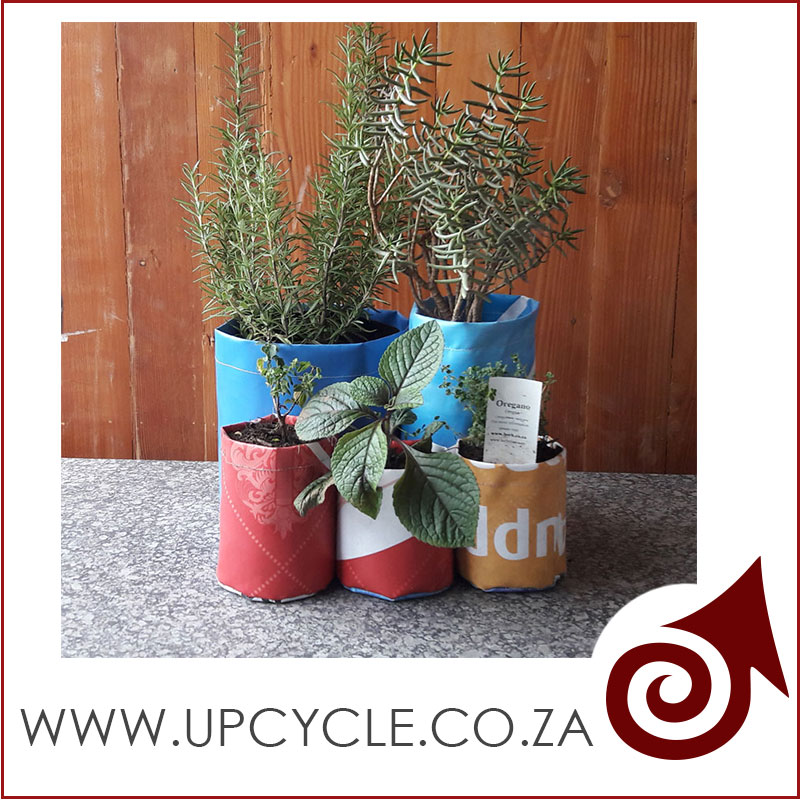
Recycle Canvas Billboard Banner Planter
Step by step on how to make a really functional and charming pot plant holder out of old canvas pull-up bannersWhat you will need
- Recycled canvas billboard banner
- Scissors
- Ruler
- Sewing machine
- Marking pen
TIP: You need to use the billboard banners that are made with a plastic backing, this helps the pot plant to remain waterproof, to keep all the soil in and it will last much longer if it's made from a plastic one. You May use a fabric one but it won't last as long as the plastic version.
Step 1
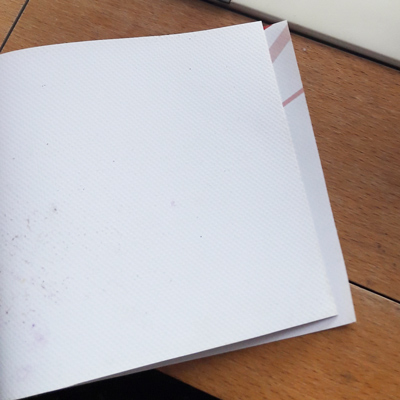
Decide what size you want your pot plant to be, I'm going to be using 2 bits of off cuts from a project I've done previously to this, so I already have two pieces of canvas. The one is 40 cm long by 18 cm in height; this will be the sides of the recycled pot plant holder. We also need another piece for the base but we can determine its size once we have done the sides of the planter.Start by folding the 40 cm by 18cm bit of canvas in half.
Step 2
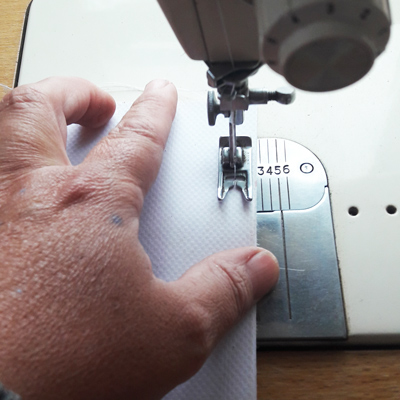
Sew the banner in half with a tacking stitch from the top to bottom this will keep it in place; this is not your secure stitch it's just a temporary holding stitch.
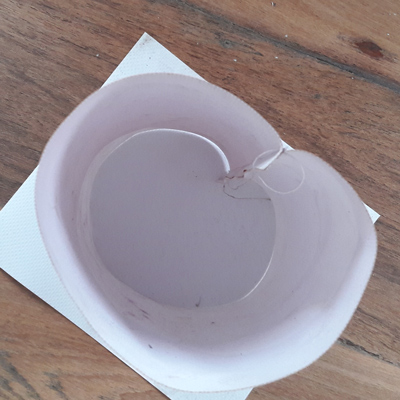
Step 3
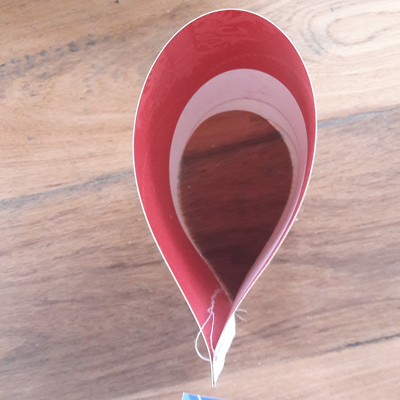
Open up your sewn together canvas which is now a circle and turn the entire thing inside out. This is not easy to do because the plastic sticks on itself but with a little bit of effort it can be done.
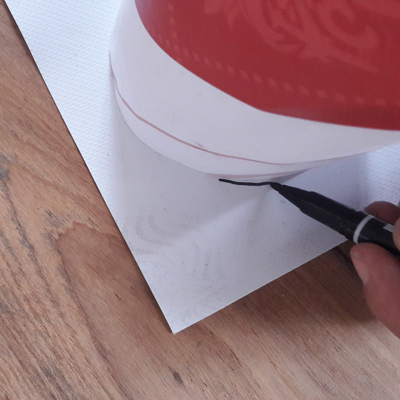
Step 4
Try shaping your circle to be as round as possible by placing one hand inside the circle and work around the circumference. We are now going to place this circle onto our other piece of canvas and using a marking pen we are going to trace around the outside of the circle onto the canvas that we have placed as the base.
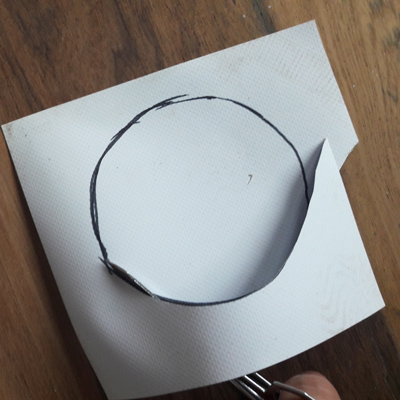
Step 5
Cut out the circle, it doesn't have to be perfectly round, as long the general shape is there.
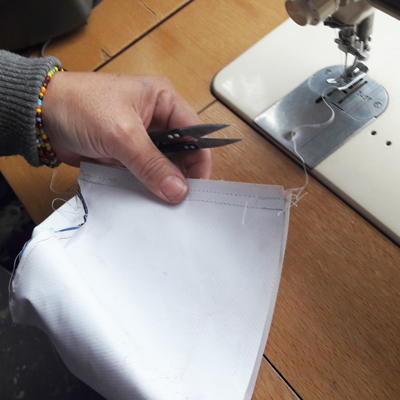
Step 6
Using a quick unpick or scissors undo the tack stitching that we did when we folded the canvas in half. If we are going to make more than one pot plant holder you dont have to do the first step as you will already know the size of your base.
Place your circle on top of your long 40 cm high strip and adjust it so that both edges meet. Make sure that the correct side of the canvas is facing inwards so that when you turn it inside out your design is facing outwards.
Place this under your sewing foot 5mm from the edge.
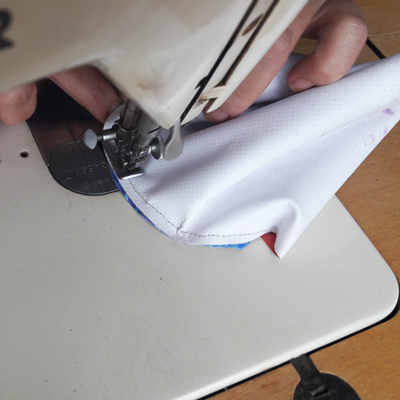
Step 7
As you sew you are going to slowly turn the circle so that the circle always stays next to the edge of the bottom canvas. It can get a little bit difficult towards the end because you start running out of space and you need to be turning your circle and keeping everything together.You need to manoeuvre it a little bit and wiggle around and trying to keep your sewing machine foot just at 5 millimetres away from the edge.
Step 8
We now sew the sides back together with a stronger stitch and remember to back stich at the top and bottom of the wall, this is for added strength.
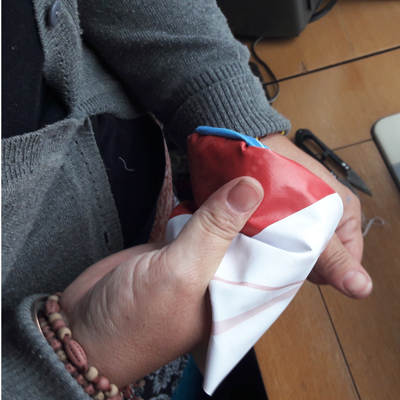
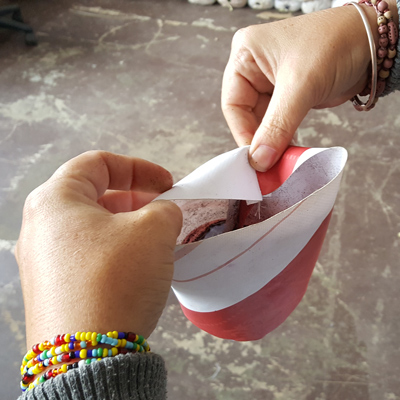
Step 9
Turn the planter inside out, this is not very easy to do because the plastic is very sticky and the smaller your project is the harder it will be, but with a bit of effort and hard work youll manage, you may need a pair of pliers or something to help pull it through.

Step 10
Open up the seam and try press it flat,
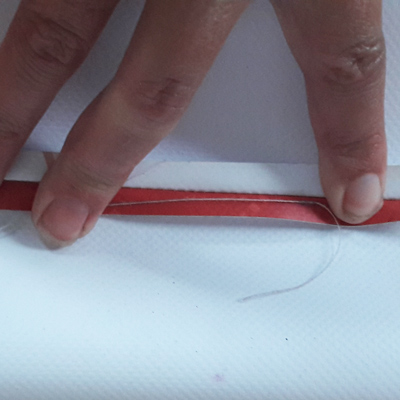
Take the top edge of the canvas and fold it inwards about halfway to get a more rigid pot plant holder, you also get a much nicer finish because you don't see your sewing edges and it is now a stronger and much more sturdier billboard planter.
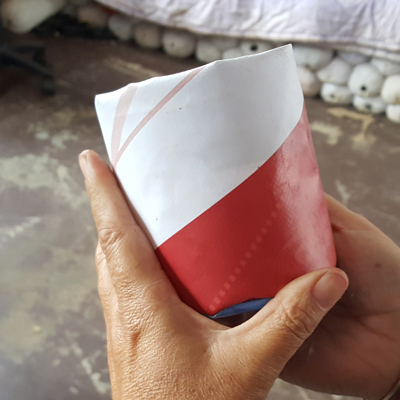
Step 11
All that remains now is to choose a nice little plant, add some potting soil, plant your plant and you have an awesome pot plant. Pic planting in canvas billboard banner
Dont forget to water your plant.
Tip:
You can use a spritzer bottle to water the plant and its is also helpful to remove dirt from the planter.
What's great about this recycle billboard planter is they last a very long time and are very easy to keep clean aside for the obvious aspect of saving the planet!!!
