A simple sewing and upcycling project using fabric, batting, and a small metal tin
This upcycled tin pincushion is a practical and satisfying craft that turns a small donated tin into a useful sewing accessory. The project combines basic hand sewing with simple construction techniques to create a pincushion that also doubles as a storage container for needles and small sewing tools.
This project is well suited to beginners and works particularly well for workshops, craft parties, and team-building activities. It introduces foundational skills such as measuring, gathering fabric, stuffing evenly, and working carefully with adhesive. The finished pincushion helps keep sewing tools organised and safely stored in one place.
Because the project uses needles, scissors, and a two-part epoxy adhesive, adult supervision is recommended, especially when working with younger participants.
Presented by: Crafty Corner
‘Skill level: Beginner
Age suitability: 8+ with adult supervision
Supervision note: Uses needles, scissors, and two-part epoxy glue; adults should assist with cutting and gluing
Youtube video
What You Will Need
- A small metal tin with a lid
- Cardboard
- Lightweight cotton fabric
- Batting or wadding
- Needle and thread
- Paper scissors
- Fabric scissors
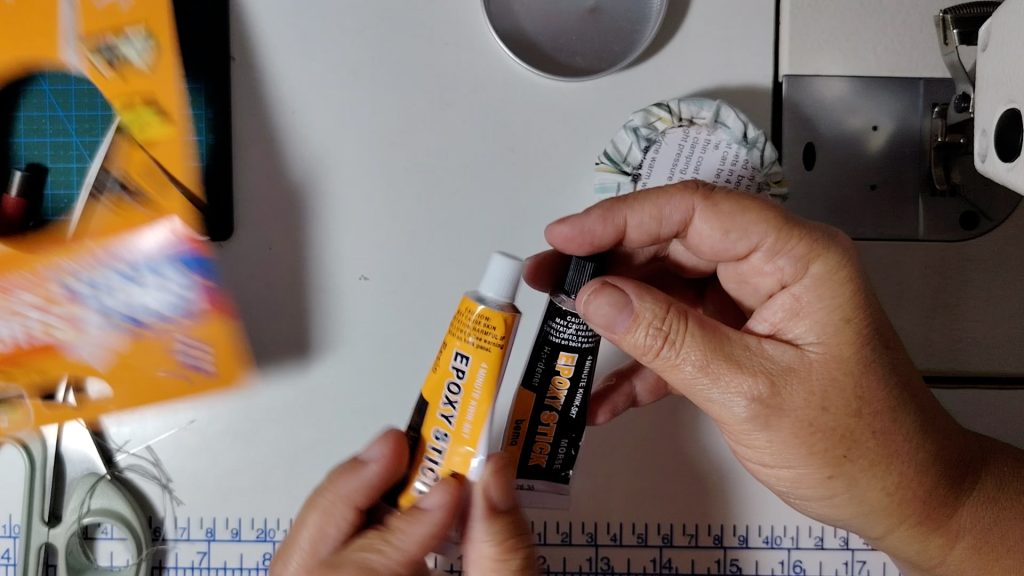
- Two-part epoxy glue
- Masking tape (optional but helpful)
- Pins and needles
Before you start
Before beginning the project, lay all materials out on the table so participants can clearly see how the pieces relate to each other. This helps learners understand the process and reduces confusion during the sewing and assembly steps.
If working in a group:
- Pre-cut cardboard circles can save time
- Epoxy glue should be mixed and applied by a facilitator
- Younger participants can focus on fabric gathering and stuffing, while adults handle cutting and gluing
Ensure everyone understands basic needle safety before starting, and remind participants to use paper scissors for cardboard and fabric scissors only for fabric.
Step by Step instruction
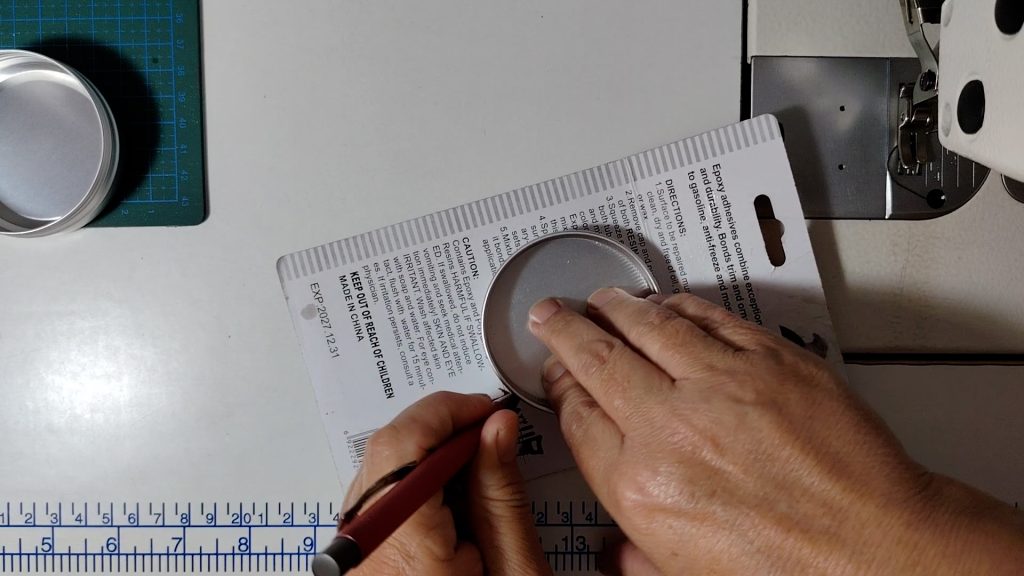
Step 1: Trace the Tin Lid
Start by finding a piece of cardboard.
Place the tin lid onto the cardboard and carefully trace around the outside edge. This traced shape shows you exactly how big the pincushion base needs to be so that it fits neatly inside the lid.
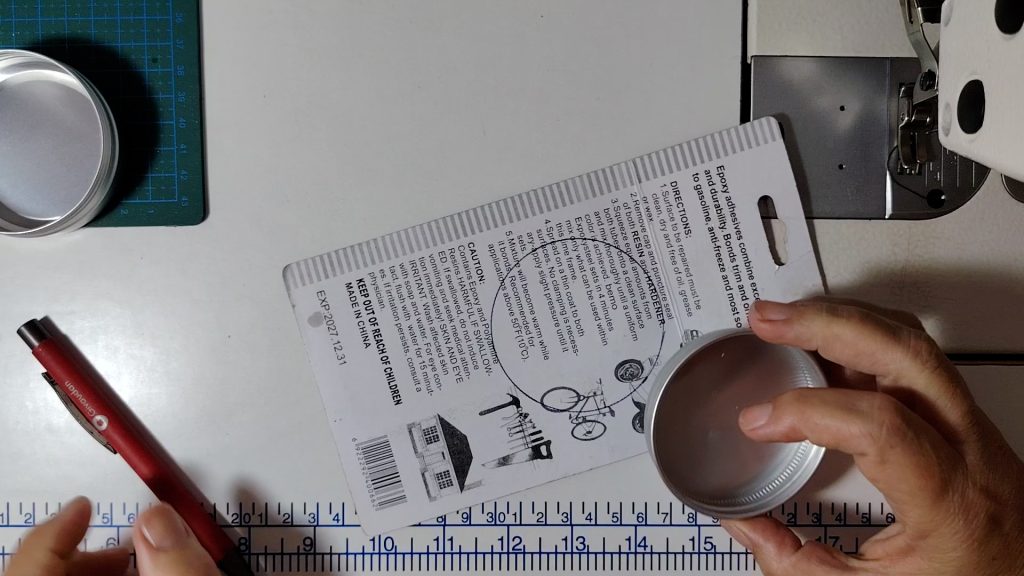
Step 2: Draw a Slightly Smaller Circle
Inside the circle you’ve just traced, draw another circle that is about 2 mm smaller all the way around.
This step is important because the tin lid has sides, and the cardboard needs to sit inside those sides rather than on top of them.
Step 3: Cut Out the Cardboard Circle
Cut out the smaller circle you just drew.
At this stage, remember to use paper scissors, not fabric scissors. Even though this is a sewing project, cardboard will quickly blunt fabric scissors and damage them.
Set the cardboard circle aside for later.
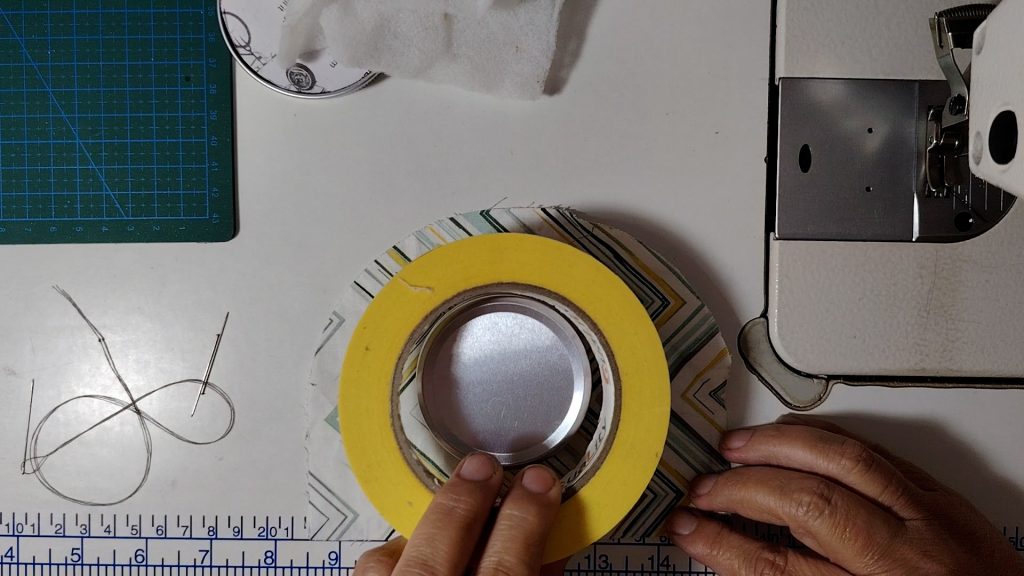
Step 4: Trace the Fabric Circle
Take your lightweight cotton fabric and lay it flat.
Place the tin onto the fabric and trace a circle that is about 2 to 2.5 cm bigger than the lid.
A simple way to do this is to place the tin inside a roll of masking tape and trace around the outside of the tape.
This extra fabric allows room for gathering and stuffing.
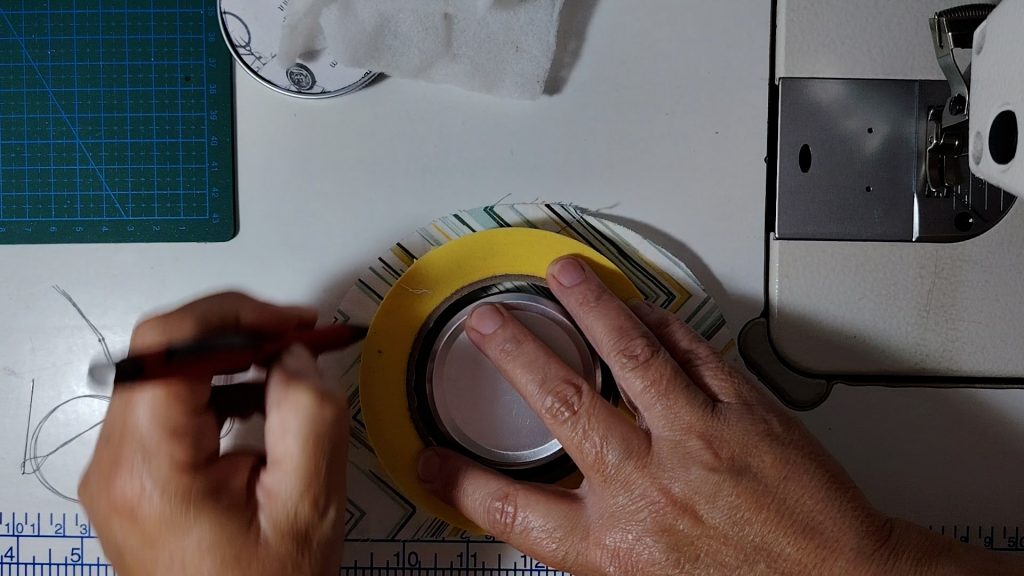
Step 5: Cut the Fabric
Using fabric scissors, cut neatly along the line you traced.
You should now have a clean, even fabric circle.
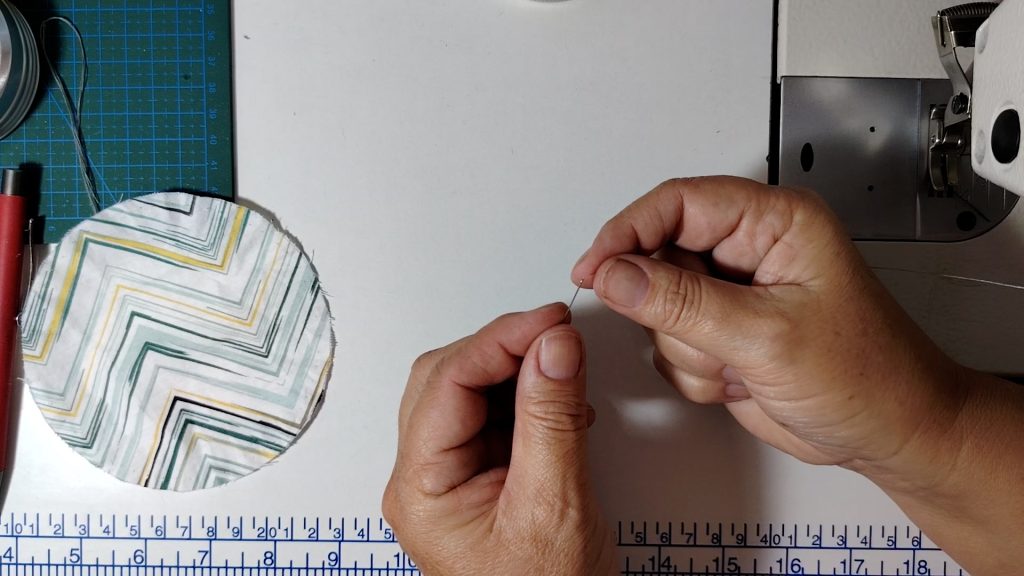
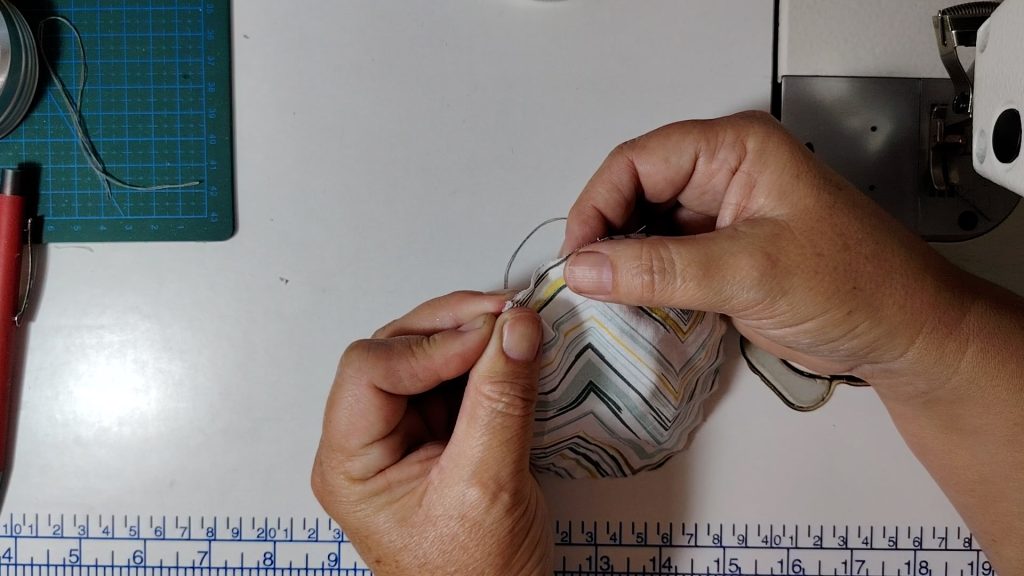
Step 6: Sew a Tacking Stitch Around the Edge
Thread your needle and tie a knot at the end of the thread.
Sew a tacking stitch around the edge of the fabric circle:
- Keep stitches about 1 cm apart
- A loose zigzag motion works well
- Continue stitching all the way around until you return to where you started
Do not pull the thread tight yet.
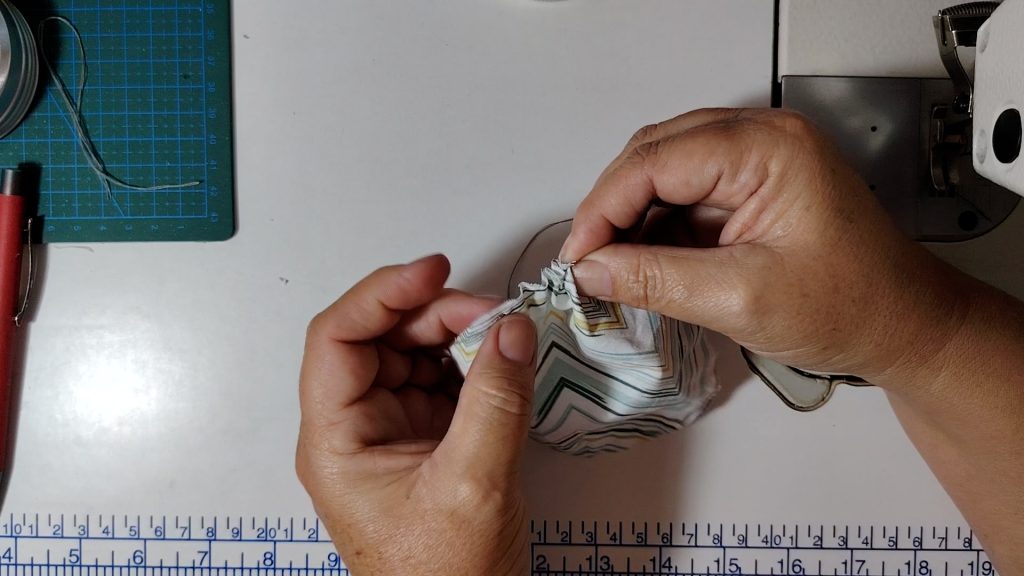
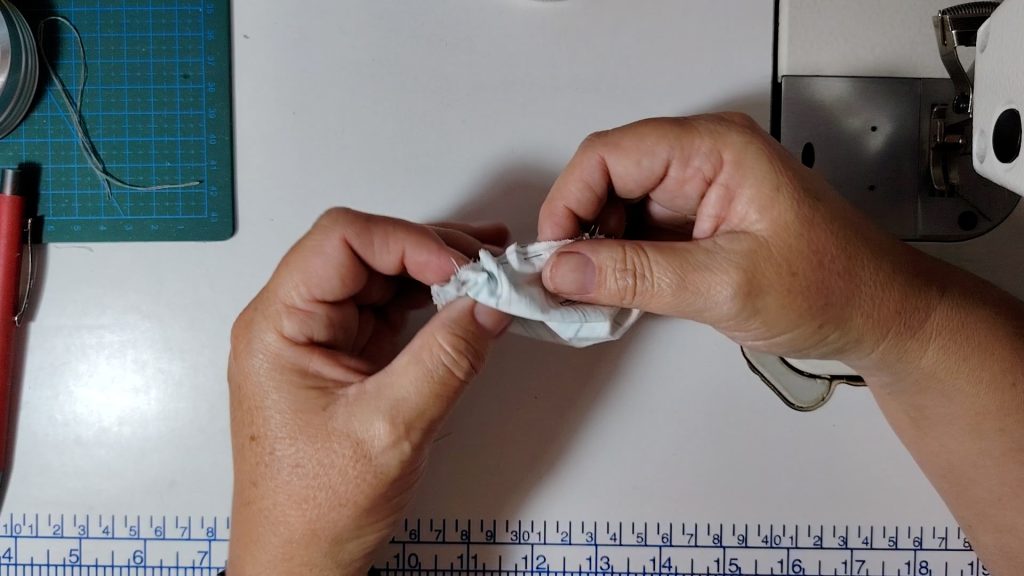
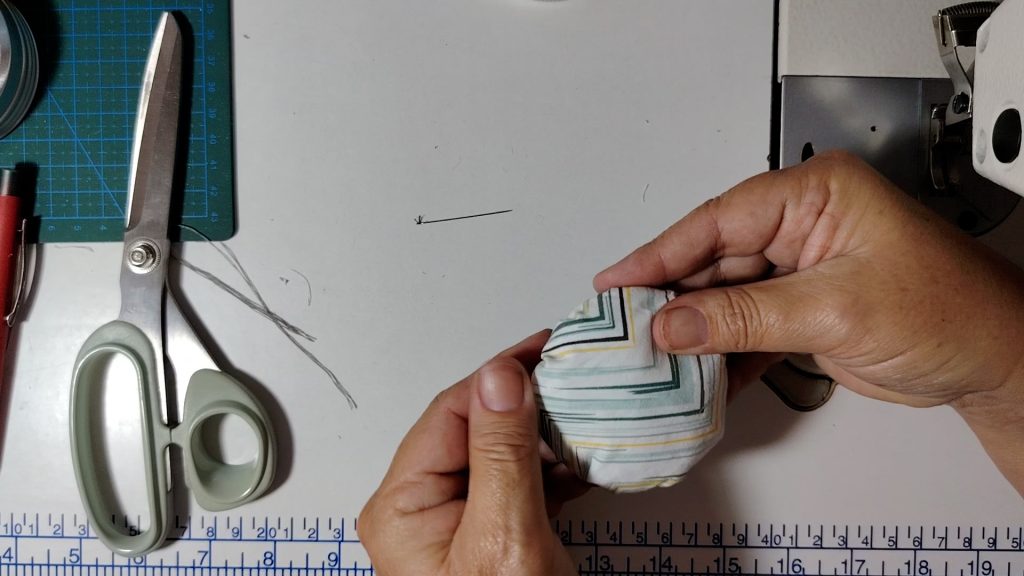
Step 7: Form the Fabric Pocket
Once the stitching is complete, gently pull the thread so the fabric starts to gather.
Turn the fabric so the right side is facing outward, forming a shallow pocket.
Take a moment to spread the gathers evenly so the opening remains circular and balanced.
This will help the finished pincushion sit evenly later on.
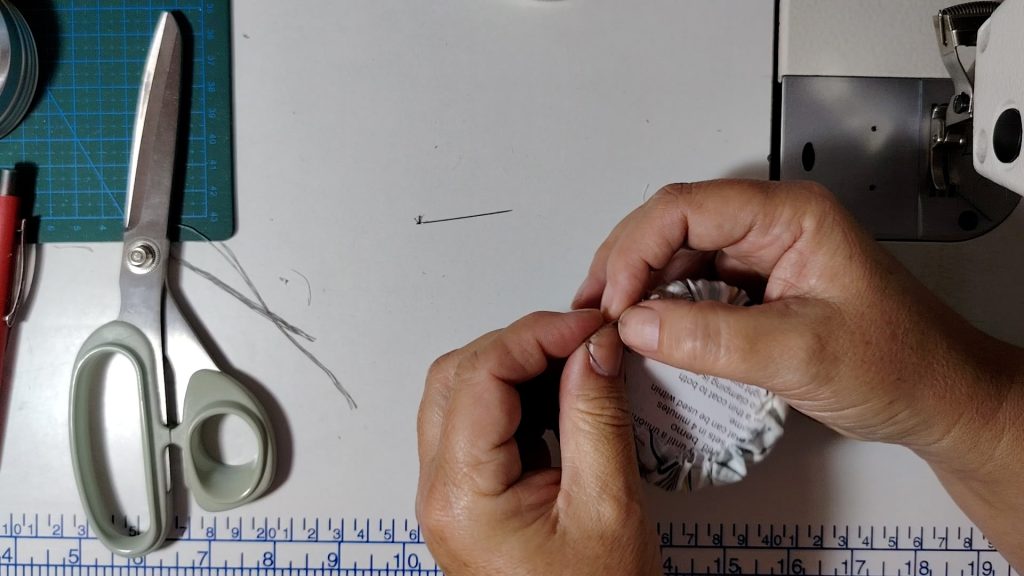
Step 8: Prepare and Add the Wadding
Take your batting or wadding and cut it into small pieces.
Avoid using large chunks, as these will create lumps in the pincushion.
Gradually insert the small pieces into the fabric pocket, filling all areas evenly until the cushion feels soft but well padded.

Step 9: Insert the Cardboard Base
Before closing the fabric completely, take the cardboard circle you cut earlier.
Place it on top of the wadding and carefully tuck it underneath the gathered fabric edge, sliding it under the tacking stitches.
This creates a flat, firm base that will later be glued into the tin lid.
Pinch and adjust the fabric as needed to make sure the cardboard sits neatly and evenly.
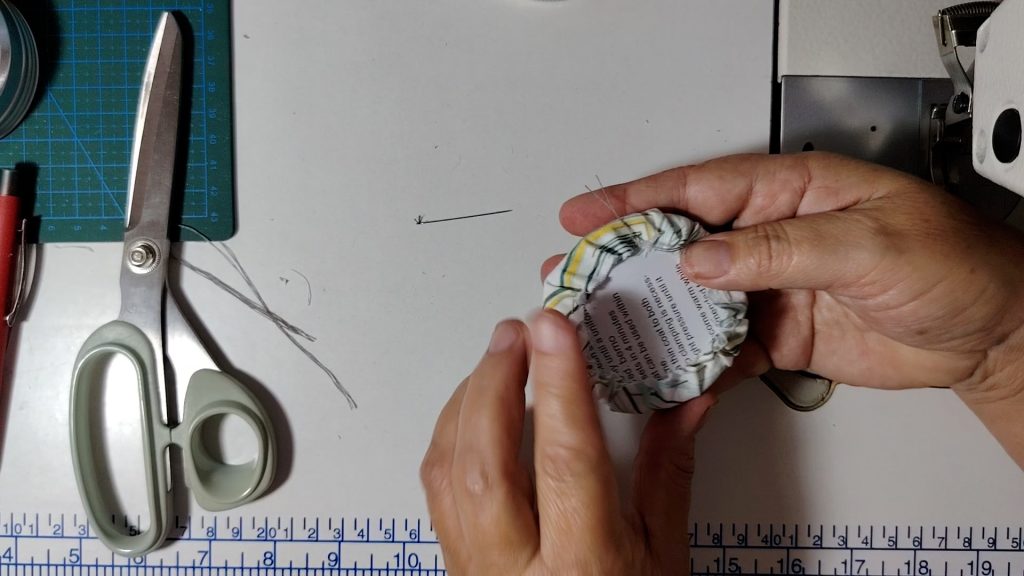
Step 10: Secure the Pincushion
Pull both thread ends as tightly as possible around the cardboard base.
Once tight, tie the threads off securely so they cannot loosen.
This completed piece is now your finished pincushion insert.
Step 11: Prepare the Epoxy Glue
Use a two-part epoxy glue, which is necessary because the tin is aluminium and needs a strong bond.
- Mix equal amounts of each part
- Stir very thoroughly until fully blended
- Be careful to return the correct lids to the correct bottles, as mixing them up can cause the glue to set inside the container
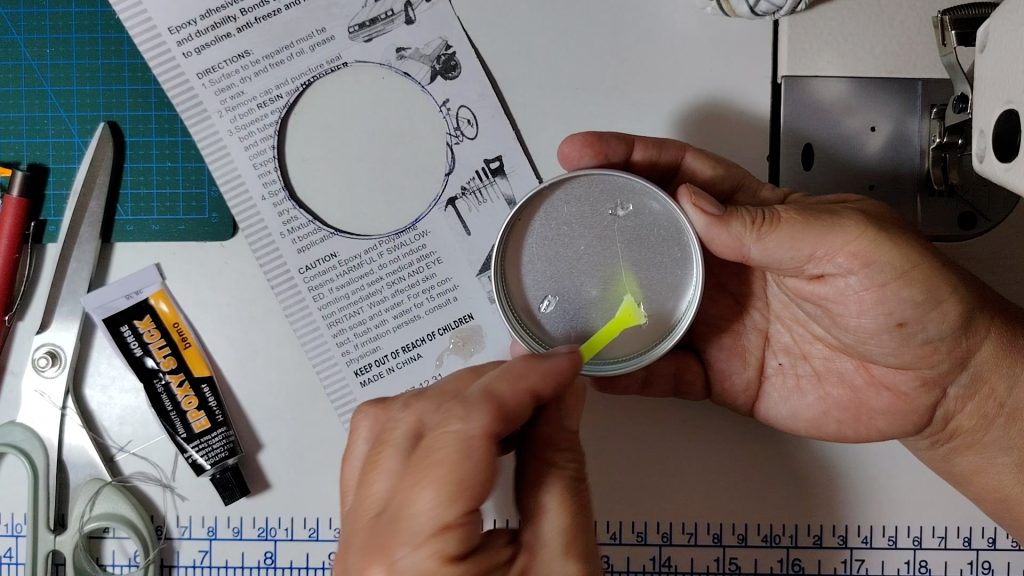
Step 12: Apply the Glue
Apply several generous dots of epoxy:
- Onto the inside of the tin lid
- Onto the cardboard base of the pincushion
The glue bonds best when applied to both surfaces before joining.
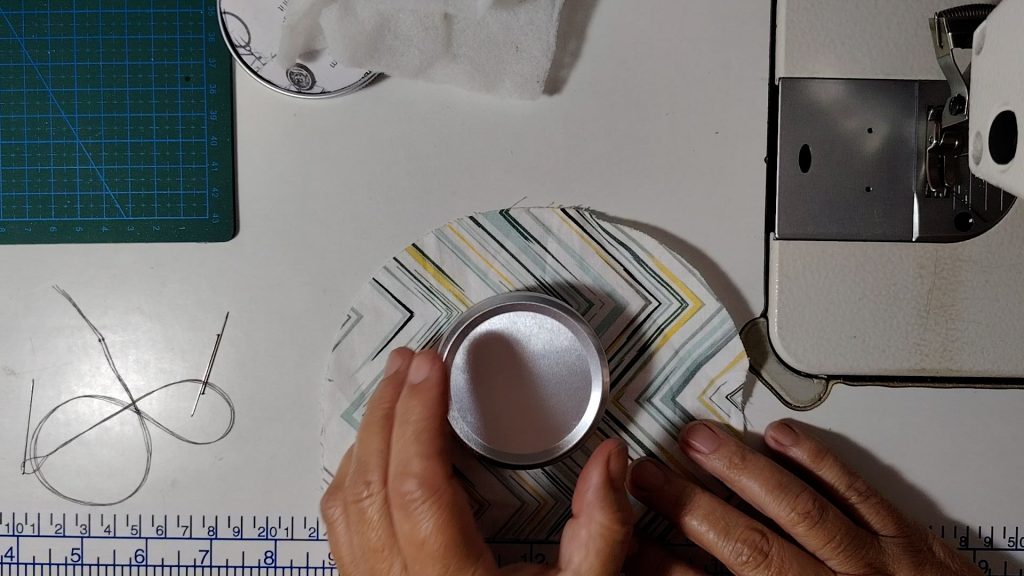
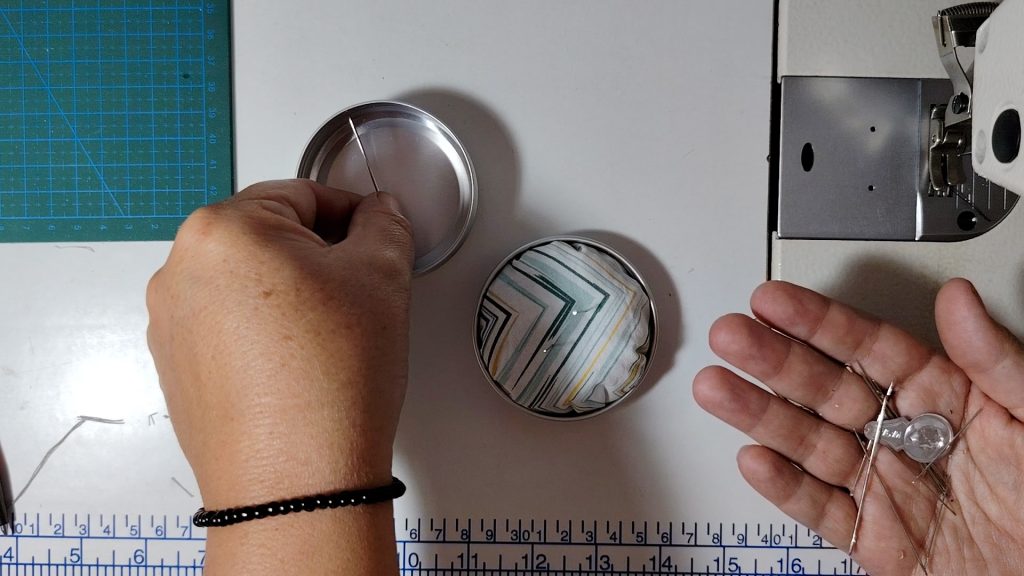
Step 13: Attach the Pincushion to the Lid
Carefully place the pincushion into the lid, lining up the circles so they sit directly on top of each other.
Press down firmly and hold in place.
Allow 4–5 minutes for the glue to start curing before moving it.

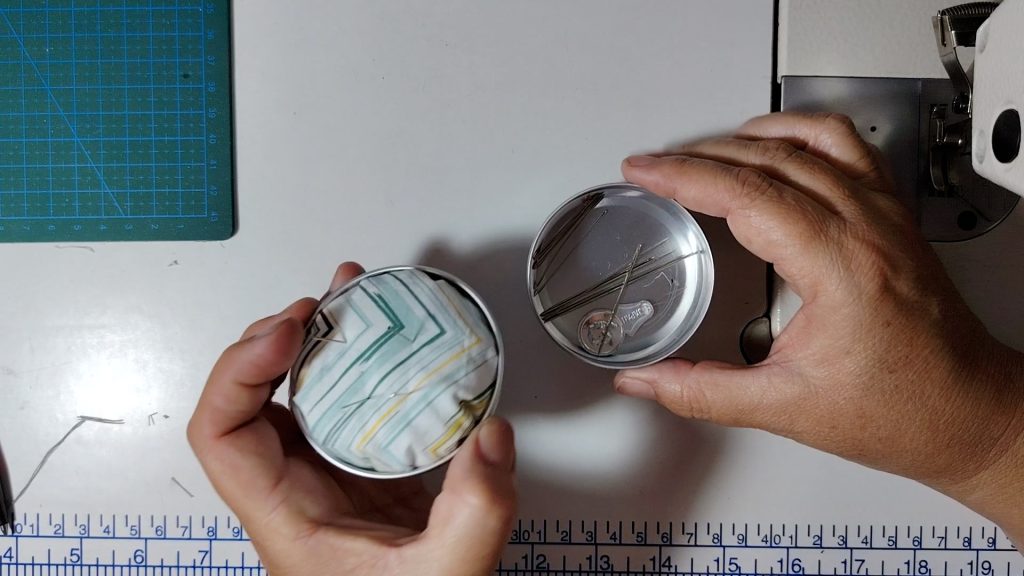
Step 14: Load the Pincushion and Tin
While the glue finishes setting, sort out your pins and needles.
Once secure:
- Push pins into the pincushion
- Store extra needles inside the tin
- A needle threader can be kept in the bottom for easy access
This makes the tin both a pincushion and a storage container.
Step 15: Close and Store
Close the tin securely.
You now have a compact, safer sewing kit where everything is stored in one place, ready for your next sewing project.