
Step by step on how to make your own homemade scrapbooking kaleidoscope, presented by
For any questions contact us

What you need to make a homemade kaleidoscope:
- Sheet of 12 x 12 vellum
- Compass, from a maths geometry set
- Scissors
- Pencil
- Photo
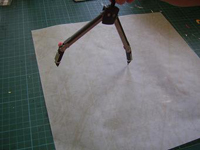
Step 1
Use the compass and pencil to draw a large circle on your sheet of vellum.
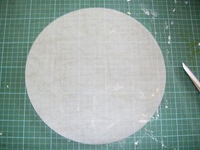
Step 2
Use the scissors to cut out the circle.
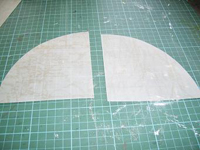
Step 3
Fold the circle in half and then cut it.


Step 4
You will only need one half of the circle. Fold the remaining section in half and cut it with your scissors.
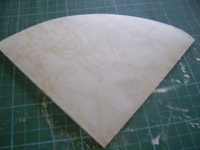
Step 5
Now repeat the process with the quarter of the circle, fold it in half and cut using scissors.
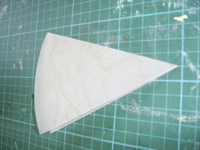
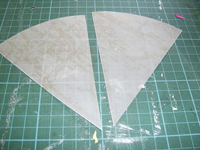
Step 6
Now you have what looks like two pieces of a pie! You are only going to need one piece for your kaleidoscope.
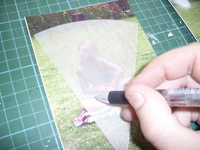
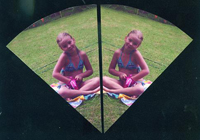
Step 7
You are now going to position your piece of vellum on your photo and trace a basic outline using a pencil. If you turn the vellum over onto the mirror image you should be able to line it up.
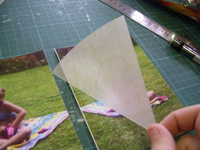
Step 8
Once you have lined them up you are going to use a pencil and trace around your vellum template and then cut out all your pictures.
Step 9
Once you have cut out all your photos, stick them onto a coloured card and decorate to complete your scrapbooking kaleidoscope.