Recycled CD Flowers
A bright upcycling craft that turns old CDs into giant garden flowers
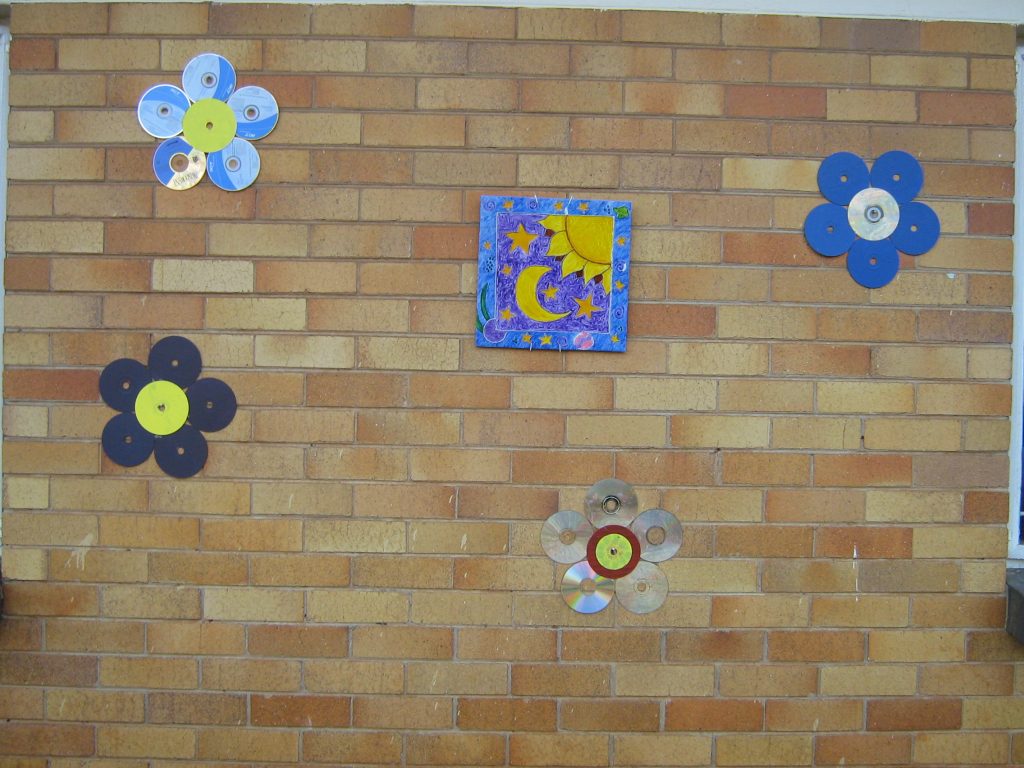
This is a fun and colourful recycling craft that children love. Old CDs and DVDs are perfect for this project — instead of throwing them away, they’re turned into big, shiny flowers that can be used to decorate walls, fences, or garden spaces.
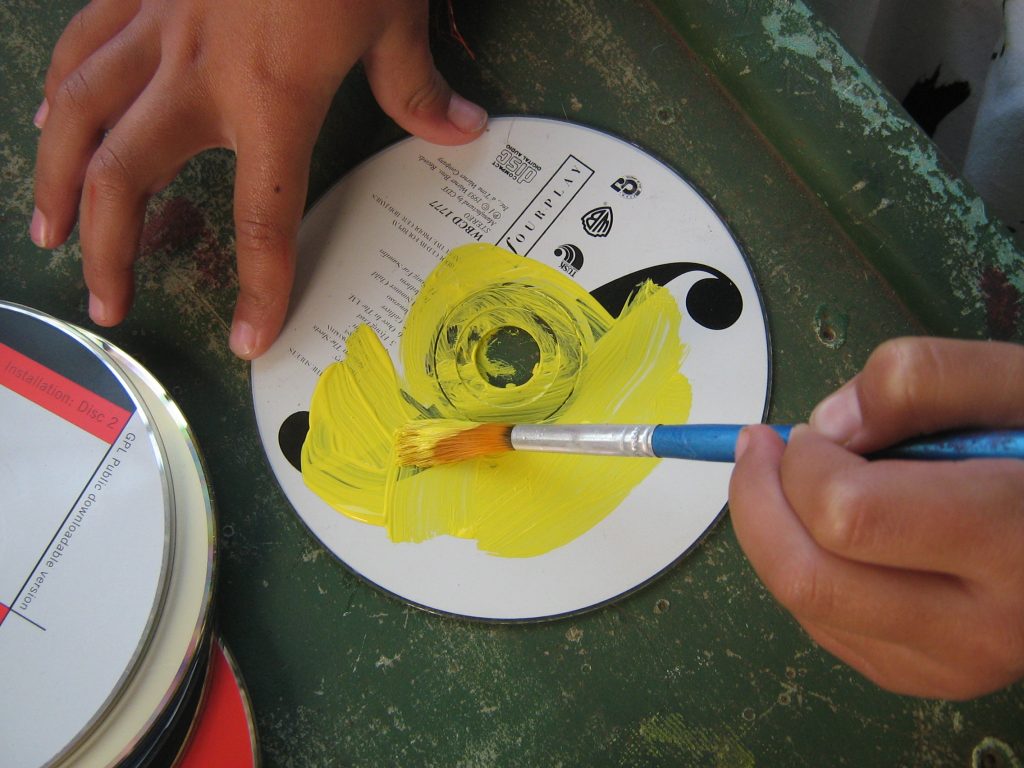
Kids enjoy choosing colours and painting the discs, while adults can help with the glue gun when it’s time to assemble the flower. The reflective surface of the CD gives the flowers a beautiful shimmer, especially outdoors.
Presented by: Crafty Corner
Skill level: Beginner
Age suitability: 6+ with adult supervision
Supervision note: Uses a hot glue gun; adults should handle or closely supervise gluing
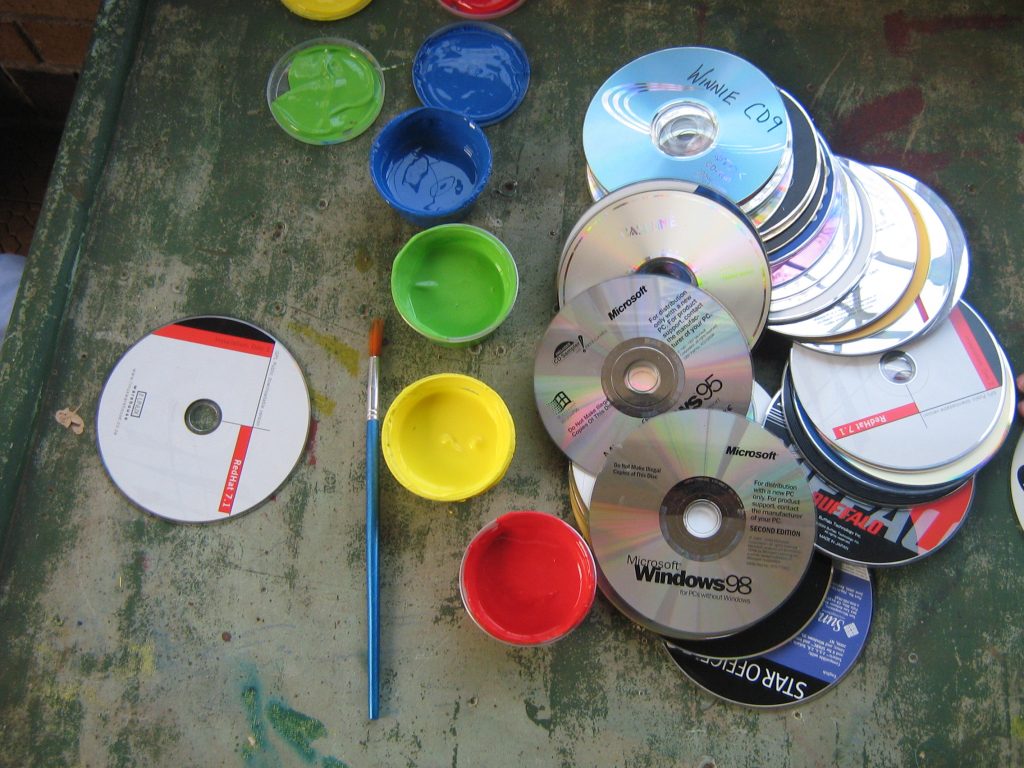
Materials and tools
- Old CDs or DVDs (no longer needed)
- Glue gun (or silicone glue as an alternative)
- Craft paint or PVA paint
- Paintbrush
- Modge Podge or hard varnish
Before starting, set up a protected workspace. Painting CDs can be messy, so cover the table with newspaper or plastic.
Step-by-step instructions
Step 1: Collect your CDs
Gather old CDs or DVDs that are no longer used. Make sure no one still needs them before recycling them into flowers.
This is a great time to talk to kids about reusing materials instead of throwing them away.
Step 2: Paint the flower petals
Take five CDs and place them bottom side up on the table.
Paint these CDs in the colour you want for your flower petals. Painting on the bottom side gives better coverage and creates a lovely reflective effect once dry.
Step 3: Paint the centre
Paint one additional CD in a contrasting colour. This will become the centre of your flower.
Bright or darker colours often work well for the middle.
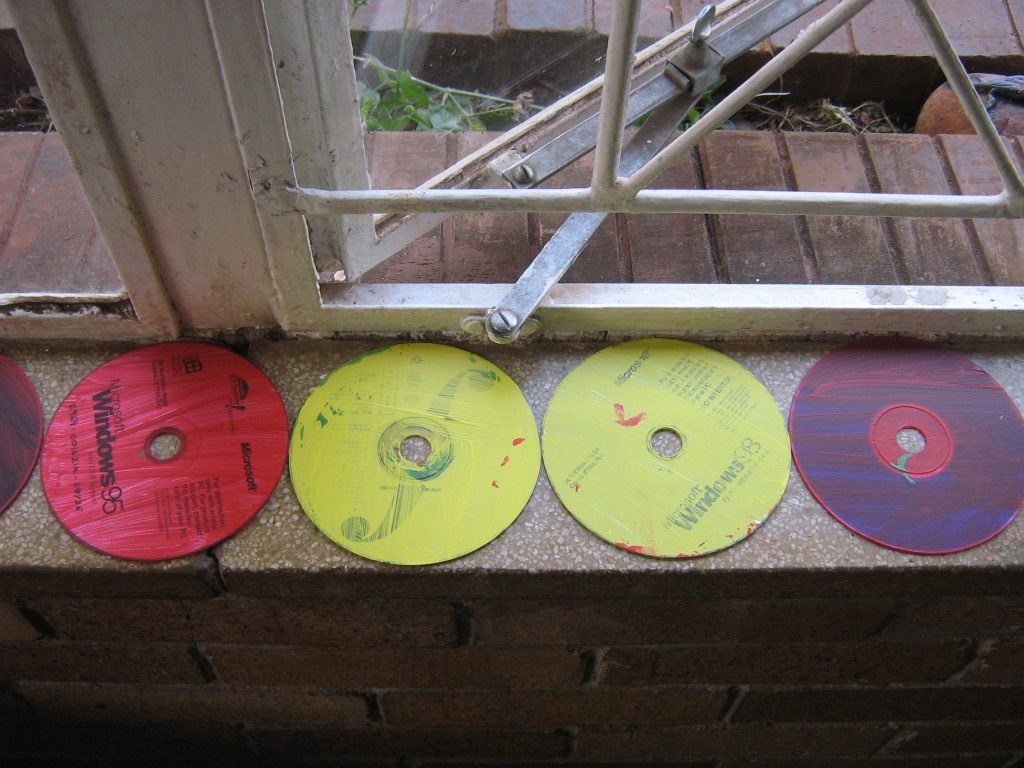
Step 4: Let the paint dry and repeat
Leave all the painted CDs to dry for at least two hours, then paint them again.
Two coats help make the colours stronger and more even.

Step 5: Seal the CDs
If your flowers are going to be used outdoors, paint the CDs with at least three layers of Modge Podge or hard varnish.
This protects the paint from rain and weather and helps the flowers last longer.
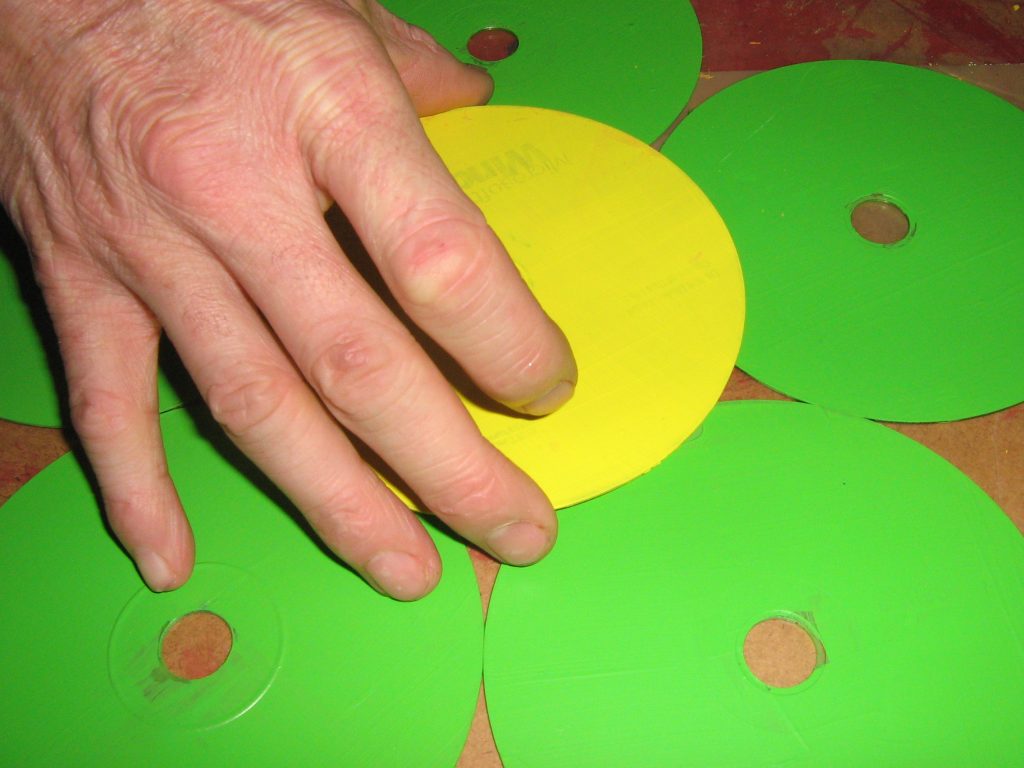
Step 6: Arrange the flower
Once everything is completely dry, place the centre CD on the table.
Arrange the five petal CDs around it to make sure the flower shape looks balanced and even.
When you’re happy with the layout, it’s time to prepare the glue gun.
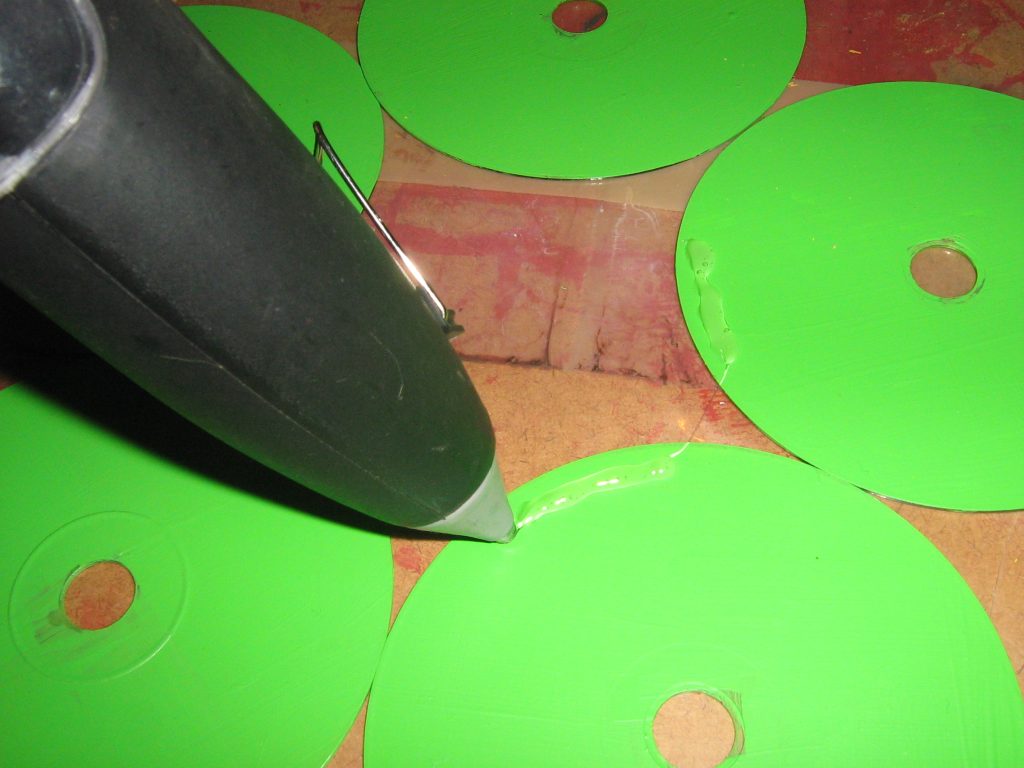
Step 7: Glue the flower together
(Adult help required)
Once the glue gun is hot and ready, place a generous blob of glue near the bottom of each petal CD.
Work quickly, as glue gun glue sets as it cools. When all the petals have glue on them, press the centre CD down onto the glue blobs to hold everything together.
Step 8: Let it set
Leave the flower to dry and cool for at least one hour.
Avoid moving it while the glue is setting.
Step 9: Hang your flower
To display your flower on an outside wall, knock a concrete nail into the wall and slip the centre hole of the CD over the nail.
Your recycled CD flower is now ready to brighten up the space.