
Step by step on how to make a Wizard of Oz themed clock, presented by Shoestring Scrapbooking
For any questions contact us
What you need to make a Wizard of Oz themed clock:
- Clock kit, includes mechanism, hands, numbers, battery & templates
- The Magic of Oz Double Sided Patterned Papers
- Craft paint
- Paintbrush
- Craft knife
- Scissors
- Double sided tape
- Embellishments
- Paper flower
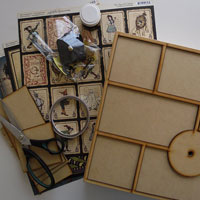
All the craft materials required for this project are available from Shoestring Scrapbooking
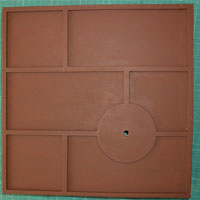
Step 1
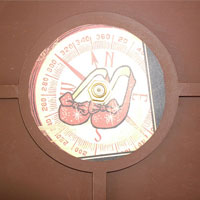
Using your craft paint and a paintbrush, paint the wooden clock face. Once painted, put aside to dry
Step 2
We are now going to decide which patterned papers to use for each section of the clock. Once you have decided, use the templates given for each section and then cut them out to the correct size using a sharp craft knife or a scissors.
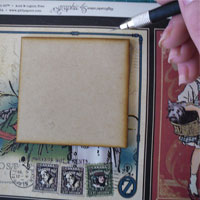
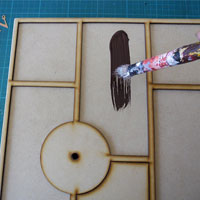
Step 3
Now you can start sticking each piece into place using double sided tape. I do not recommend using glue, as this makes the paper bubble and hard to get a smooth surface. I started with the clock section first, stick the paper down and then mark the hole with a hole punch or your craft knife. Once this is done, you can add the mechanism and tighten.
Step 4
Continue decorating the surfce of the clock board, sticking the paper down using double sided tape.
Step 5
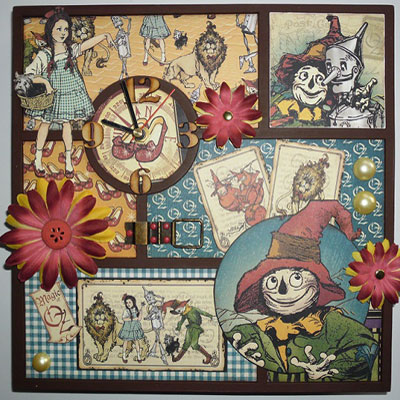
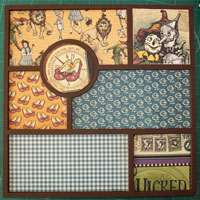
Once all the papers have been stuck down, you can add depth to your clock by adding a few embellishments, some of which can be cut from the patterned papers. I recommend you start by adding the numbers for the clock first, and then adding the rest.
All the pictures I used I cut from “The Magic of Oz” patterned papers, to which I added some flowers, brads, an old hinge and a button.
Step 6
Once all your embellishments have been stuck down, secure the clock hands, insert the battery and your Magic Wizard of Oz themed clock is complete!