
Presented by Crafty Corner
Suitable for all ages, with adult supervision. Time: about 30 minutes. Skill level: beginner-friendly, no experience needed.
Got an old file sitting in a drawer with a spare plastic sleeve poking out the back? That’s today’s raw material. We’re turning it into the gift cone for this DIY coloured bath salts craft. This easy, beginner-friendly tutorial shows you how to make bath salts at home, no experience required.
Why it matters
Plastic file sleeves are one of those things almost nobody thinks to reuse. They just get tossed once the file’s cleared out. But that thin plastic can take hundreds of years to break down once it’s in landfill.
Giving one sleeve a second job, even just once, is a small win, and it’s the kind of small win that adds up once it becomes a habit. Next time you’re clearing out old files, keep an eye out for spare sleeves. They’re handy for cones like this one, mini gift bags, or anything else that needs to hold something and look good doing it.
It won’t solve landfill on its own. One sleeve is one sleeve. But it’s one less thing thrown away, and a fun way to show kids that waste is often just raw material waiting for its next job.
What You’ll Need to Make Bath Salts at Home
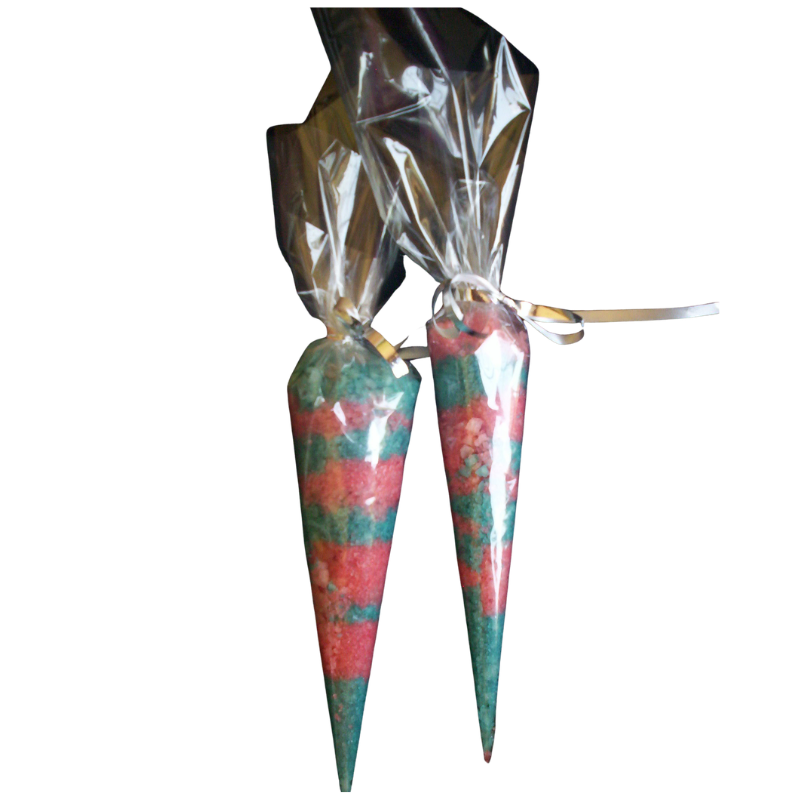
You’ll be rescuing: an old plastic file sleeve, otherwise headed for landfill.
Already have at home:
- 2 bowls for mixing
- 2 teaspoons
- Scissors
- Sticky tape
- Ribbon
Pick up if you don’t already have them:
- Coarse salt (2 cups)
- Food colouring, dry or liquid, red and blue
- Lavender aromatherapy oil
Rescue from your own recycling:
- 1 clear plastic sleeve from an old file, cut to 20cm x 20cm
Before you start: cover your workspace with plastic or brown paper, and keep it clean and tidy. You’ll be working with loose salt and colouring.
Steps
Step 1
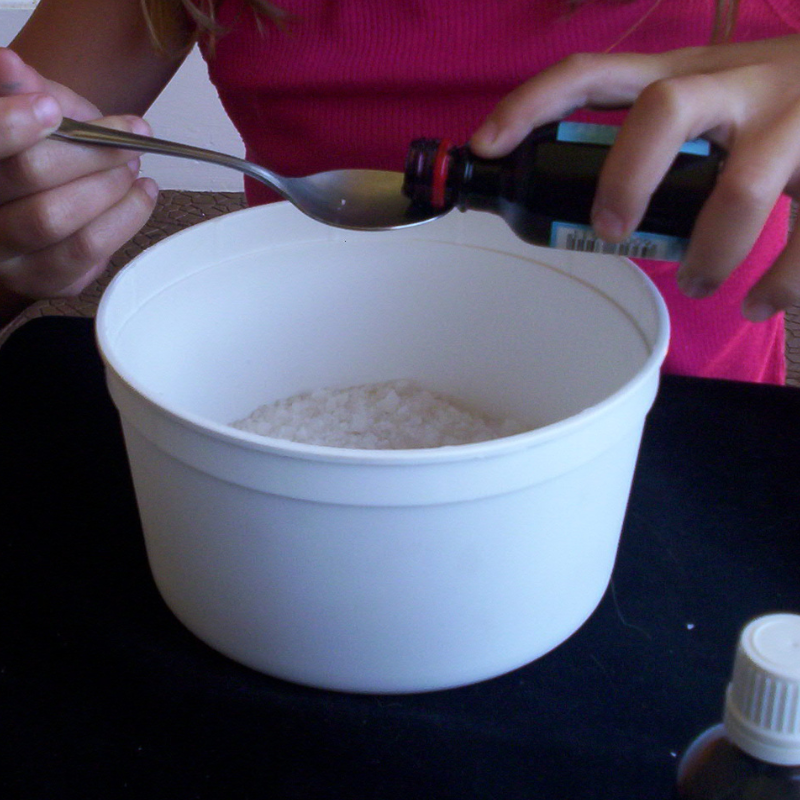
Put one cup of coarse salt into each bowl. Add half a teaspoon of red food colouring to one bowl of salt. It will turn the salt a soft pink. Add half a teaspoon of blue food colouring to the second bowl of salt.
Tip: food colouring can stain skin, clothes, and surfaces. Apron up, and keep that covered workspace under everything.
Step 2
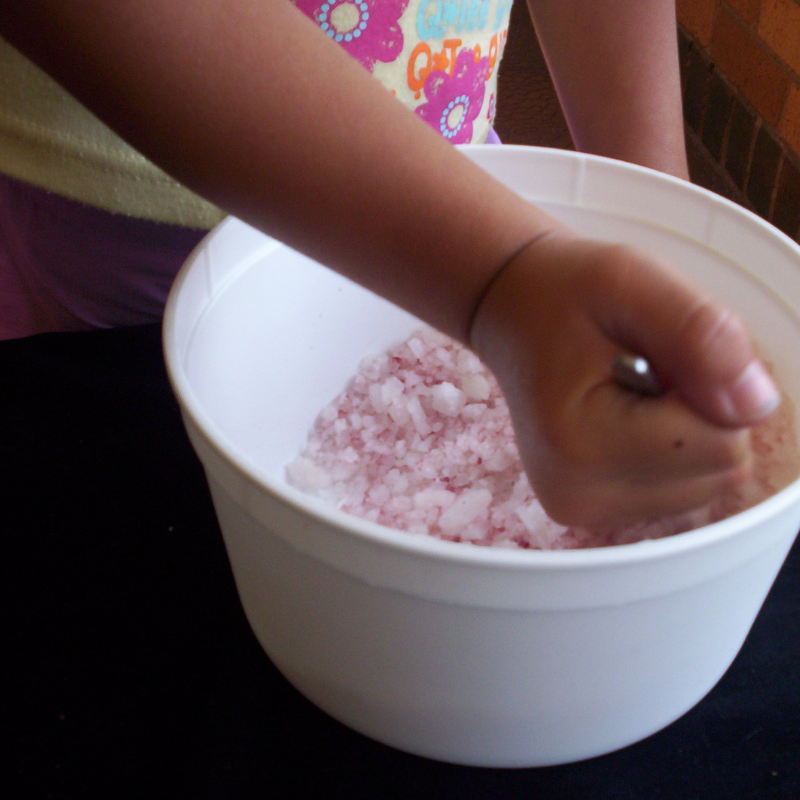
Mix all the food colouring well into the salt in each bowl, until the colour is even all the way through with no streaks or clumps.
Step 3
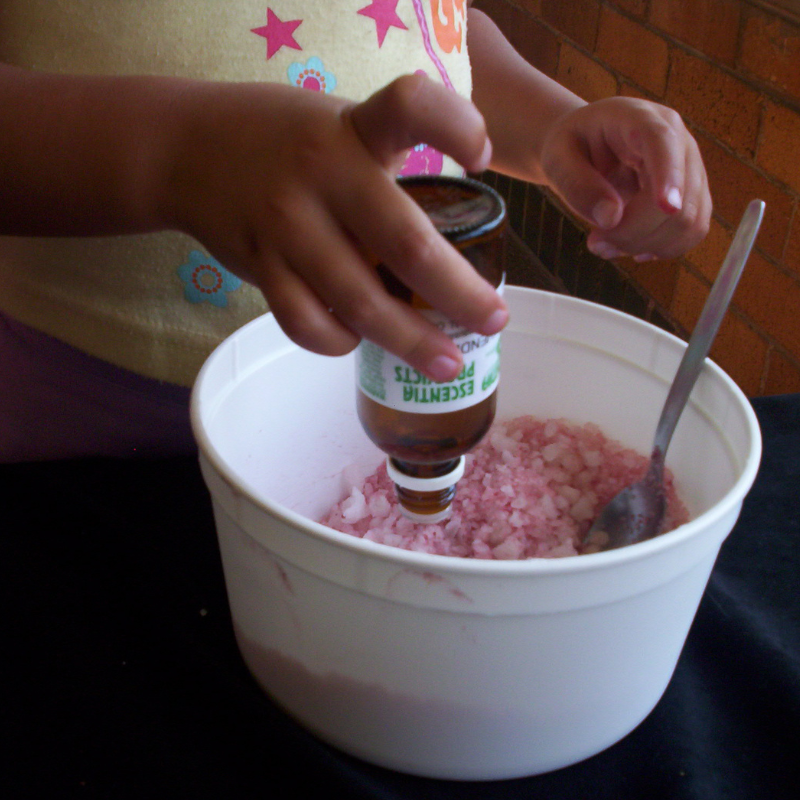
Slowly add 8 drops of lavender oil to the pink bowl of salt and 8 drops to the blue bowl of salt. Now mix the aromatherapy oil into the salt.
Safety: keep the oil away from eyes and broken skin, and wash hands once it’s mixed in.
Step 4
Cut your plastic file sleeve into a 20cm x 20cm square using your scissors.
Step 5
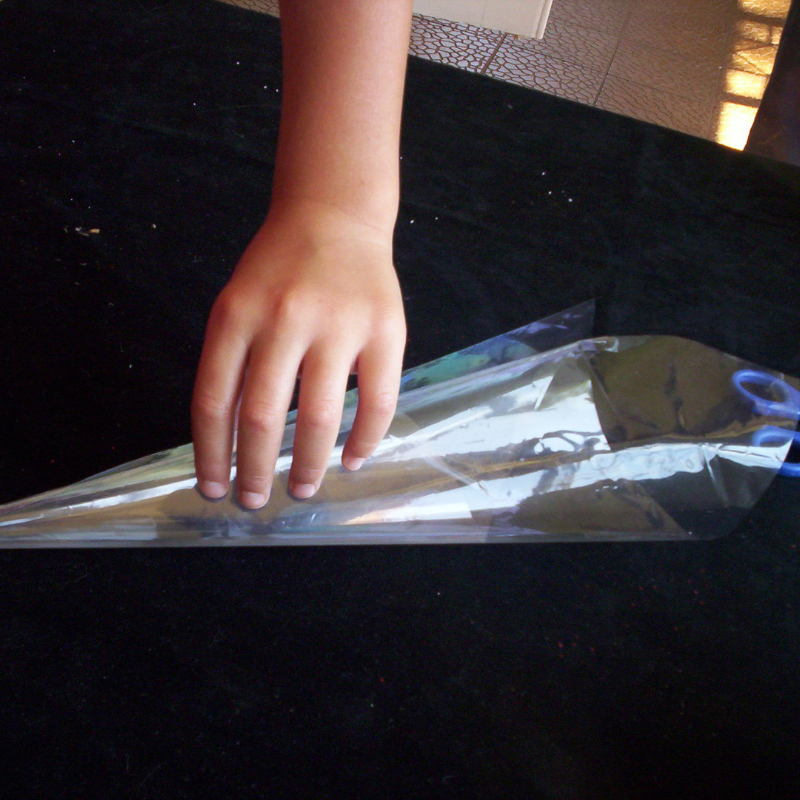
Form a cone shape with your plastic sleeve and seal with sticky tape. Close any gaps at the point of the cone with sticky tape too. This is the step that decides whether your salt stays in or leaks out, so take your time here.
Step 6
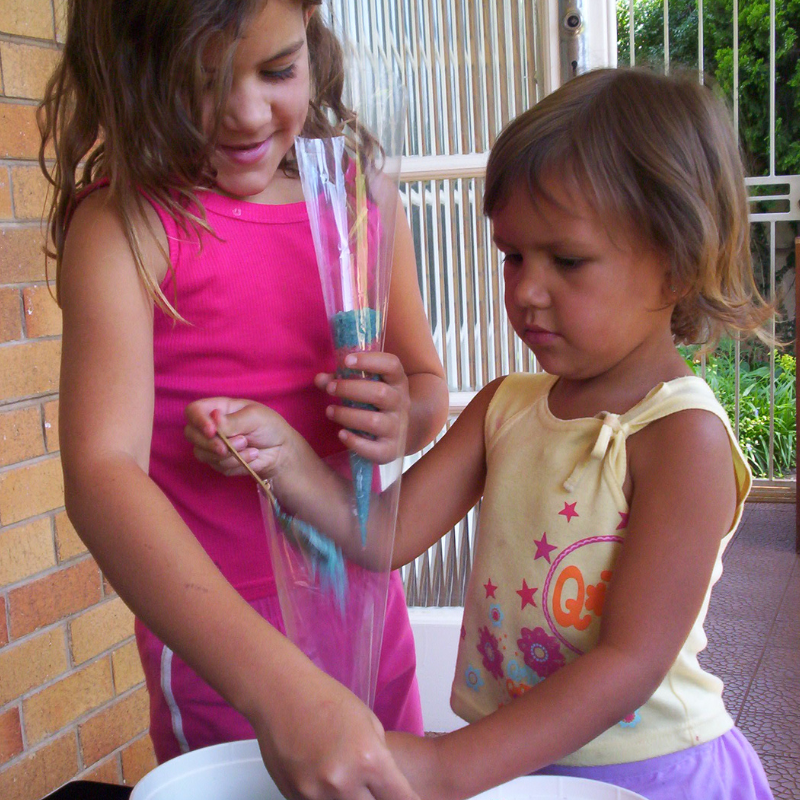
Fill up the cone with one teaspoon of salt at a time. Alternate the colours so they make different layers in the cone. It’s easiest with two people, one holding the cone steady while the other spoons in the salt. Working alone? Stand the cone inside a cup or jar to keep it upright while you fill it.
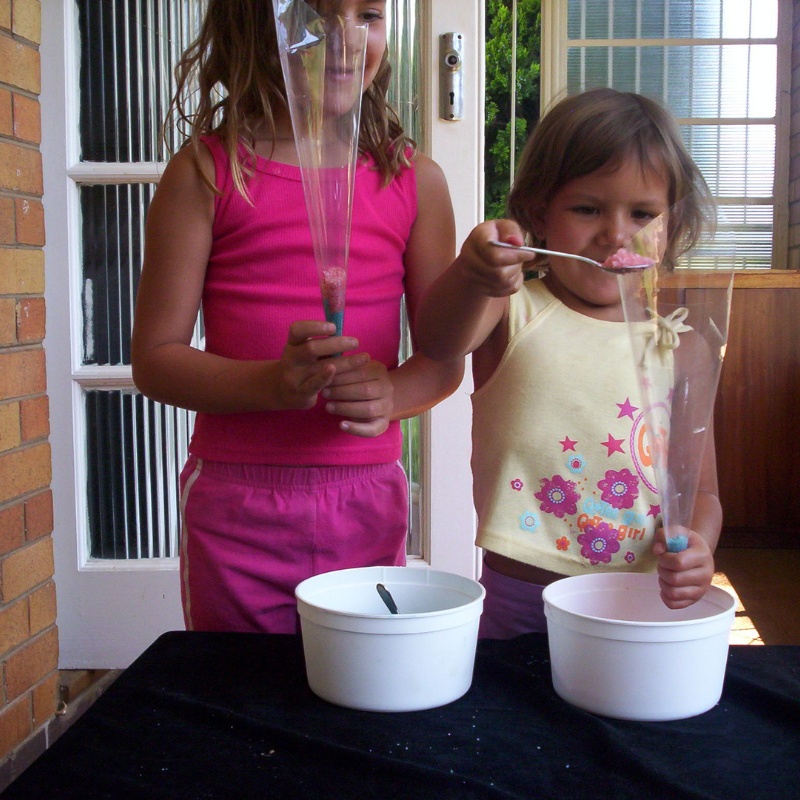
[Photo: the layered salt building up inside the cone. Suggested alt text: “.”]
Step 7
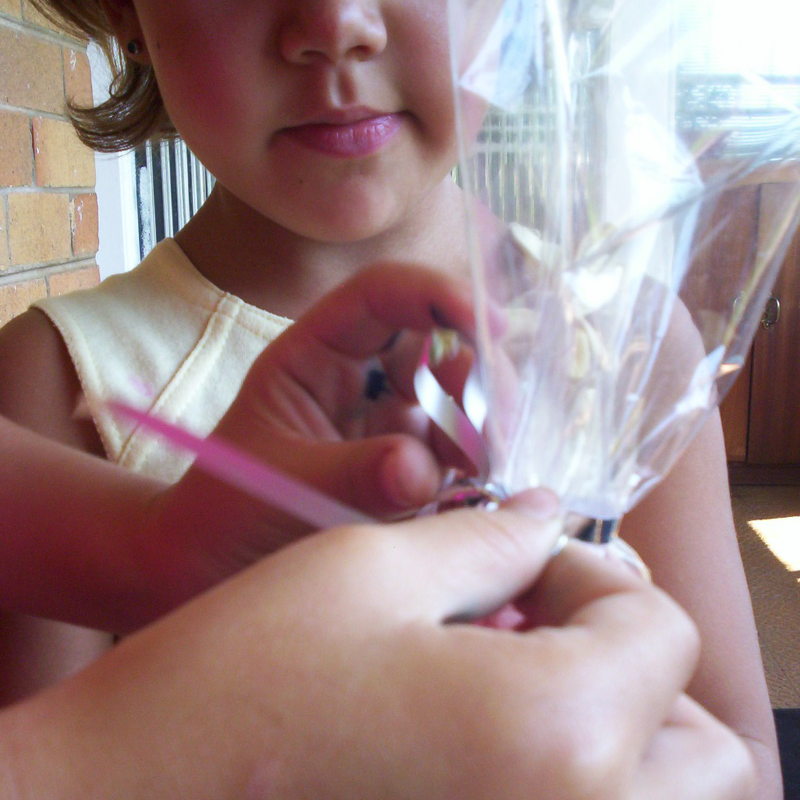
Tie a piece of ribbon around the top of the bath salts once full.
Common Mistakes to Avoid
- Leaky tip: if the point of the cone isn’t fully sealed, salt trickles out while you fill it. Double-check the tip before you start spooning in salt.
- Toppling cone: an unsupported cone falls over mid-fill. Use a helper or stand it in a cup.
- Uneven colour: rushing Step 2 leaves streaks of undyed salt. A minute of extra mixing makes a much nicer-looking layer.
Try a Variation
- Swap lavender for another calming scent, like chamomile.
- Use three colours instead of two for a more layered look. Just split the salt and colouring three ways instead of two.
- No red or blue on hand? Any two food-colouring shades that appeal to you will layer just as well.
Finish Note
Your bath salts are ready! You’ll have fun, coloured water waiting for you at bath time.
Tip: when the pink and blue mix together in the water, it’ll turn purple. That’s just how colours combine, not a mistake. Want to know why? Check out our colour wheel guide.
For any questions, contact us via email.
Follow us on Facebook to know when we post our next project